EAT LIVER, of course! If you are like me and have a sluggish liver that ends up causing all sorts of issues from hormonal imbalances to very stubborn belly fat, it might be time for you to give this organ meat a try. The initial response from most people is, “YUCK,” but I have realized that such a response is usually because they have never actually tried it.
I am fully aware that I am way more adventurous than a lot of people when it comes to trying new foods. In fact, I pretty much live for it. Traveling to new places means I get to experience new foods and dishes that I have never been exposed to. Kind of like my obsession with drinking at least one local beer for any city/state that I’m visiting, even though I can hardly tolerate the wheat in beer anymore {sigh}. If you want me to try something that I might not “want” to eat if i know what it is first, just don’t tell me. I prefer to try it first and then decide how I feel about it. Sweetbreads are one of my favorite things to order at a classy restaurant…also an organ that acts up on me occasionally. I’m so glad that my father encouraged me to order it for the first time a few years ago and that he didn’t tell me what it was until after my second bite when I proclaimed how delicious it was. Once I knew that I loved them, it didn’t matter at all.
Diets today are a hot mess, especially in this country. We lack so many things in our fast-food, over-processed, carbohydrate-laden lives. Similar to my opinion about the instant gratification we obsess over with medications, it seems like we are always looking for a quick meal. Quick can equal healthy, but most often it results in a meal that serves our bodies up very little actual nutrition. Everyone would benefit from more greens in their life, and I don’t mean lettuce. Real leafy greens, like kale, chard, and spinach. Many people are mineral deficient and have no idea, resulting in a myriad of stresses in their body that manifest in ways that conventional medicine often lets go undiagnosed. We are also vitamin deficient, and not in a way that taking some store-bought, garbage vitamin is going to fix (although there are now some of great products in places like The Vitamin Shoppe). Not only do we need to supplement our bodies with whole food supplements, we need to eat FOOD.
Before the Western diet turned into what it is today, people never wasted any part of the animal. Organs, bones and marrow, and of course every single piece of meat itself were used to stretch the budget. The Depression-era folks still used everything despite the shift in how Americans ate. Gram would make chicken livers (I admit at first I thought, “How gross!”…until I tried them) and her soups were made with broth from bones. These days everyone talks about bone broth and its healing properties and health benefits. This seems “new” to us, but I’m sure previous generations would laugh at this. There were no cans and boxes of broth back then, everyone made broth. And there were not all these GI problems, allergies, psychological disorders, etc., that we are now seeing connected to gut health. Bone broth repairs the gut. This is just one small reason why I can’t help but believe that it is our dietary changes that have caused so much dis-ease to surface and run rampantly throughout our population. Perhaps it’s not that these diseases never existed, but maybe that we have brought them all to the surface with our poor diet and lifestyle. They existed, but were rare. Now they are the norm.
Throughout my journey, my liver issues would rise to the top, and my liver still appears with regularity when having a nutrition check at my naturopath’s office. It’s a powerhouse organ that regulates so much of our bodies, playing a major role in metabolism and having a number of functions in the body, including glycogen storage, storing vitamins (especially B12 and A) and minerals (including iron and zinc), decomposition of red blood cells, hormone production, detoxification, and breaking down insulin, hemoglobin and other hormones. If your liver is sluggish, your body can’t function properly. Without a healthy liver, a person cannot survive. No one can live without one, unlike some other glands that people get surgically removed. Maybe it’s time to pay attention to it.
Some of the supplements that I have taken in the past to help support, clean, or heal my liver have been pretty pricey as they also often include desiccated liver pieces. If I’m having a bad flare of one thing or another, I might need more than one bottle over the course of a few weeks. I was looking to cut some of the cost of my supplement intake, so I discussed with Doc about what foods I could make sure that I’m regularly eating (or avoiding) in order to help my body out even more naturally than I already was. It was amazing how much adding liver into my diet became such a game changer. Not only was my supplement list getting smaller from visit to visit, everything was improving. I hadn’t seen my body respond like this since I first did the Liver Enhancement Diet. WIN!
As it turns out, The Russian is very good at cooking liver. He has made me dishes with both beef and chicken liver, but chicken liver is a lot easier to find and it’s also cheaper. He has made two dishes that taste just like Gram’s and I was in heaven. He has experimented with a few other ways, but his new favorite is making pate. This is the one I’m going to share first. It’s the easiest way to get some in your body since you can spread it on bread or crackers, dip raw veggies in it, or do whatever you want, and it’s so creamy. It is so much cheaper to make your own than to buy the premade stuff in the store and this has no preservatives or additives. It’s always best to try and make your own food so that you can control exactly what is in it. Here’s The Russian’s pate for you to try out. You can use either beef or chicken livers, but this particular post is about the chicken. And it’s delicious!
(He made this double batch for me last night as I have not been feeling as good the last few weeks as I had been for the past few months. We hadn’t been eating liver, so here’s hoping I feel back to my old self by the end of the day! For more reading about liver, google it and also check out these two links: Liver: nature’s most potent superfood and Health Benefits of Eating Organ Meats)
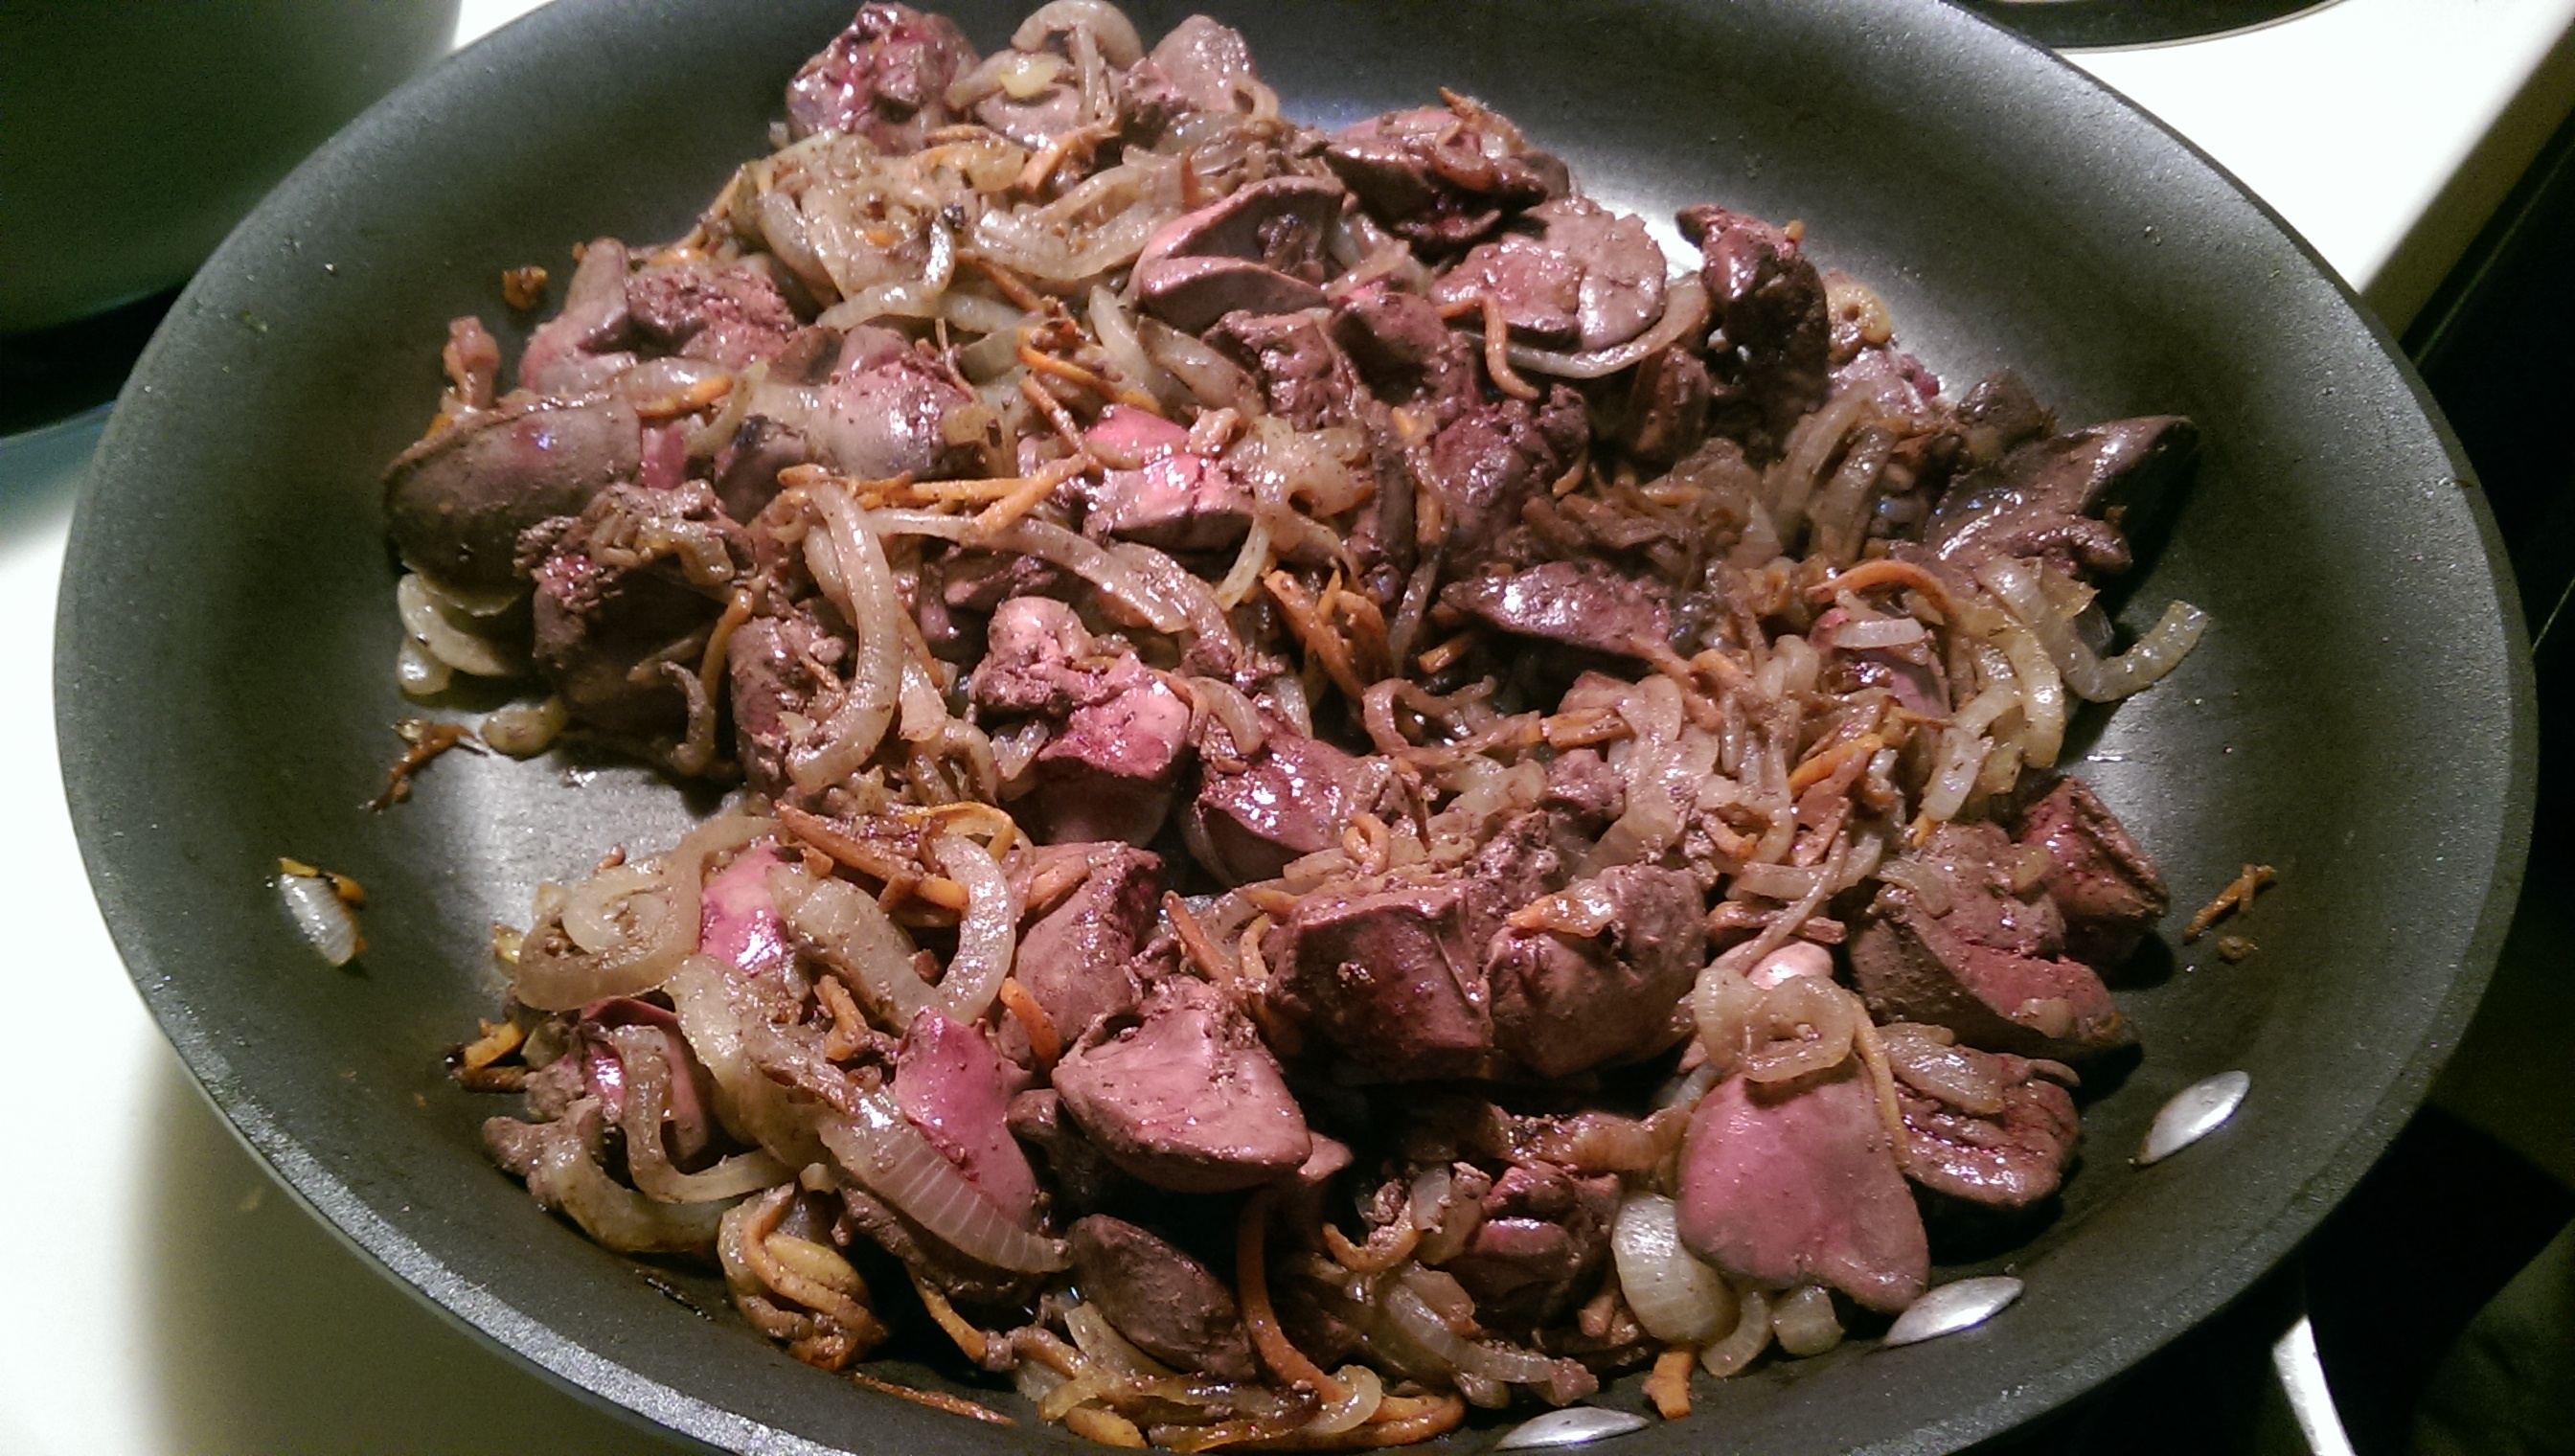
Heat about 2-3 Tablespoons of EVOO (or whatever oil/lard/ghee) in a large skillet over medium-high heat. Add two medium onions, halved and sliced, along with about a cup of shredded carrots. Cook for 7-9 minutes, stirring very frequently. You want them to soften and caramelize, but not get super brown or burn.
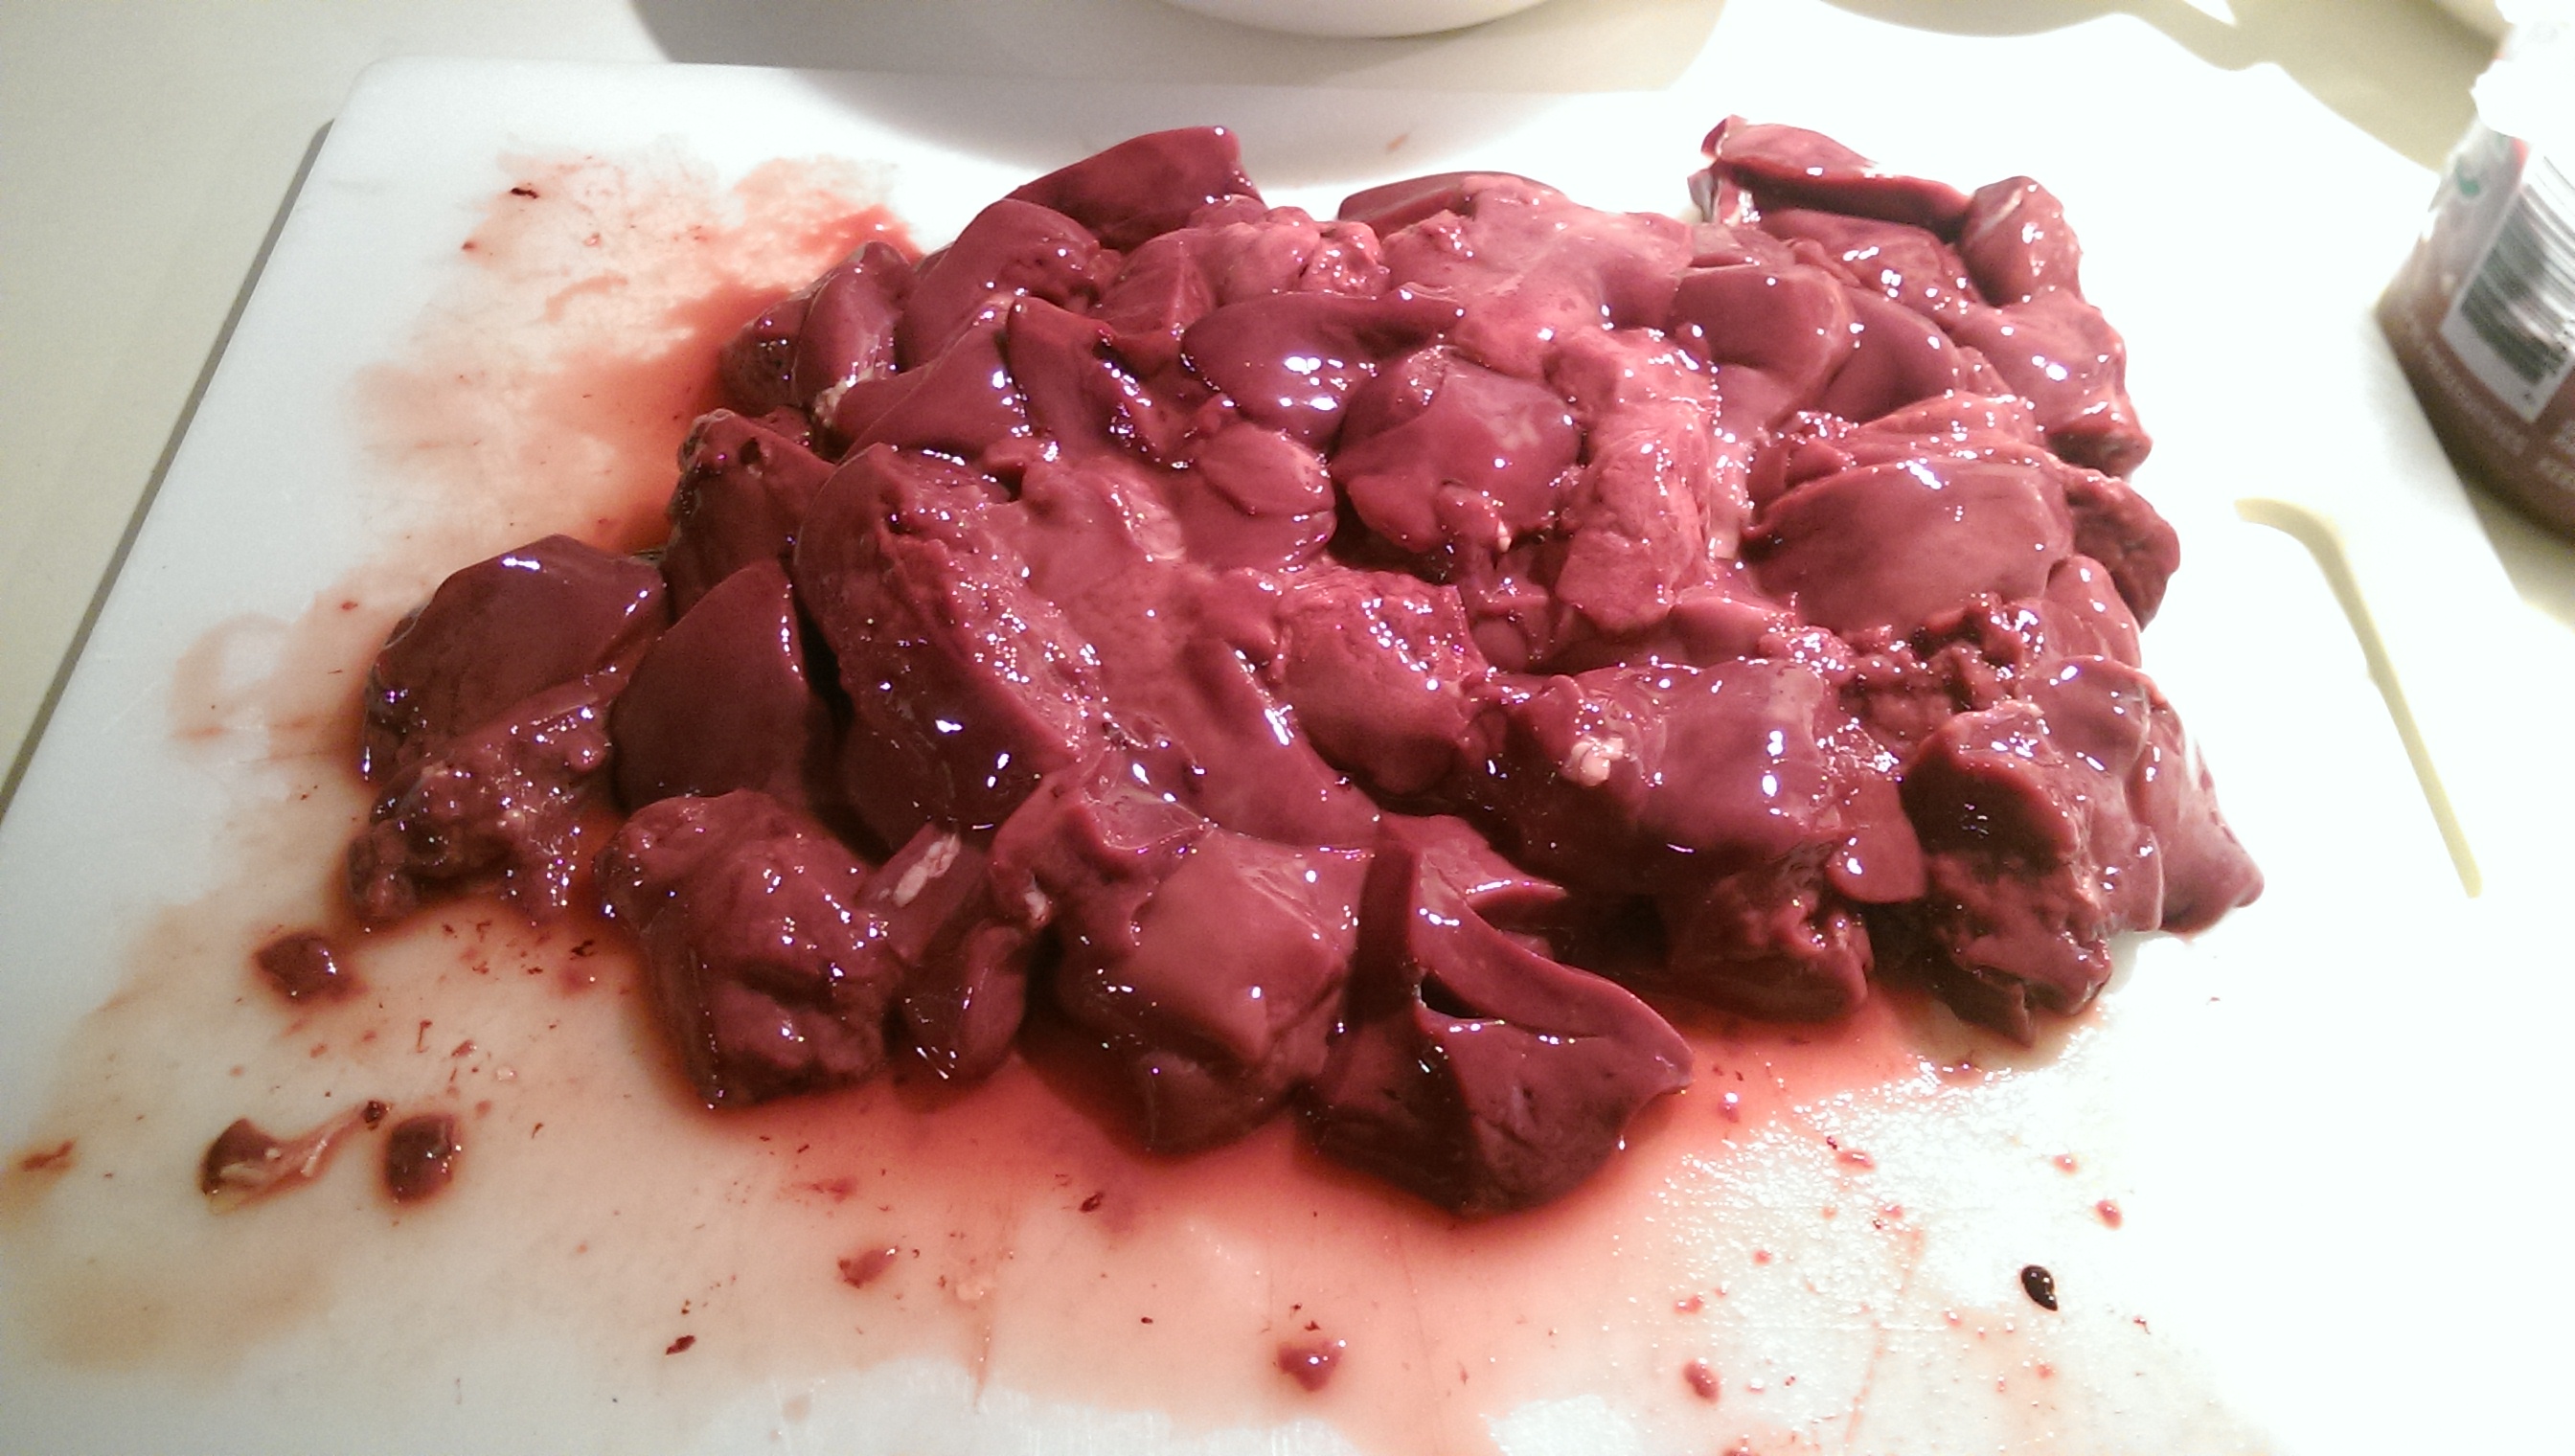
 While the onions are cooking (or before if you’re like me and prep everything first), trim up the livers. According to The Russian, beef livers require a little more cleanup, but what’s important with the organ meat is to remove the ducts that connect the tissue. (Yes, it’s even gross for me to type that. There is a reason that The Russian is the only one that cooks the livers in our house!) You also will want to cut up any larger pieces so that they are around the same size for even cooking. That is a good habit to get into in case you want to try out any future liver recipes that I will post. Those recipes are not as forgiving with overcooking these delicate pieces of meat. (Note that you should be buying organic chicken liver whenever possible and always grass-fed beef liver.)

Once the onions and carrots are finished, add the livers and cook until outsides are no longer shiny. Think about when you are cooking meat and you are browning the outside or making ground beef no longer pink. Same concept, just look for no more shiny parts.
Next, add the spices and a cup of water. The spices consist of crushed bay leaves, coarse ground pepper, and some kosher salt. Stir and bring the mixture to a boil. Then reduce heat to low, cover, and simmer for 20 minutes. Once the 20 minutes is up, remove the lid and cook an additional 5 minutes over medium heat to let some of the liquid evaporate and allow the sauce to thicken.

Remove from heat and let it cool to room temperature. Once cooled, pour the mixture into a food processor. Add about 3 Tablespoons of sliced, room temperature butter/ghee (we use Kerrygold) and blend until smooth.
Store in an airtight container in the refrigerator, but eat it within a week. Remember, there are no preservatives!
Chicken Liver Pate
You can use this recipe with any kind of animal liver; beef, goose, or chicken. We purchase chicken most often as it is easier to find and more economical. You can easily cut this in half or double it. The yield from this recipe is about three cups of pate. Make your liver happy!
INGREDIENTS
- 2-3 Tbsp extra virgin olive oil (or oil of choice)
- 2 medium onions, halved and sliced
- 1 cup of shredded carrots or 1 – 2 carrots, peeled and sliced
- 2 lbs of organic chicken livers (2-16 oz containers), ducts removed and large pieces divided
- 1 tsp crushed bay leaves (or one bay leaf)
- 1/4 – 1/2 tsp coarse ground fresh pepper (to taste)
- 1/2 – 1 tsp kosher salt (to taste)
- 1 cup water
- 3 Tbsp Kerrygold butter (or ghee)
DIRECTIONS
- Heat oil in a large skillet over medium-high heat. Add onions and carrots and saute until soft and slightly caramelized, but not browned, about 7-10 minutes.
- Add livers to vegetables and cook until no longer red and shiny.
- Add the bay leaves, salt, pepper, and water, stirring to combine. Bring to a boil.
- Reduce heat to low, cover, and simmer for 20 minutes.
- Remove lid and raise heat up to medium, cooking for an additional 5 minutes until some of the liquid evaporates and the remaining liquid thickens.
- Remove from heat and let cool to room temperature.
- Once cooled, place mixture in food processor. Add butter and blend until smooth.
- Place in airtight container and keep refrigerated for up to a week. Enjoy!


 It’s Day 7 of this kick I’ve been on over at my


 If you still have not tried spaghetti squash, whether it’s because you are intimidated by the thought of cooking a food that is new to you or you think it’s too healthy or have an aversion to food that is good for you, stop right now and go get one at the store. It is so easy to cook up spaghetti squash and use it in place of pasta for any dish. I first started using it for my

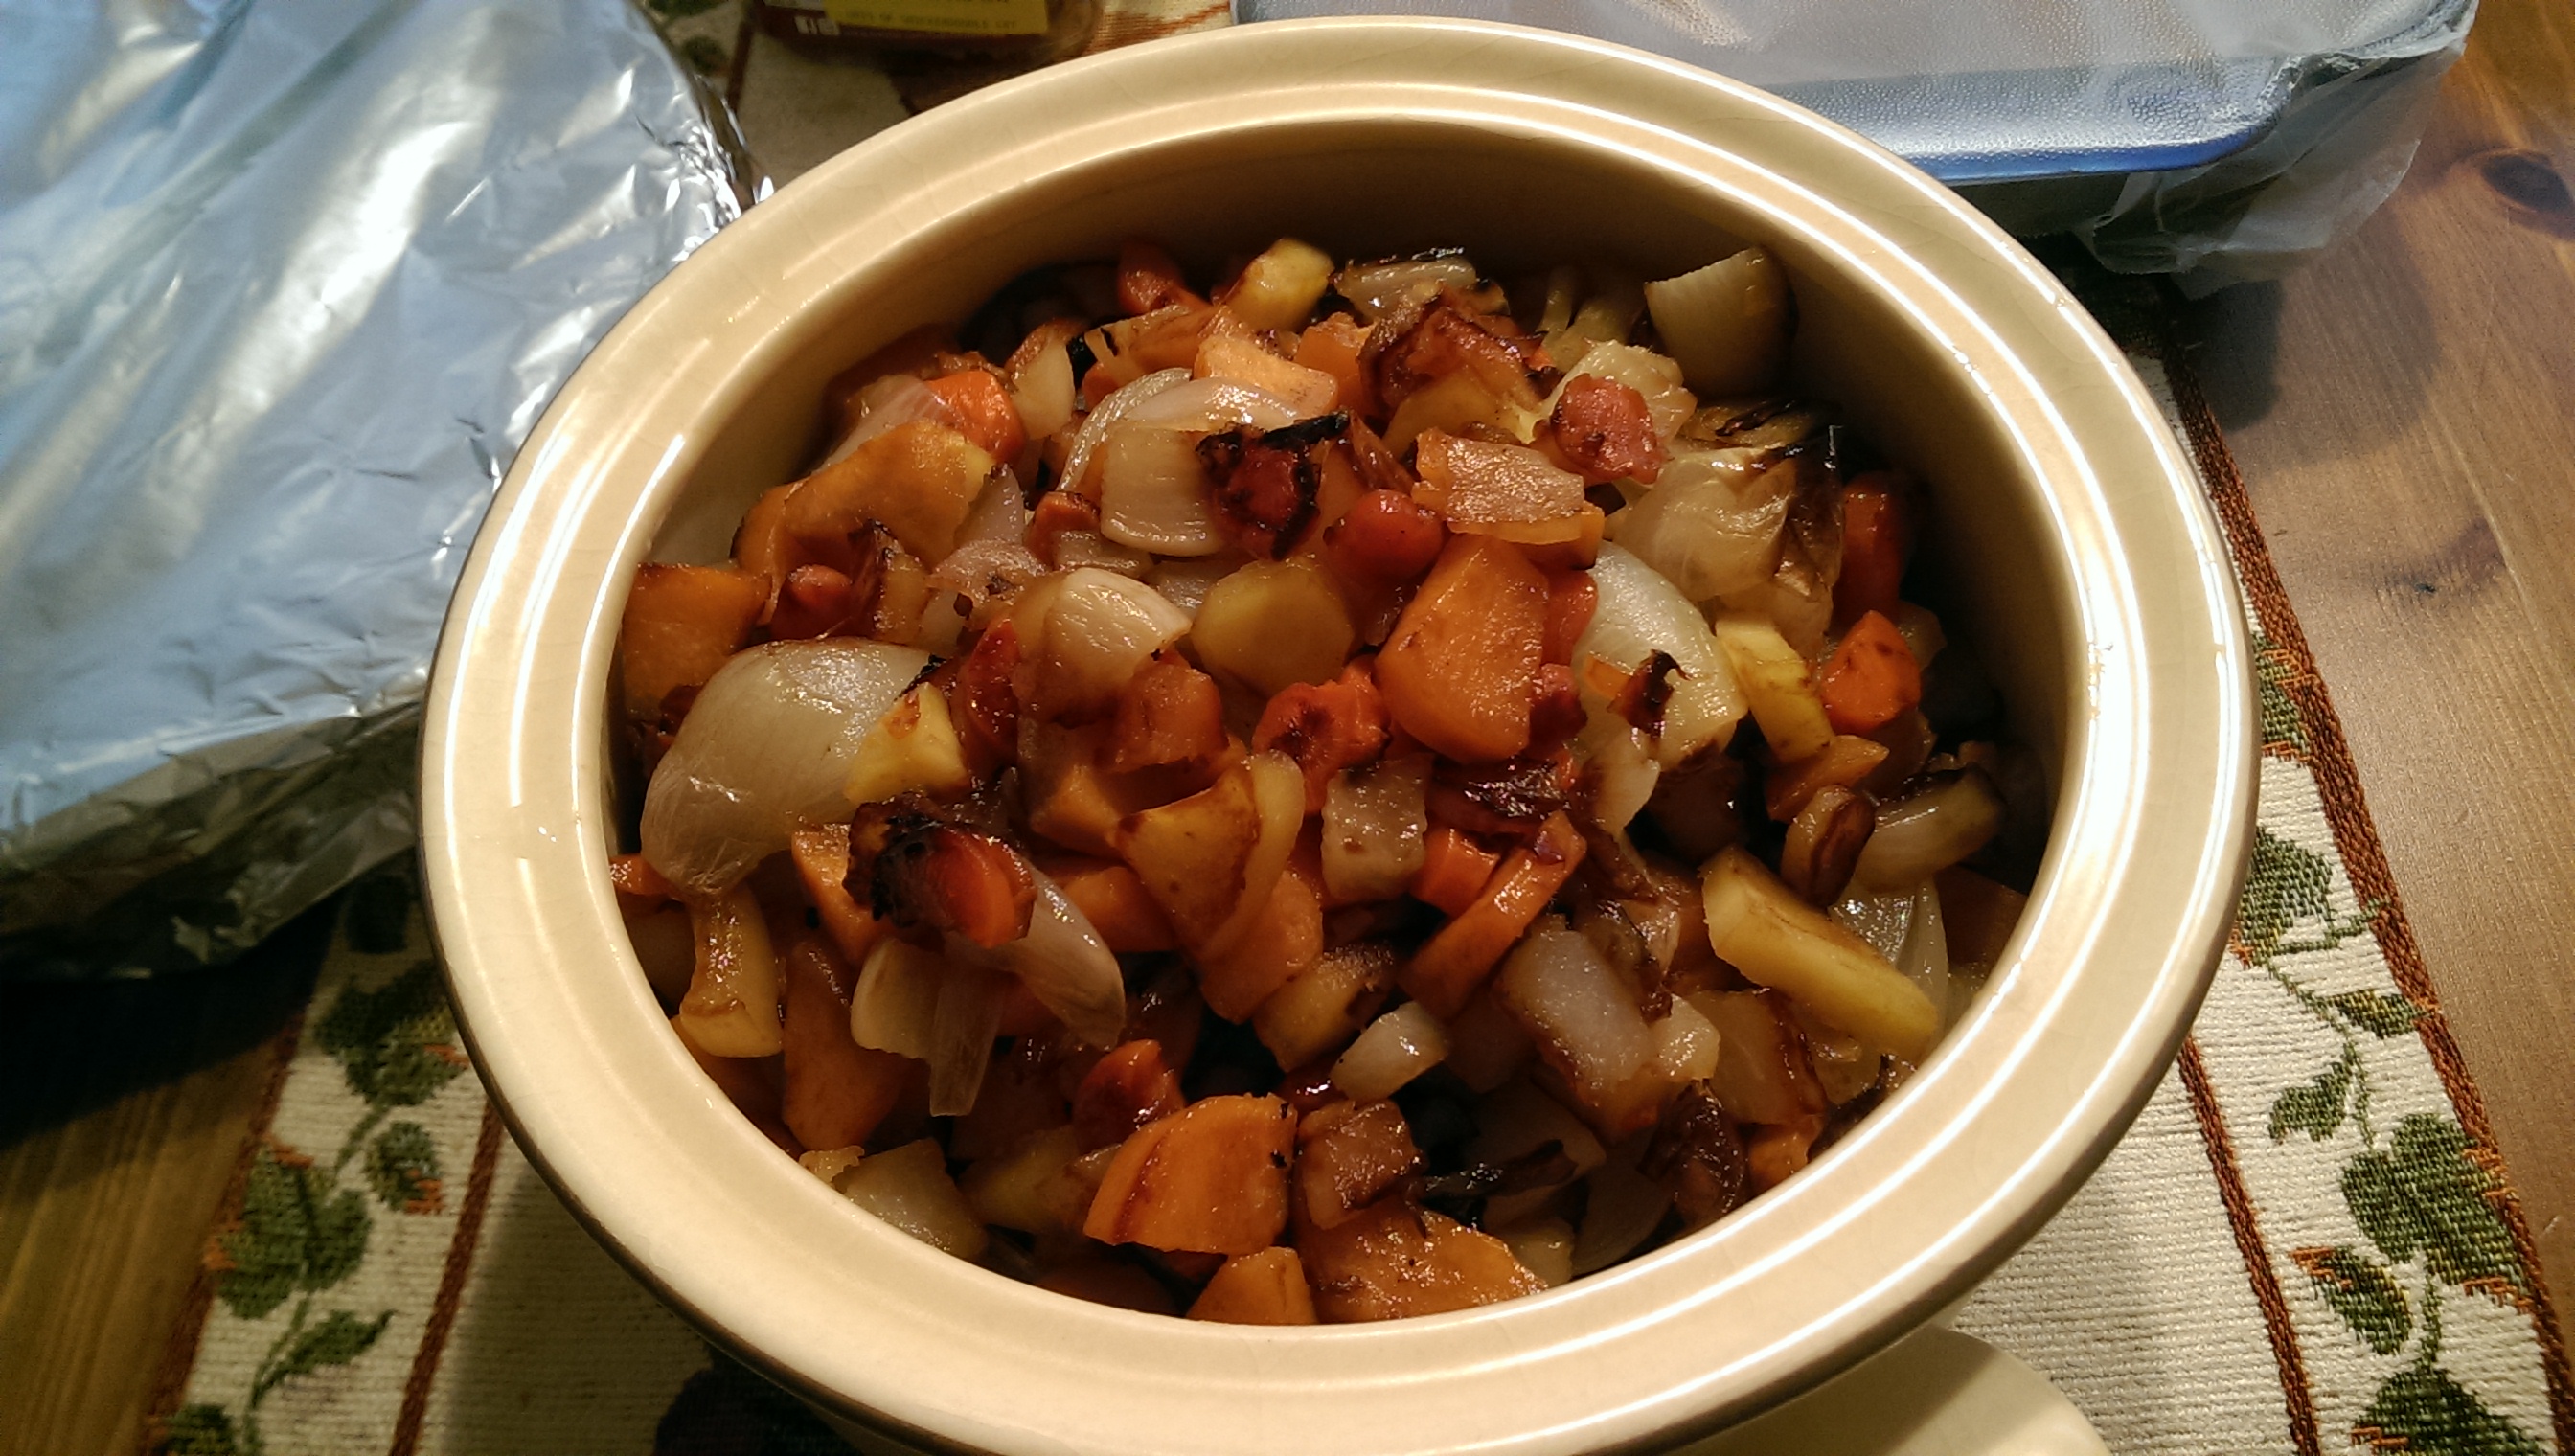
 Melt about two tablespoons of Kerrygold butter over medium heat. Add the onions and cook for about 5 minutes, until softened. Add the garlic and stir, cooking about a minute. Throw in the “spaghetti” and fresh herbs, and add some sea salt and fresh ground pepper, stirring well to combine. I added some freshly grated Parmesan cheese since I’m allowed a bit of hard cheese now and then.
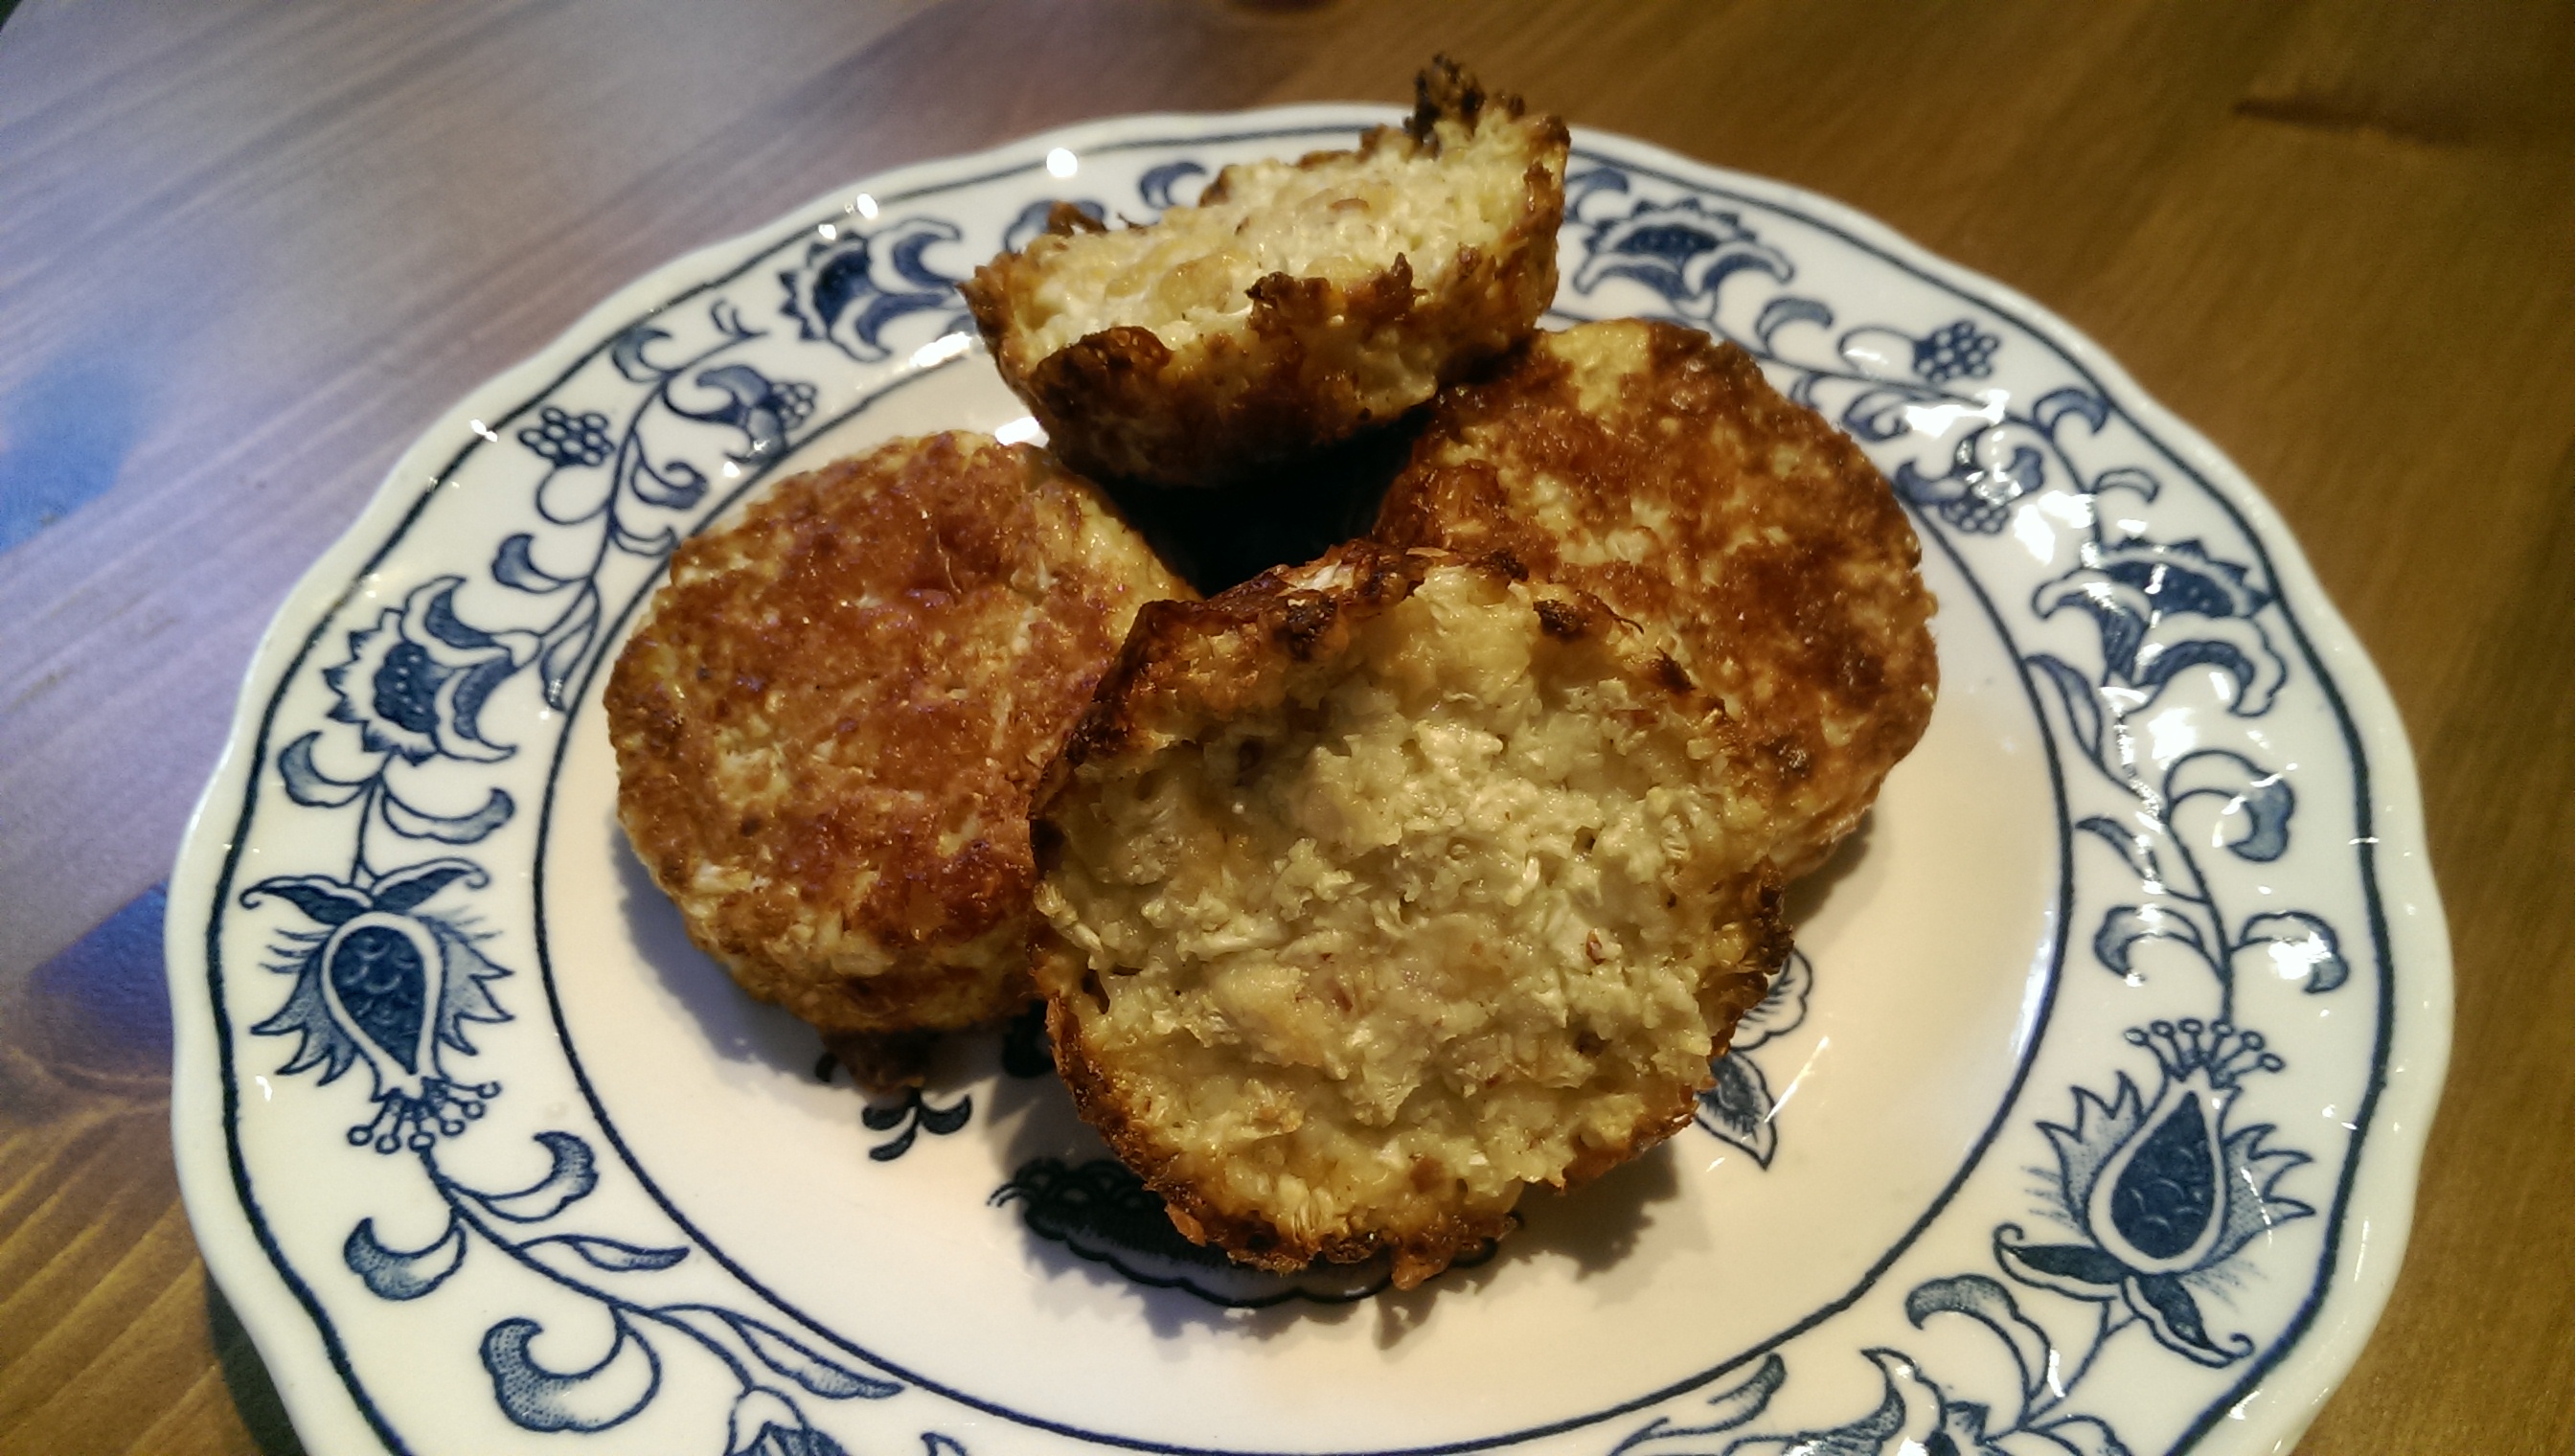
  I served this as my side dish with a delicious salmon burger from Costco. Wild-caught salmon and very few other ingredients (some oil and spices), without any wheat to hold them together. It was such an easy meal to throw together. And nutritious!


 I have already shared one of the recipes that I regularly make from from this book, the