The Half-Crunchy Mama

Trying to live a natural life with balance


Leave a comment

Mexican Squash

IMG_20151207_204651
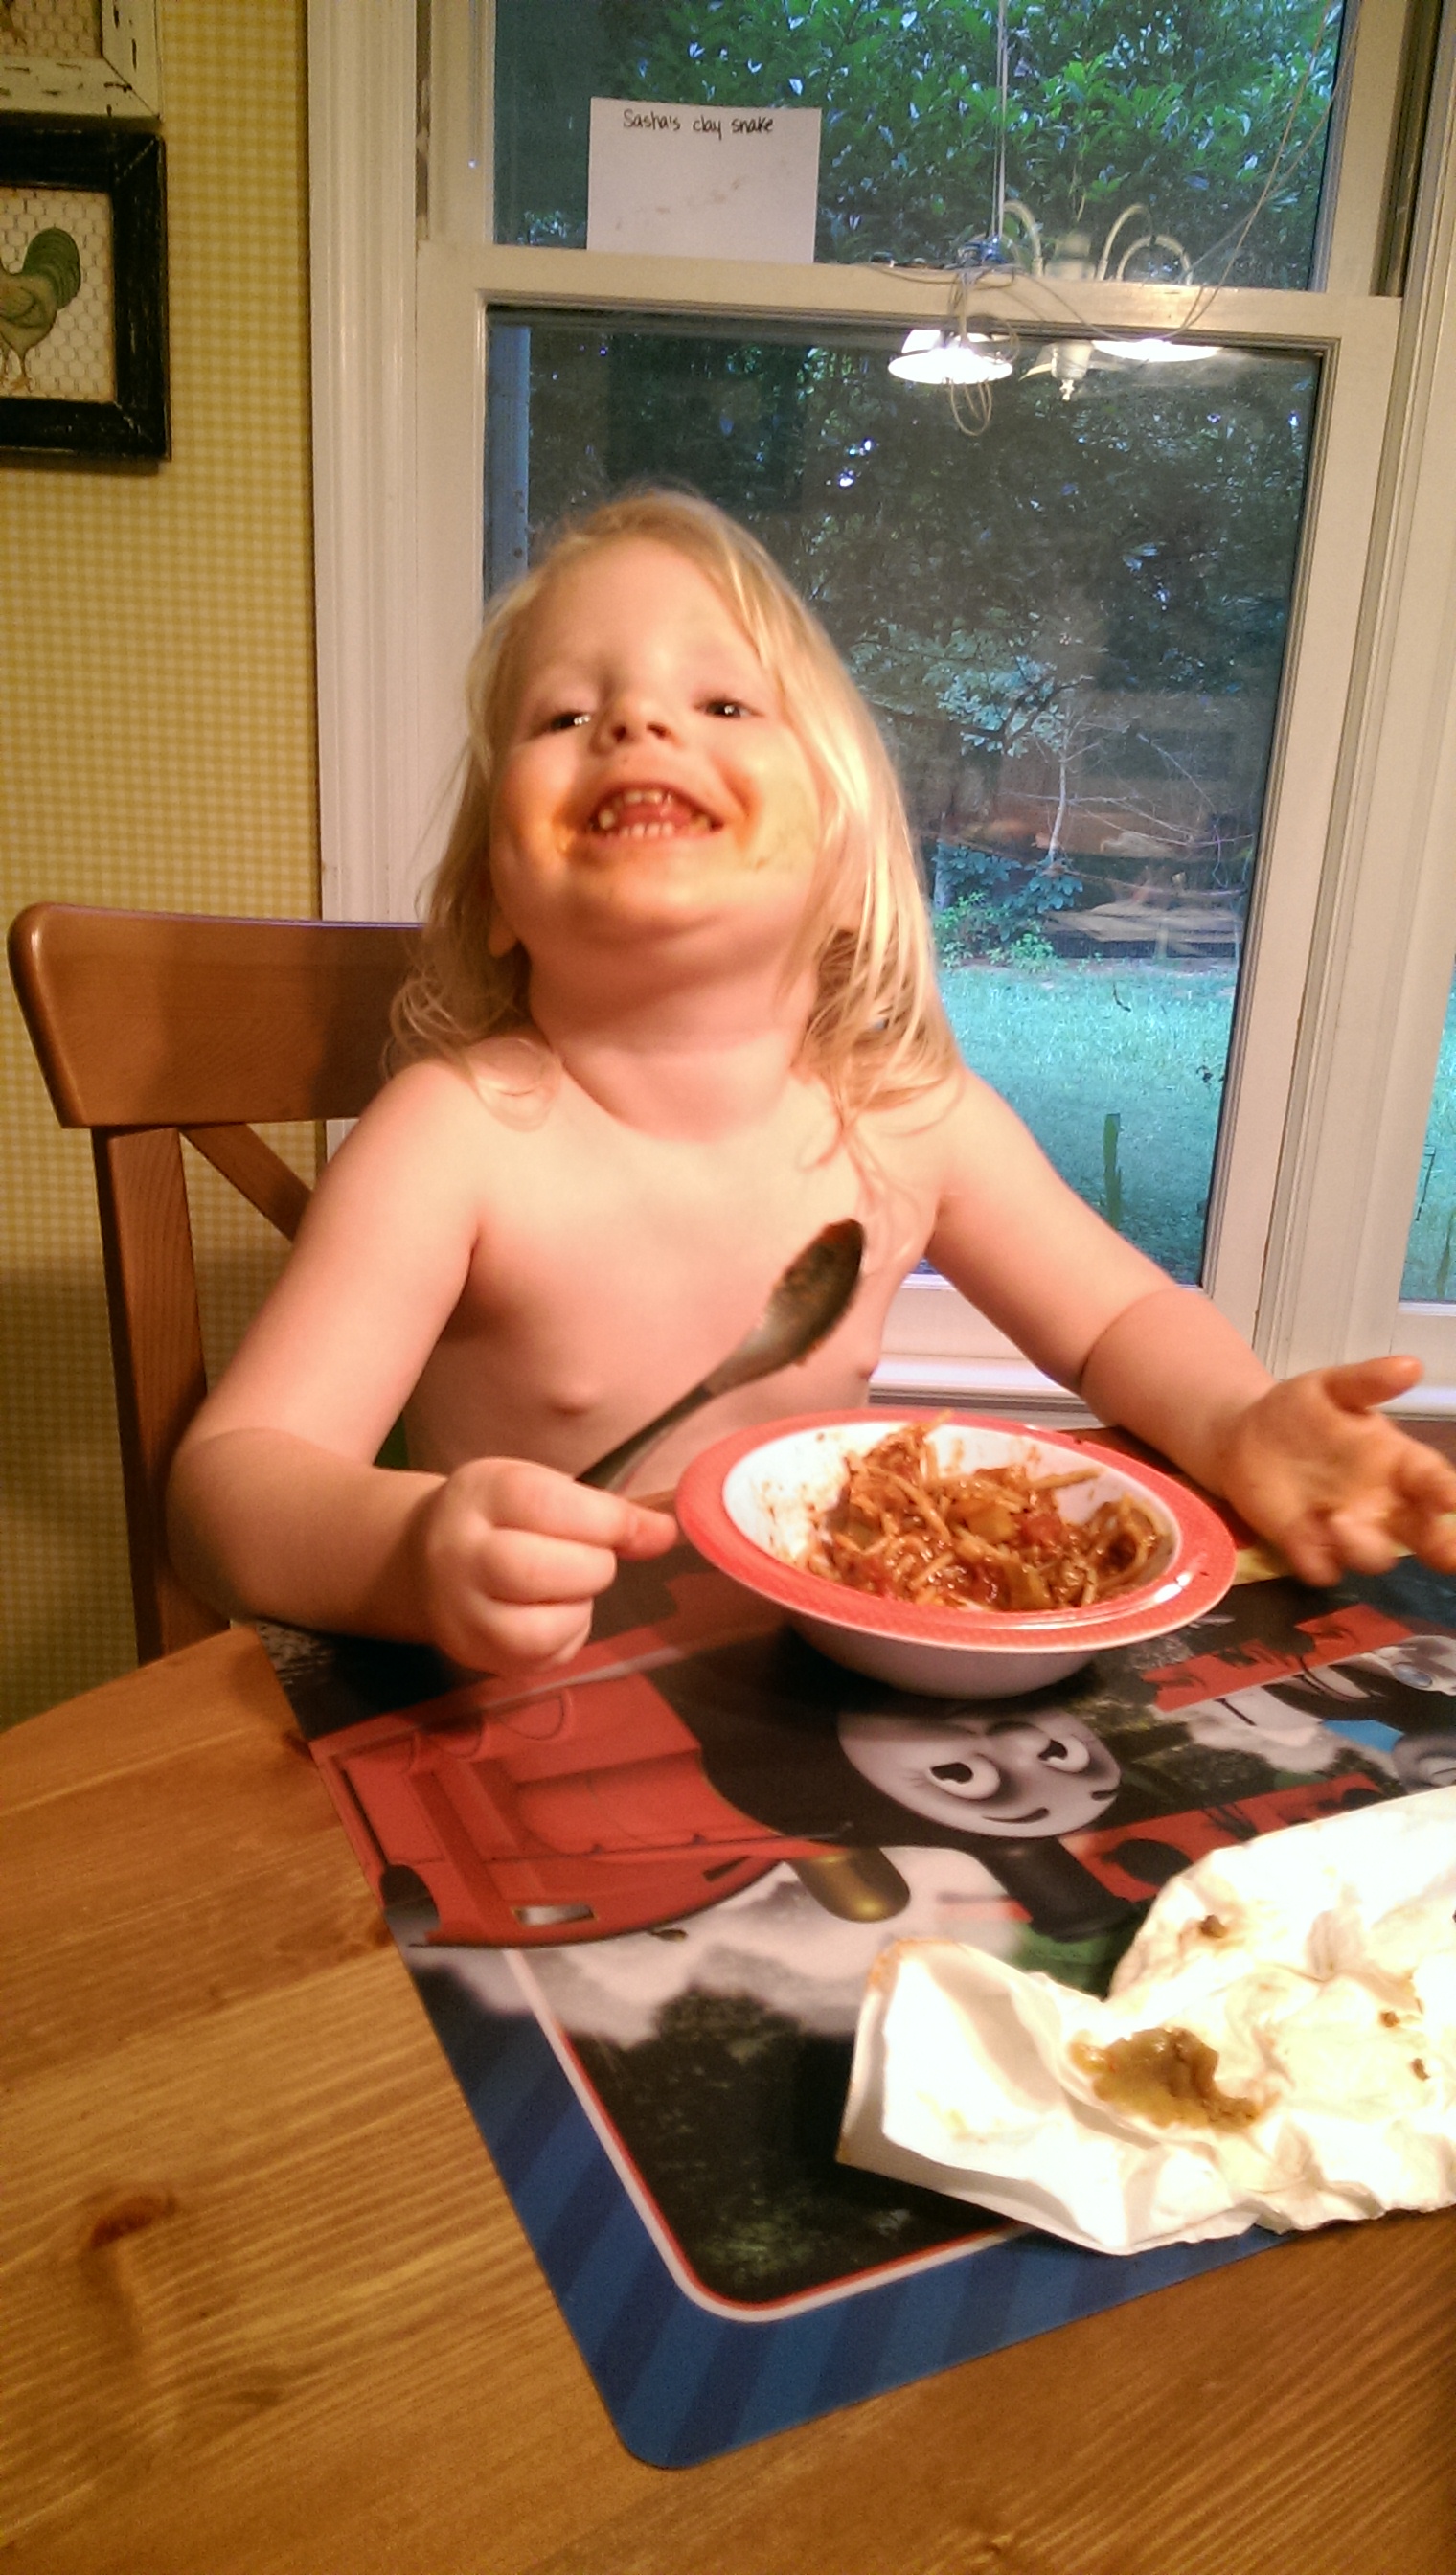
It’s Day 7 of this kick I’ve been on over at my Facebook page, sharing recipes to help you get hot meals on the table during these busy holiday weeks. Monday night, I made up one of my own to share. I dug around and just used what I had in the fridge and pantry, and I will offer other ingredient ideas below that you can include depending on what you have on hand. I also tailored this a bit to Sugar Bee’s tastes as she was the one that chose between Mexican and Italian as options for the spaghetti squash that The Russian had cooked up for me the night before. (I ran out of steam to finish cooking dinner Sunday night, so I stashed it in the fridge to use the following night.)

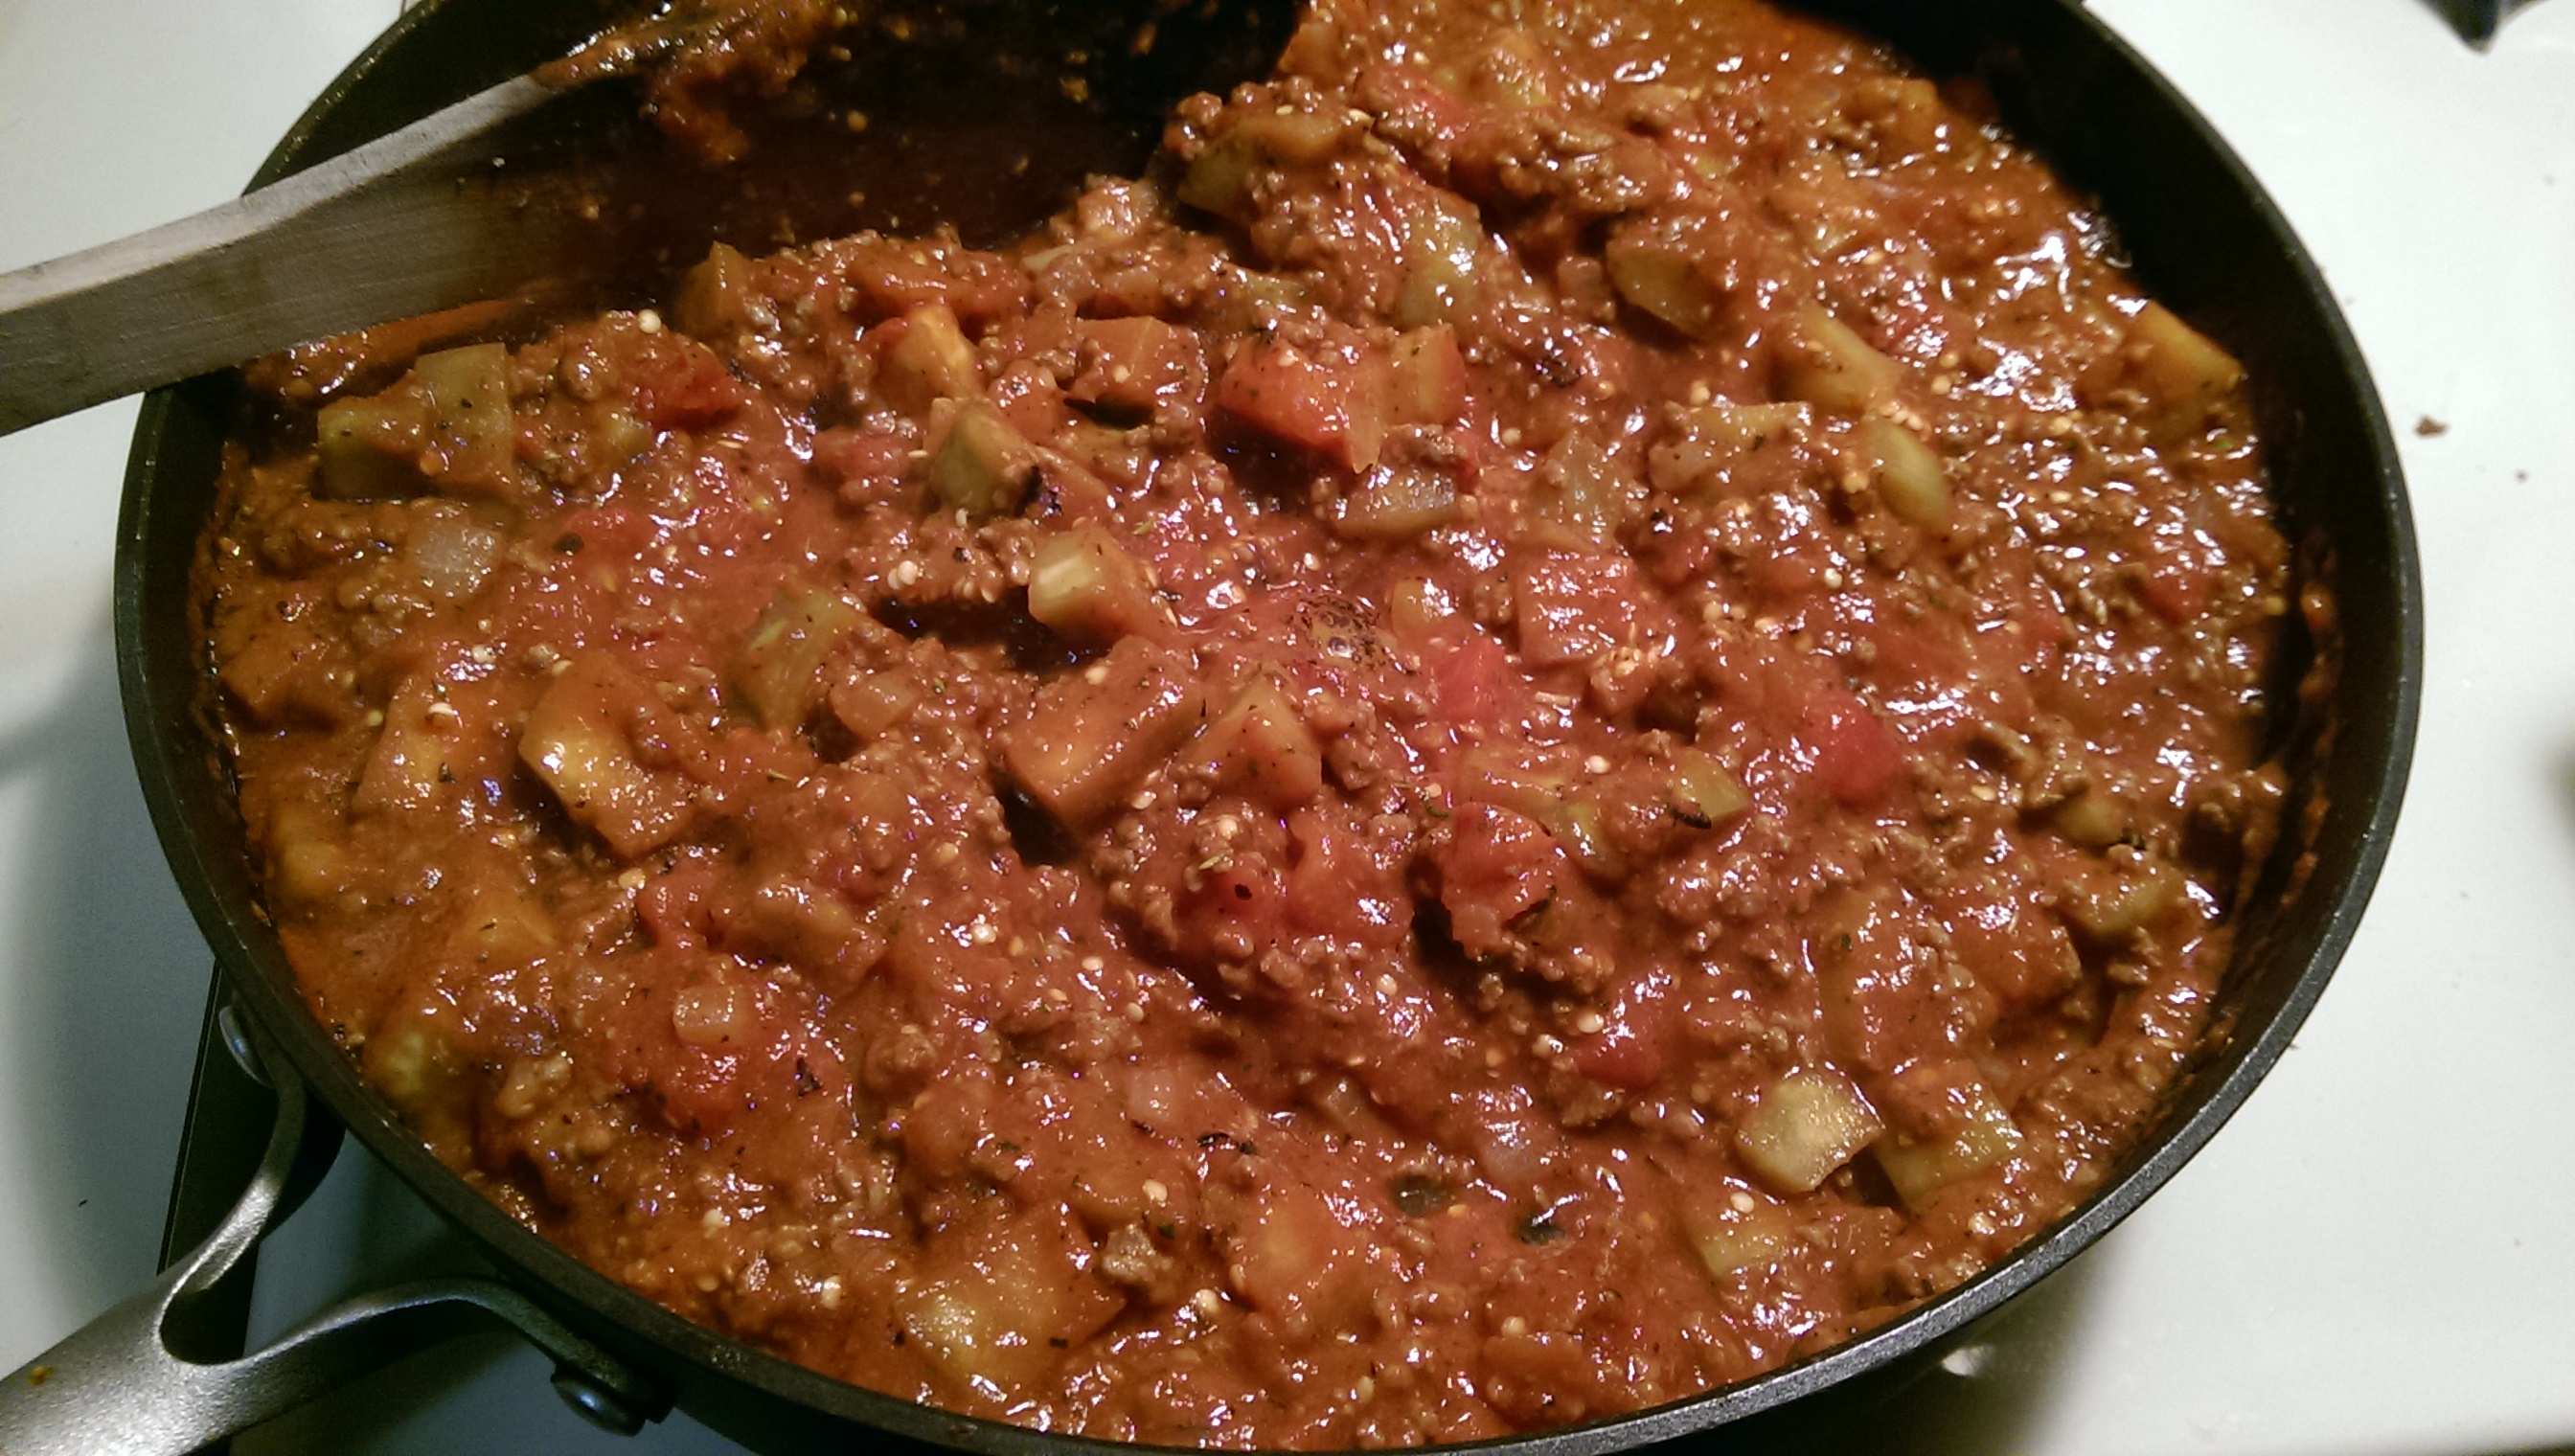
It was actually even faster to make this dish than it usually would be because the squash was precooked (but not pulled into threads). I just put it in a closed container and popped it in the fridge that night. It was all set to get spaghettied and thrown into the pan when the time came the following night. Even better was that I didn’t have to worry about burning my hands off after the squash came out of the oven because I’m too impatient (and often pressed for time) to allow it to properly cool off. And it’s amazing as leftovers because the flavors have time to meld together. Play around with this one. I’m sure it will be slightly different every time I make this!IMAG7154


Mexican Squash

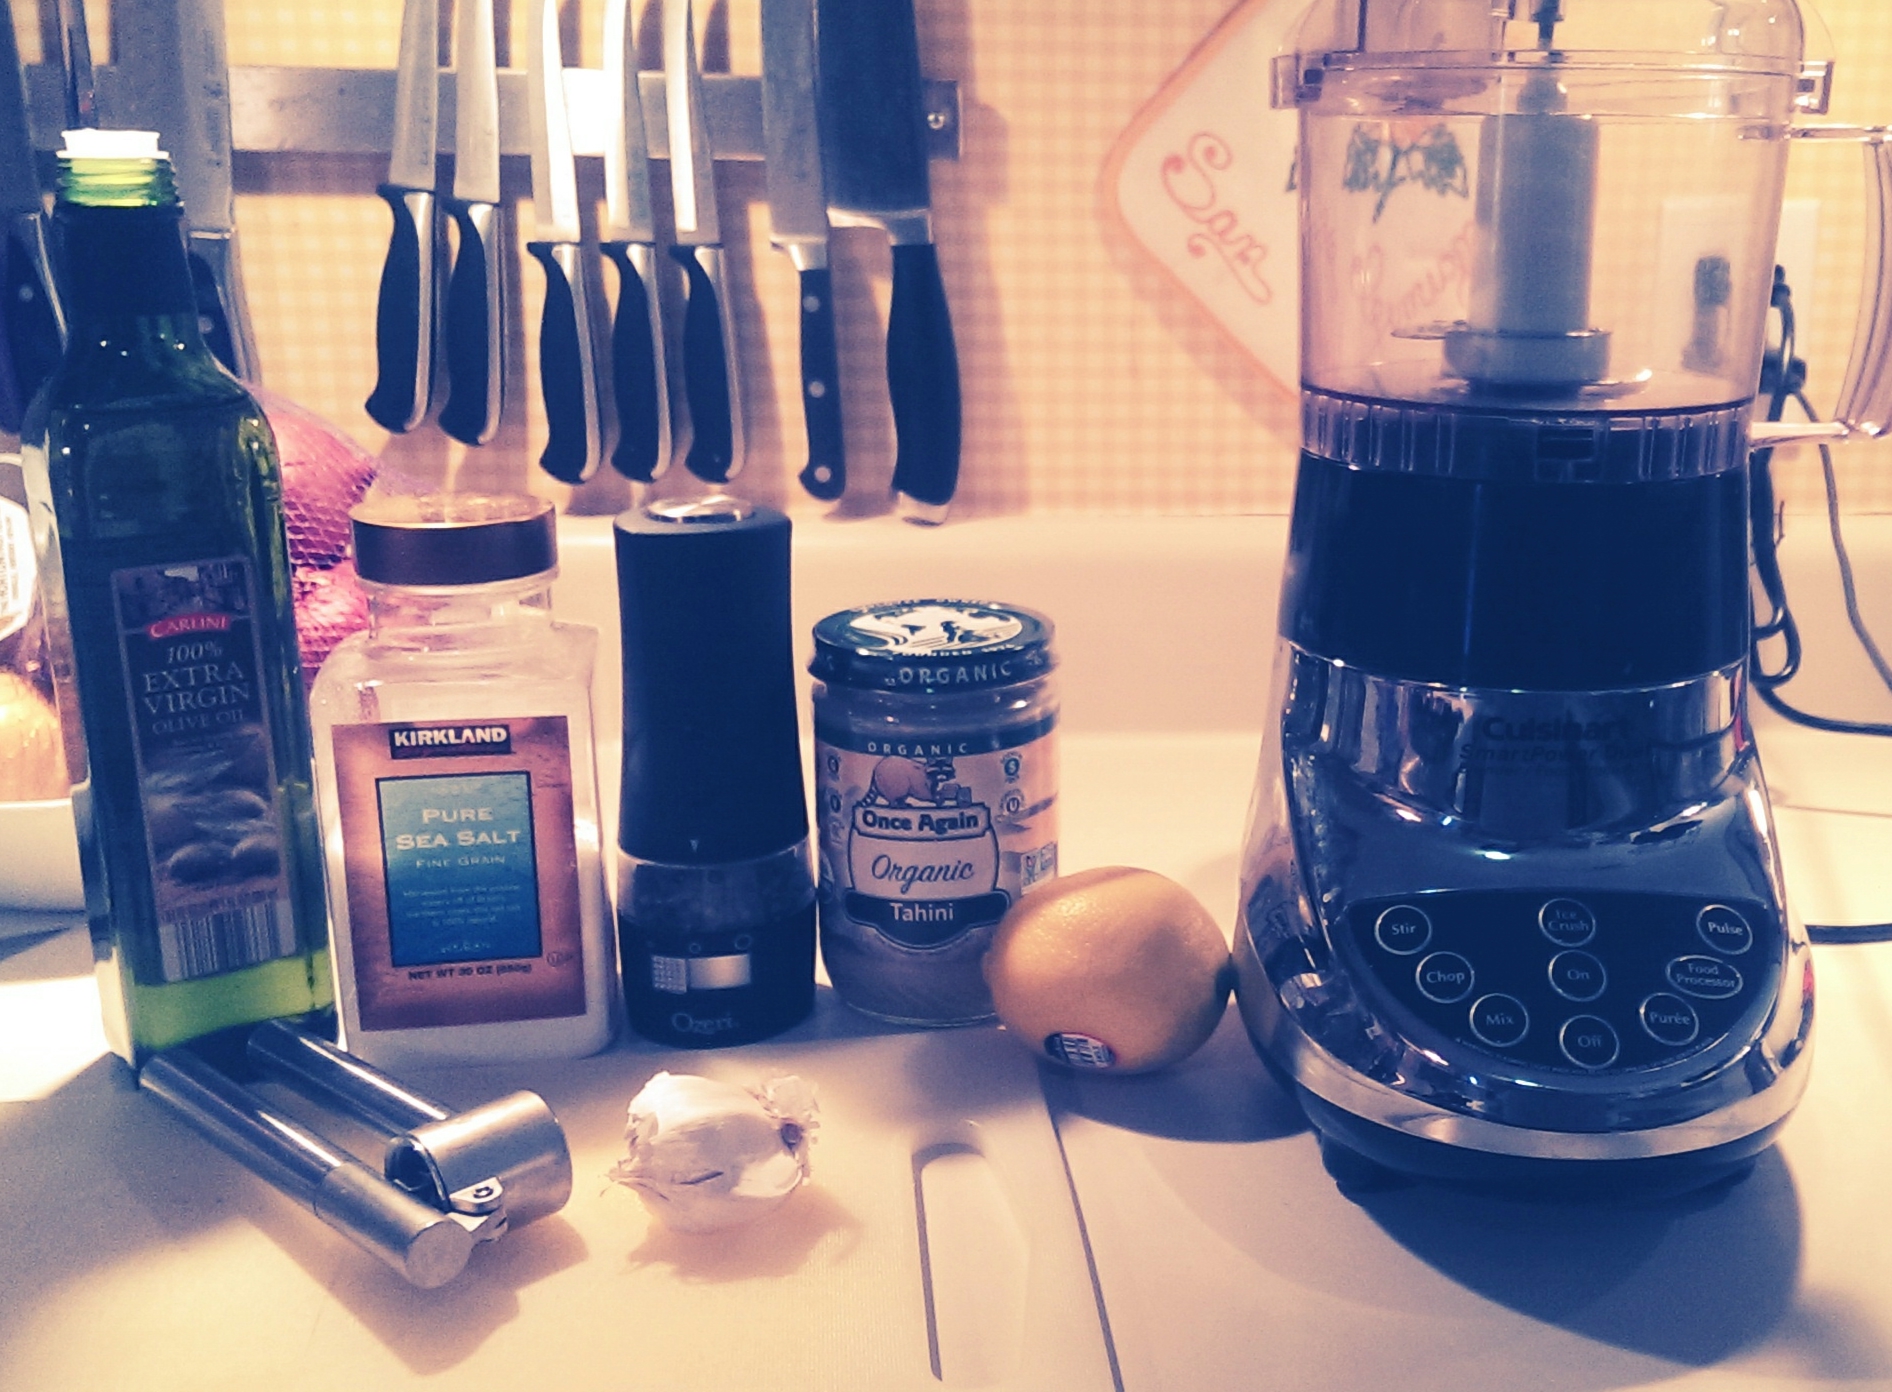
After purchasing a spaghetti squash and 1-1.5 pounds of ground beef, sift through your pantry and see what you come up with. You could use diced tomatoes (I would have included a can of fire-roasted, but Sugar Bee is on this “no tomatoes” kick these days and I’m picking my battles), taco seasoning instead of the spices I used, enchilada or tomatillo sauce in place of the tomato sauce, sliced black olives (again, Sugar Bee or they would have been in there), or kidney beans. Then from the fridge, you could add shredded carrots (when you start the onions), sliced scallions (when you top with cheese), or sour cream to mix in. The possibilities are endless! You could even swap the beef for shredded chicken or lose the meat completely and triple the beans instead. This one-pan meal is perfect for a busy weeknight, especially if you cook the squash earlier in the day or even the night before!

IMG_20151207_205016

INGREDIENTS
  • 1 medium-large spaghetti squash
  • 1 Tbsp bacon fat/lard/ghee/EVOO
  • 1 medium onion, finely chopped
  • 1.35 lbs ground beef
  • 2-3 Tbsp of chili powder, depending on desired spice level (I used 3)
  • 2-3 Tbsp of cumin
  • 2 tsp dried oregano
  • 2 tsp garlic powder (I was actually out of garlic or this would be 2-4 cloves of minced garlic)
  • 4-oz. can of diced, fire-roasted green chilies (I use Ortega as there’s not a lot of junk in their stuff)
  • 15-oz. can of black beans, drained and rinsed
  • 8-oz. can of tomato sauce
  • Salt and pepper, to taste
  • 2 cups shredded cheese (I prefer a Mexican blend)
DIRECTIONS
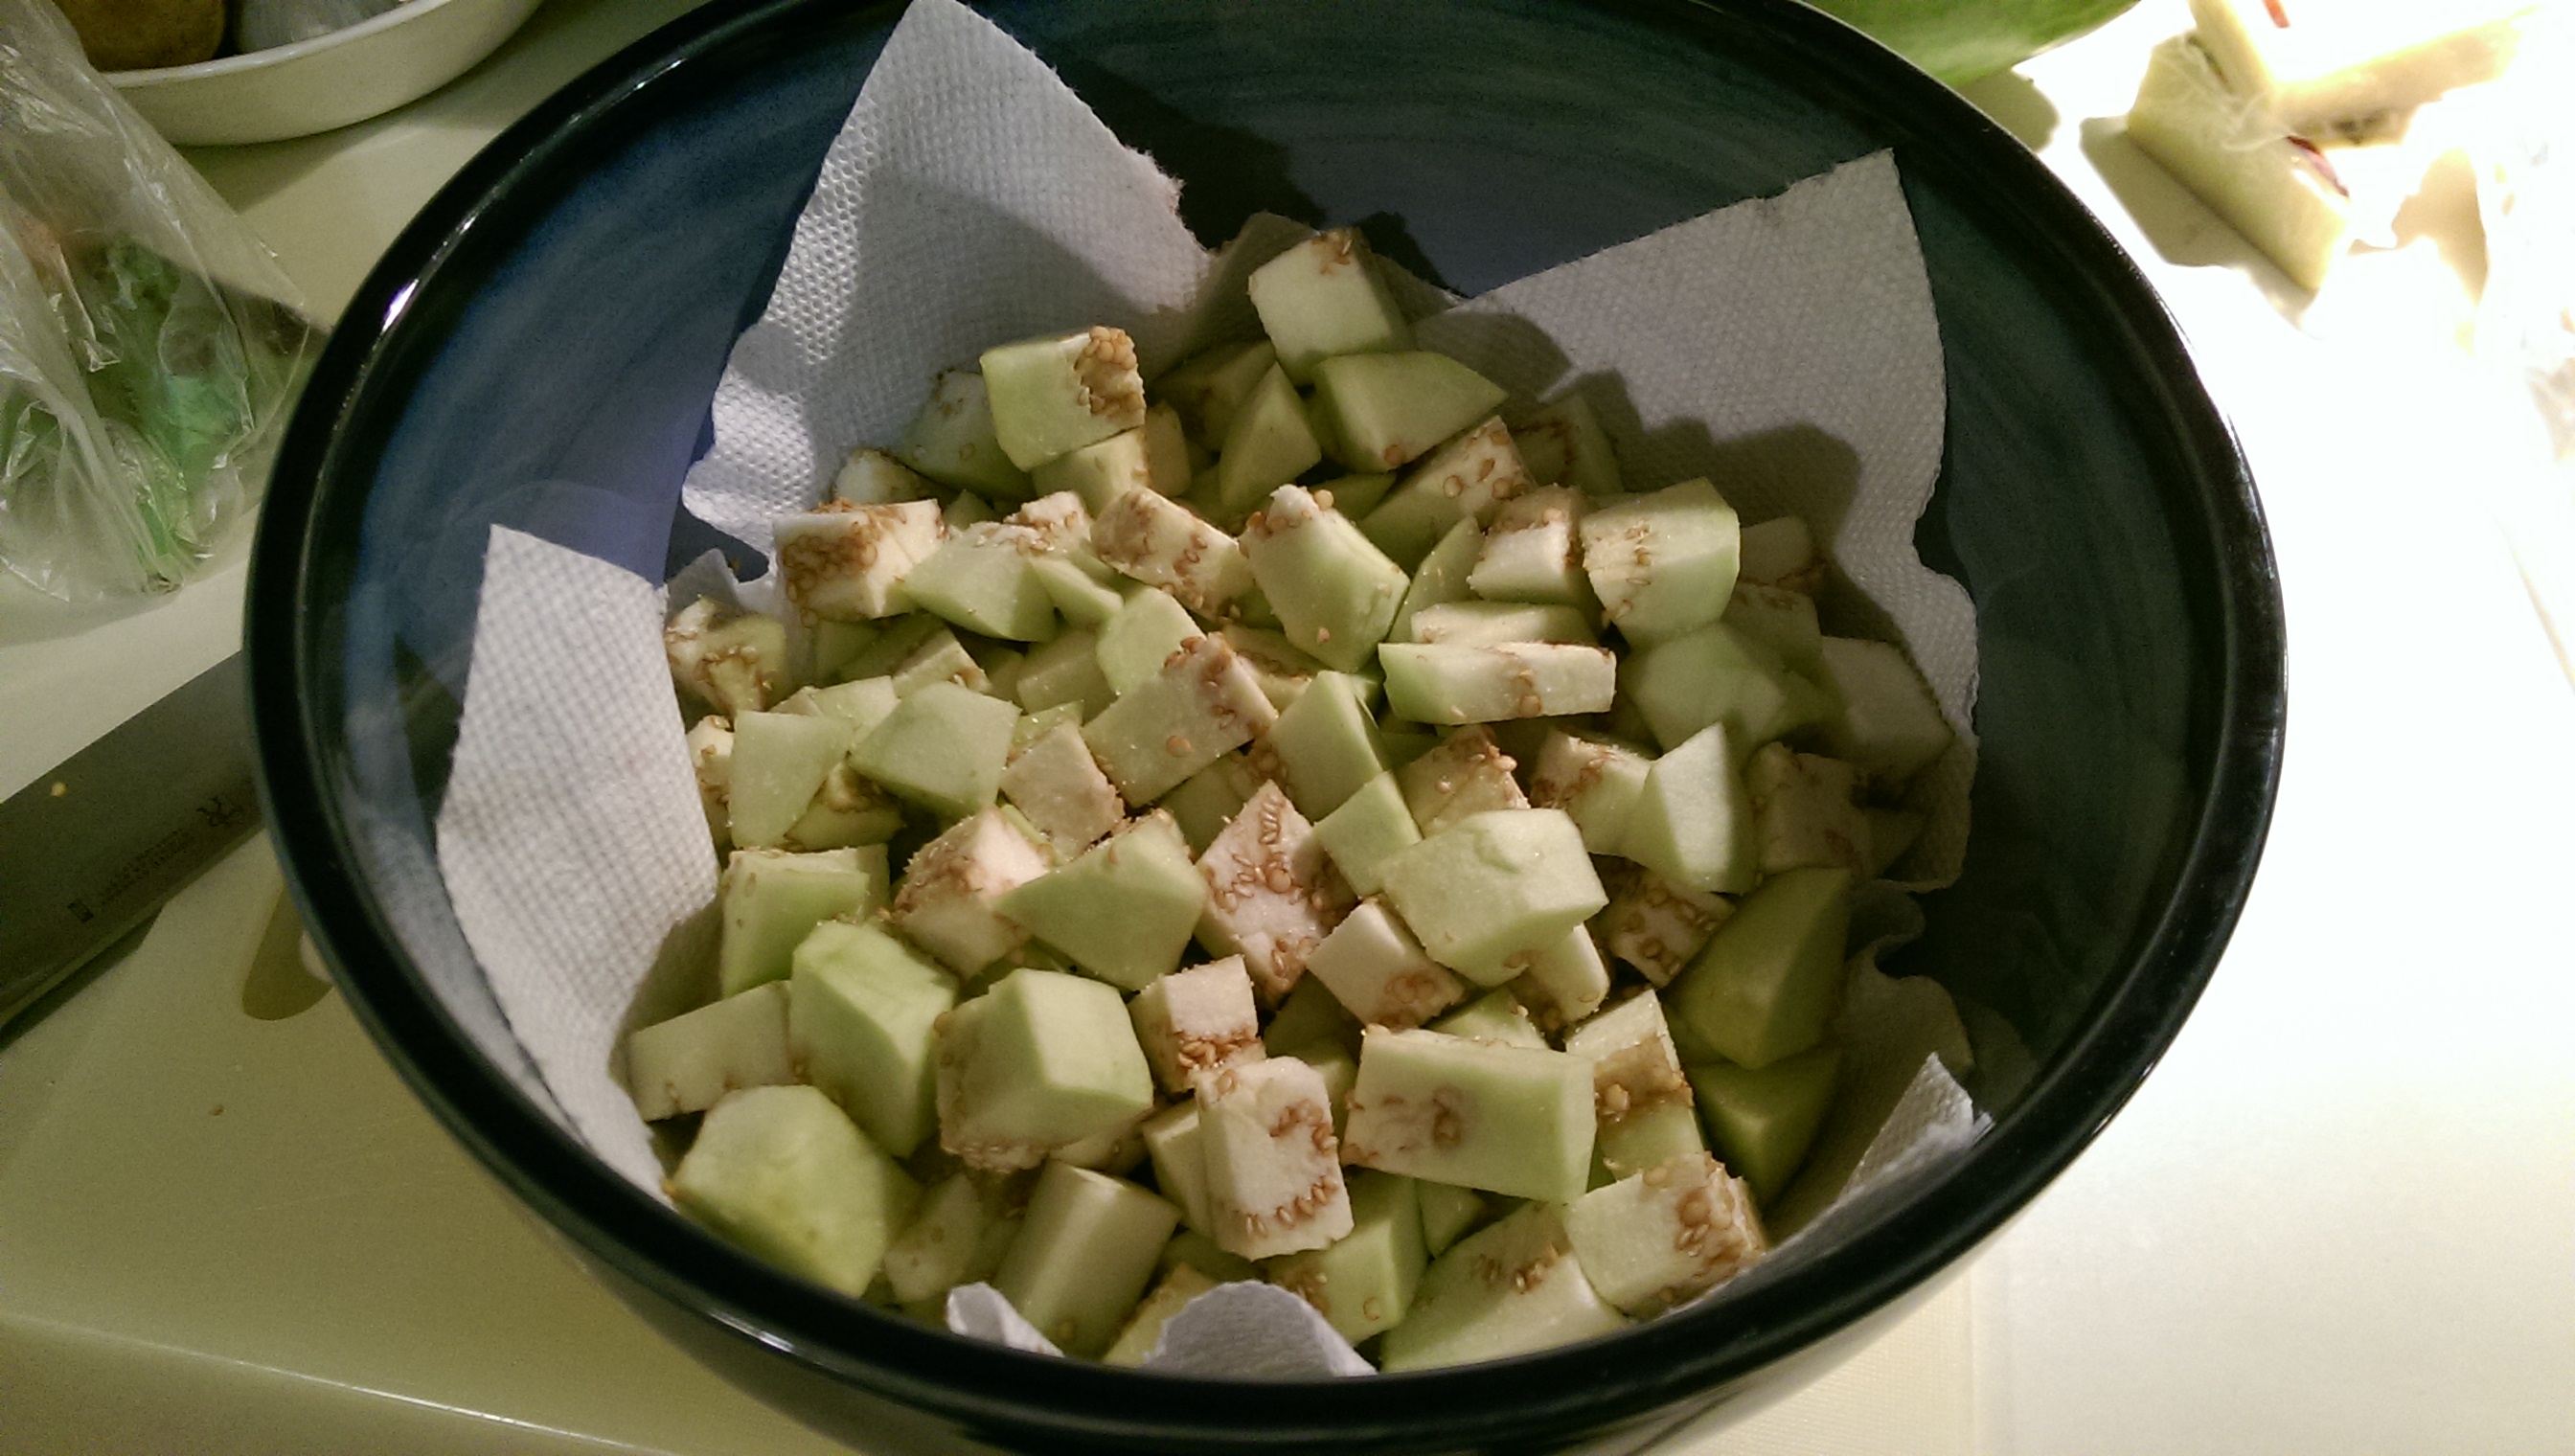
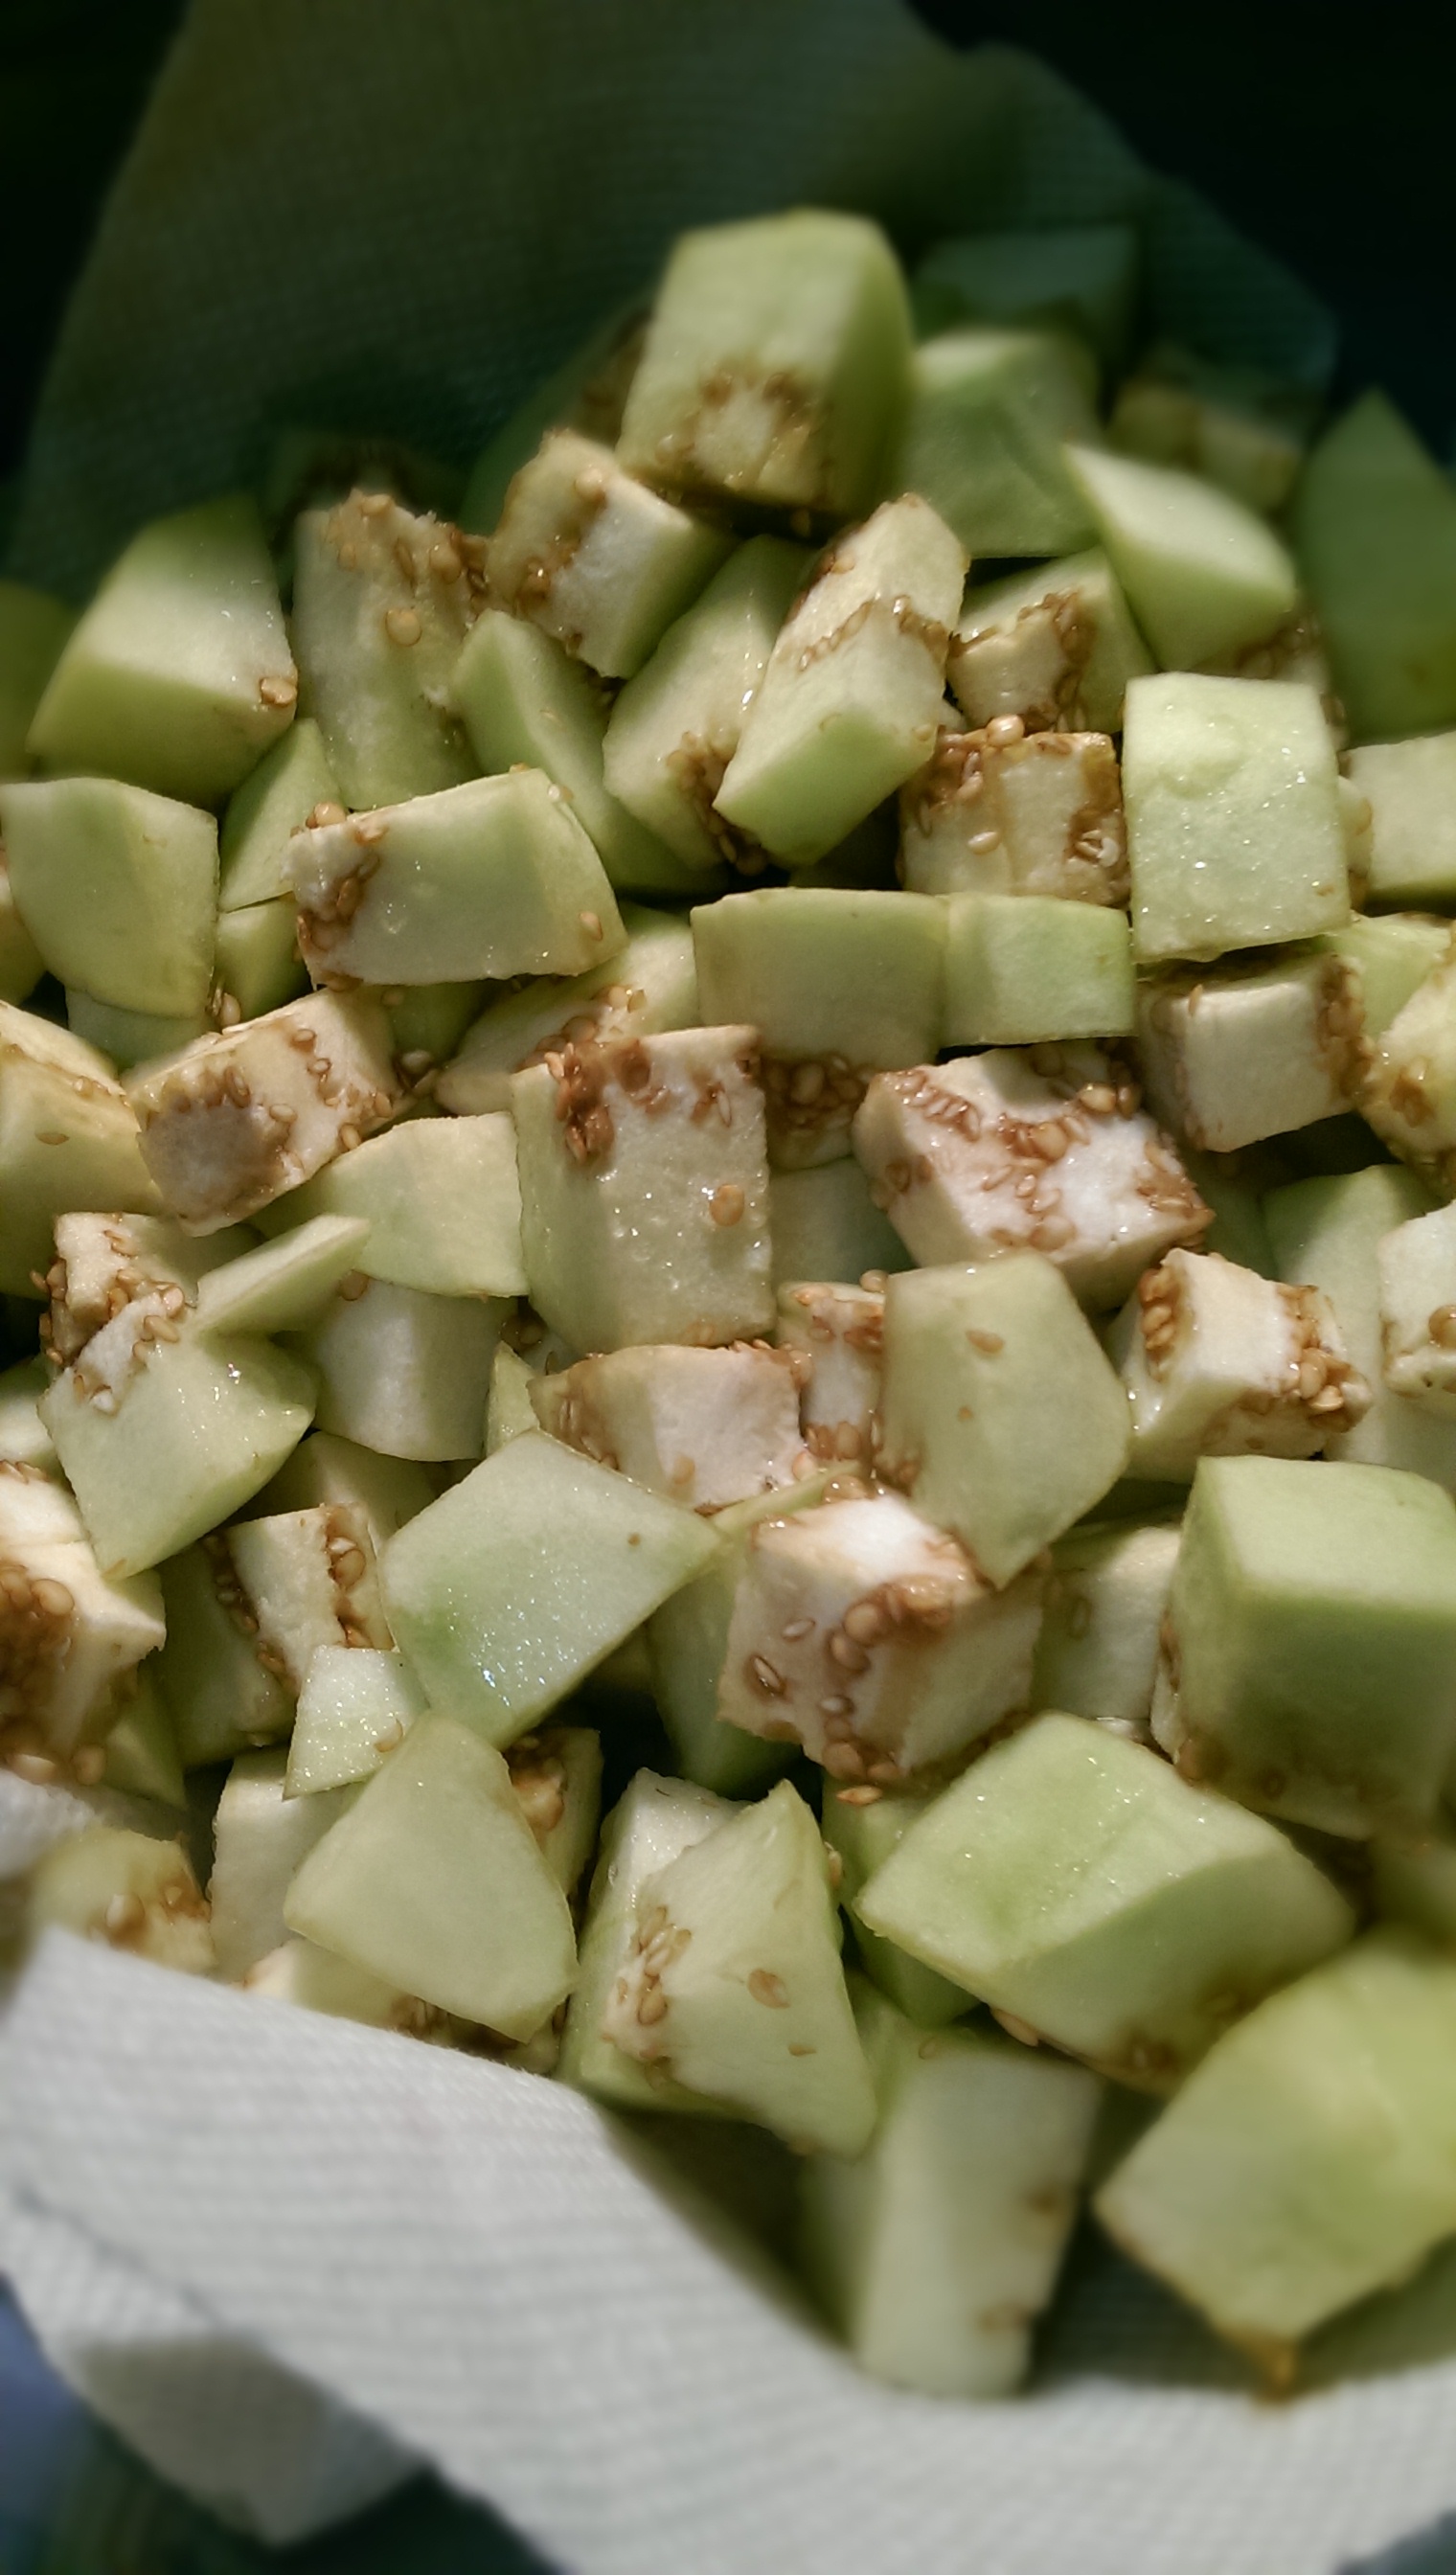
  1. Preheat oven to 375°F. Cut squash in half and scoop out seeds. Rub insides with a little olive oil and place cut side down onto a cookie sheet. Bake for 25-35 minutes. Squash is ready when skin gives slightly when pressing on it. Try not to overcook or you will get mush instead of spaghetti strands. Remove and allow to cool.*
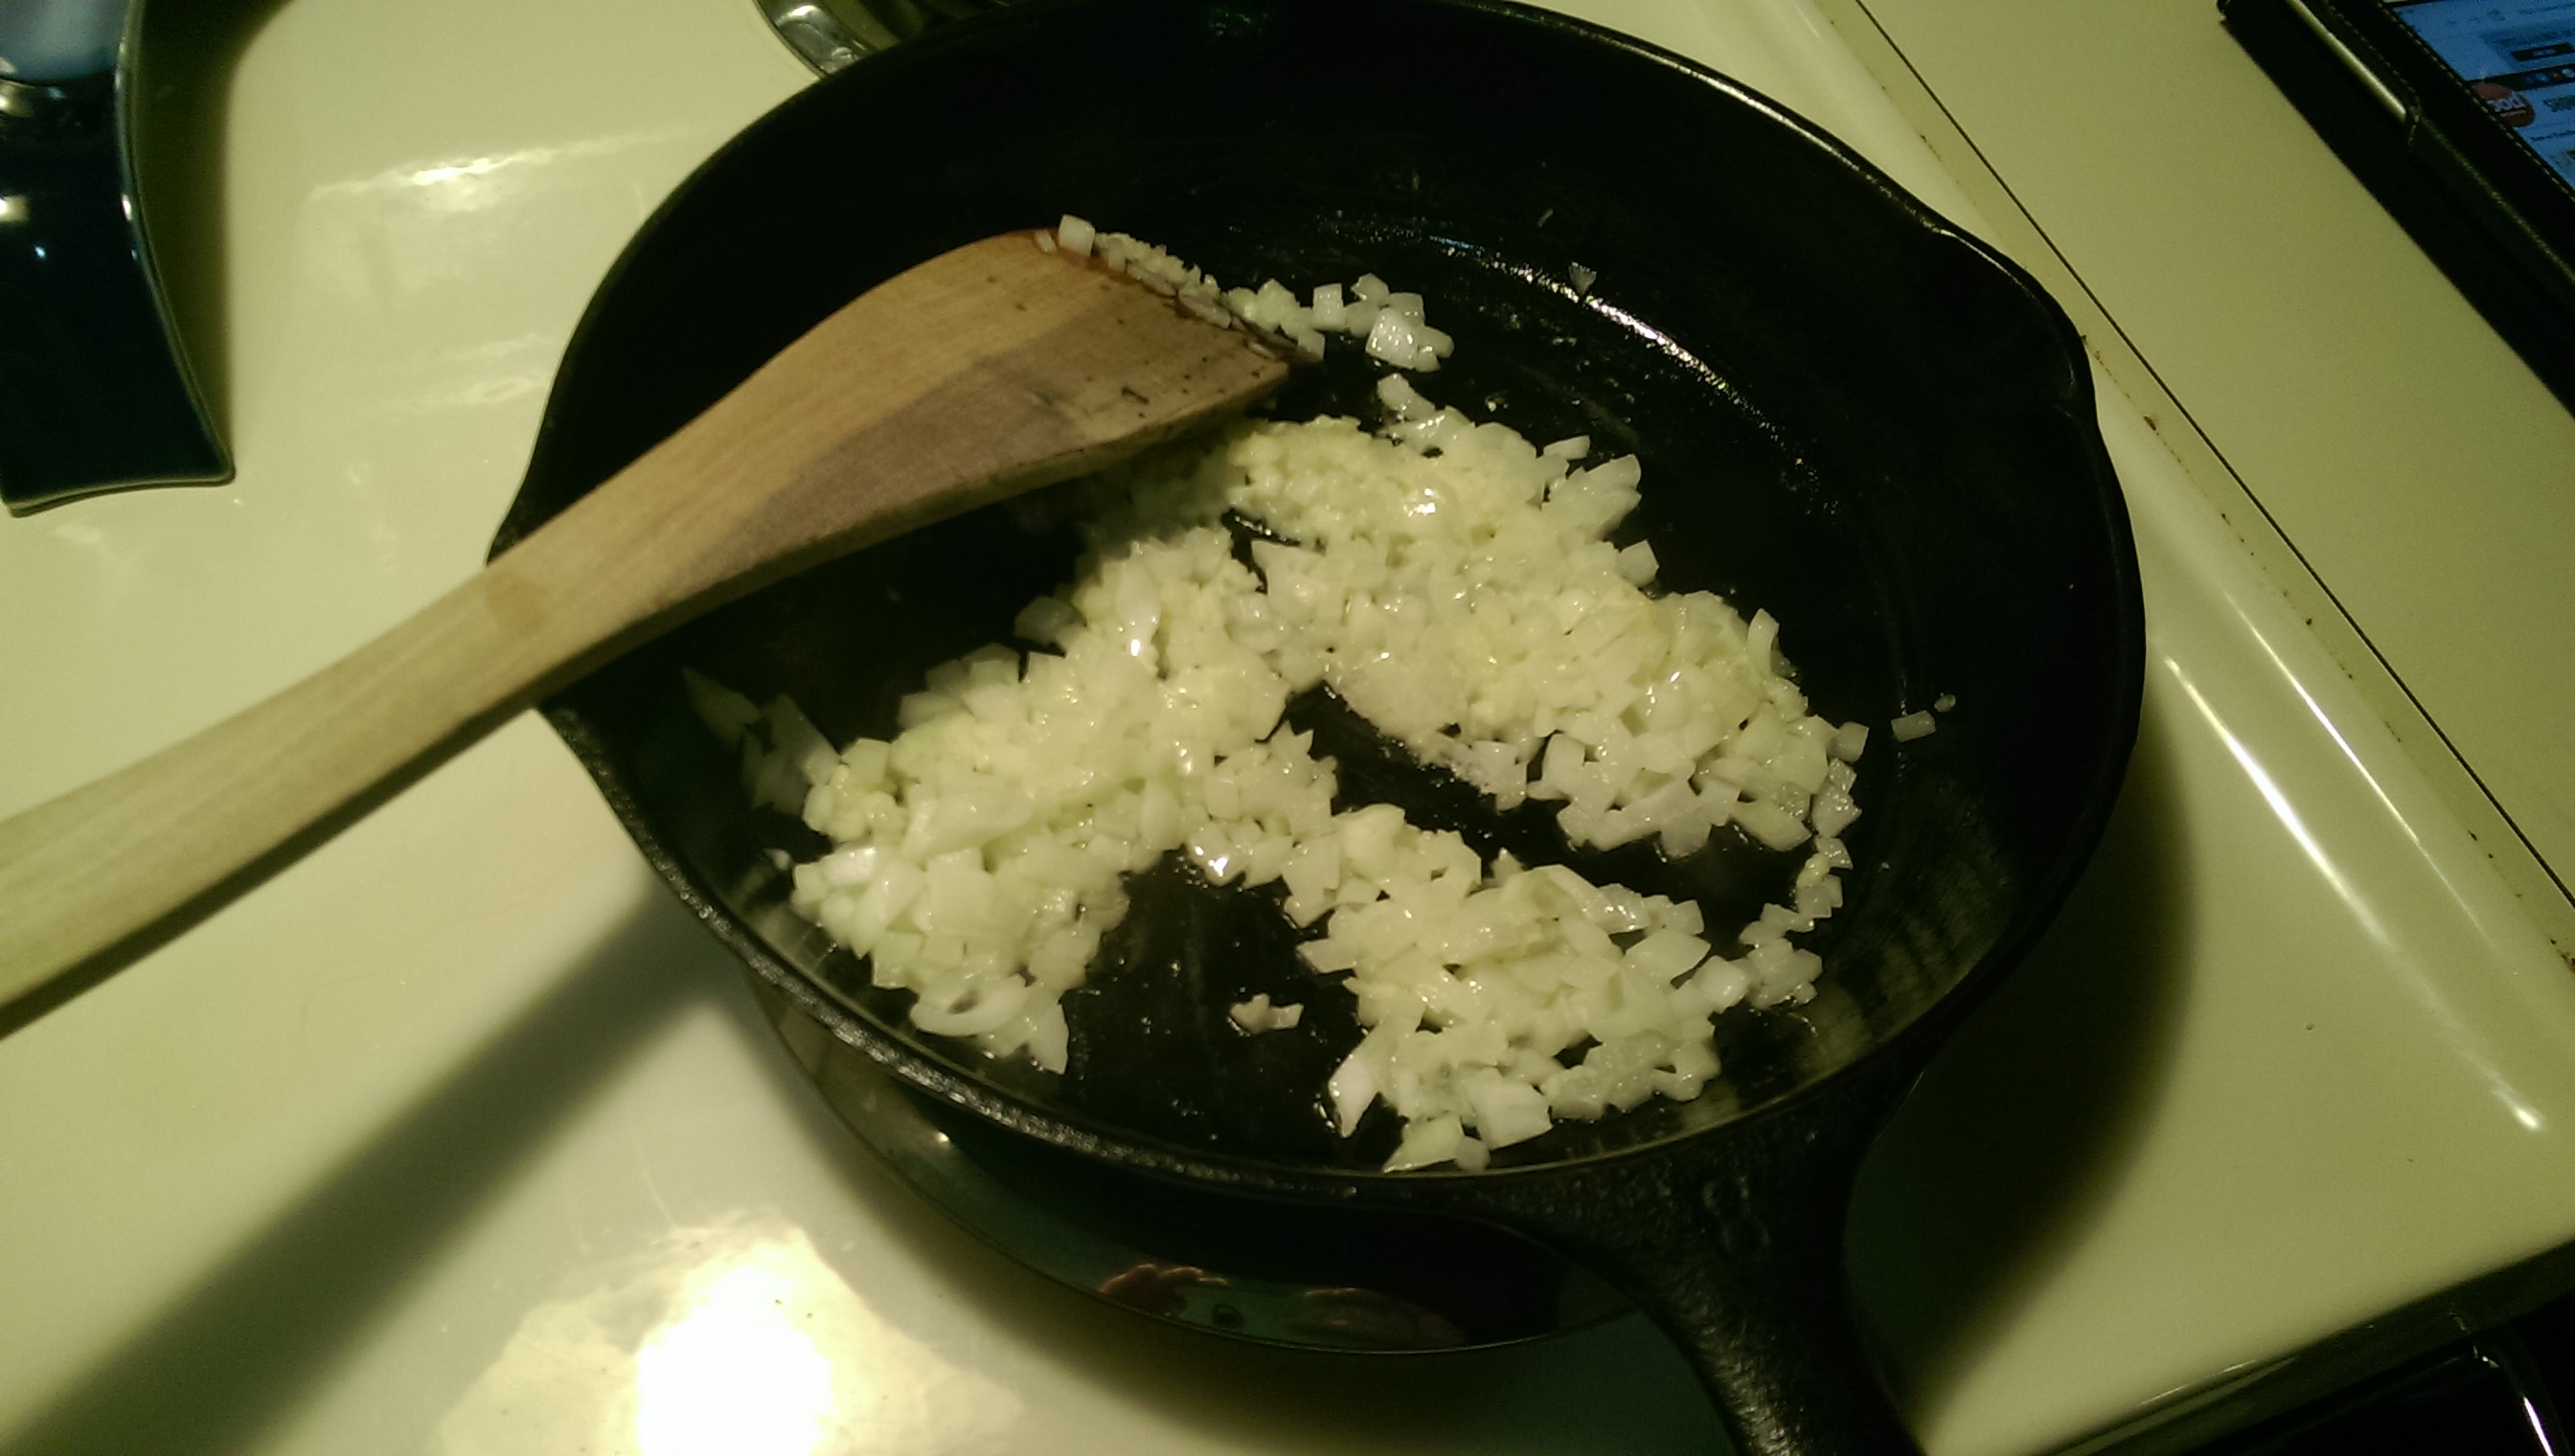
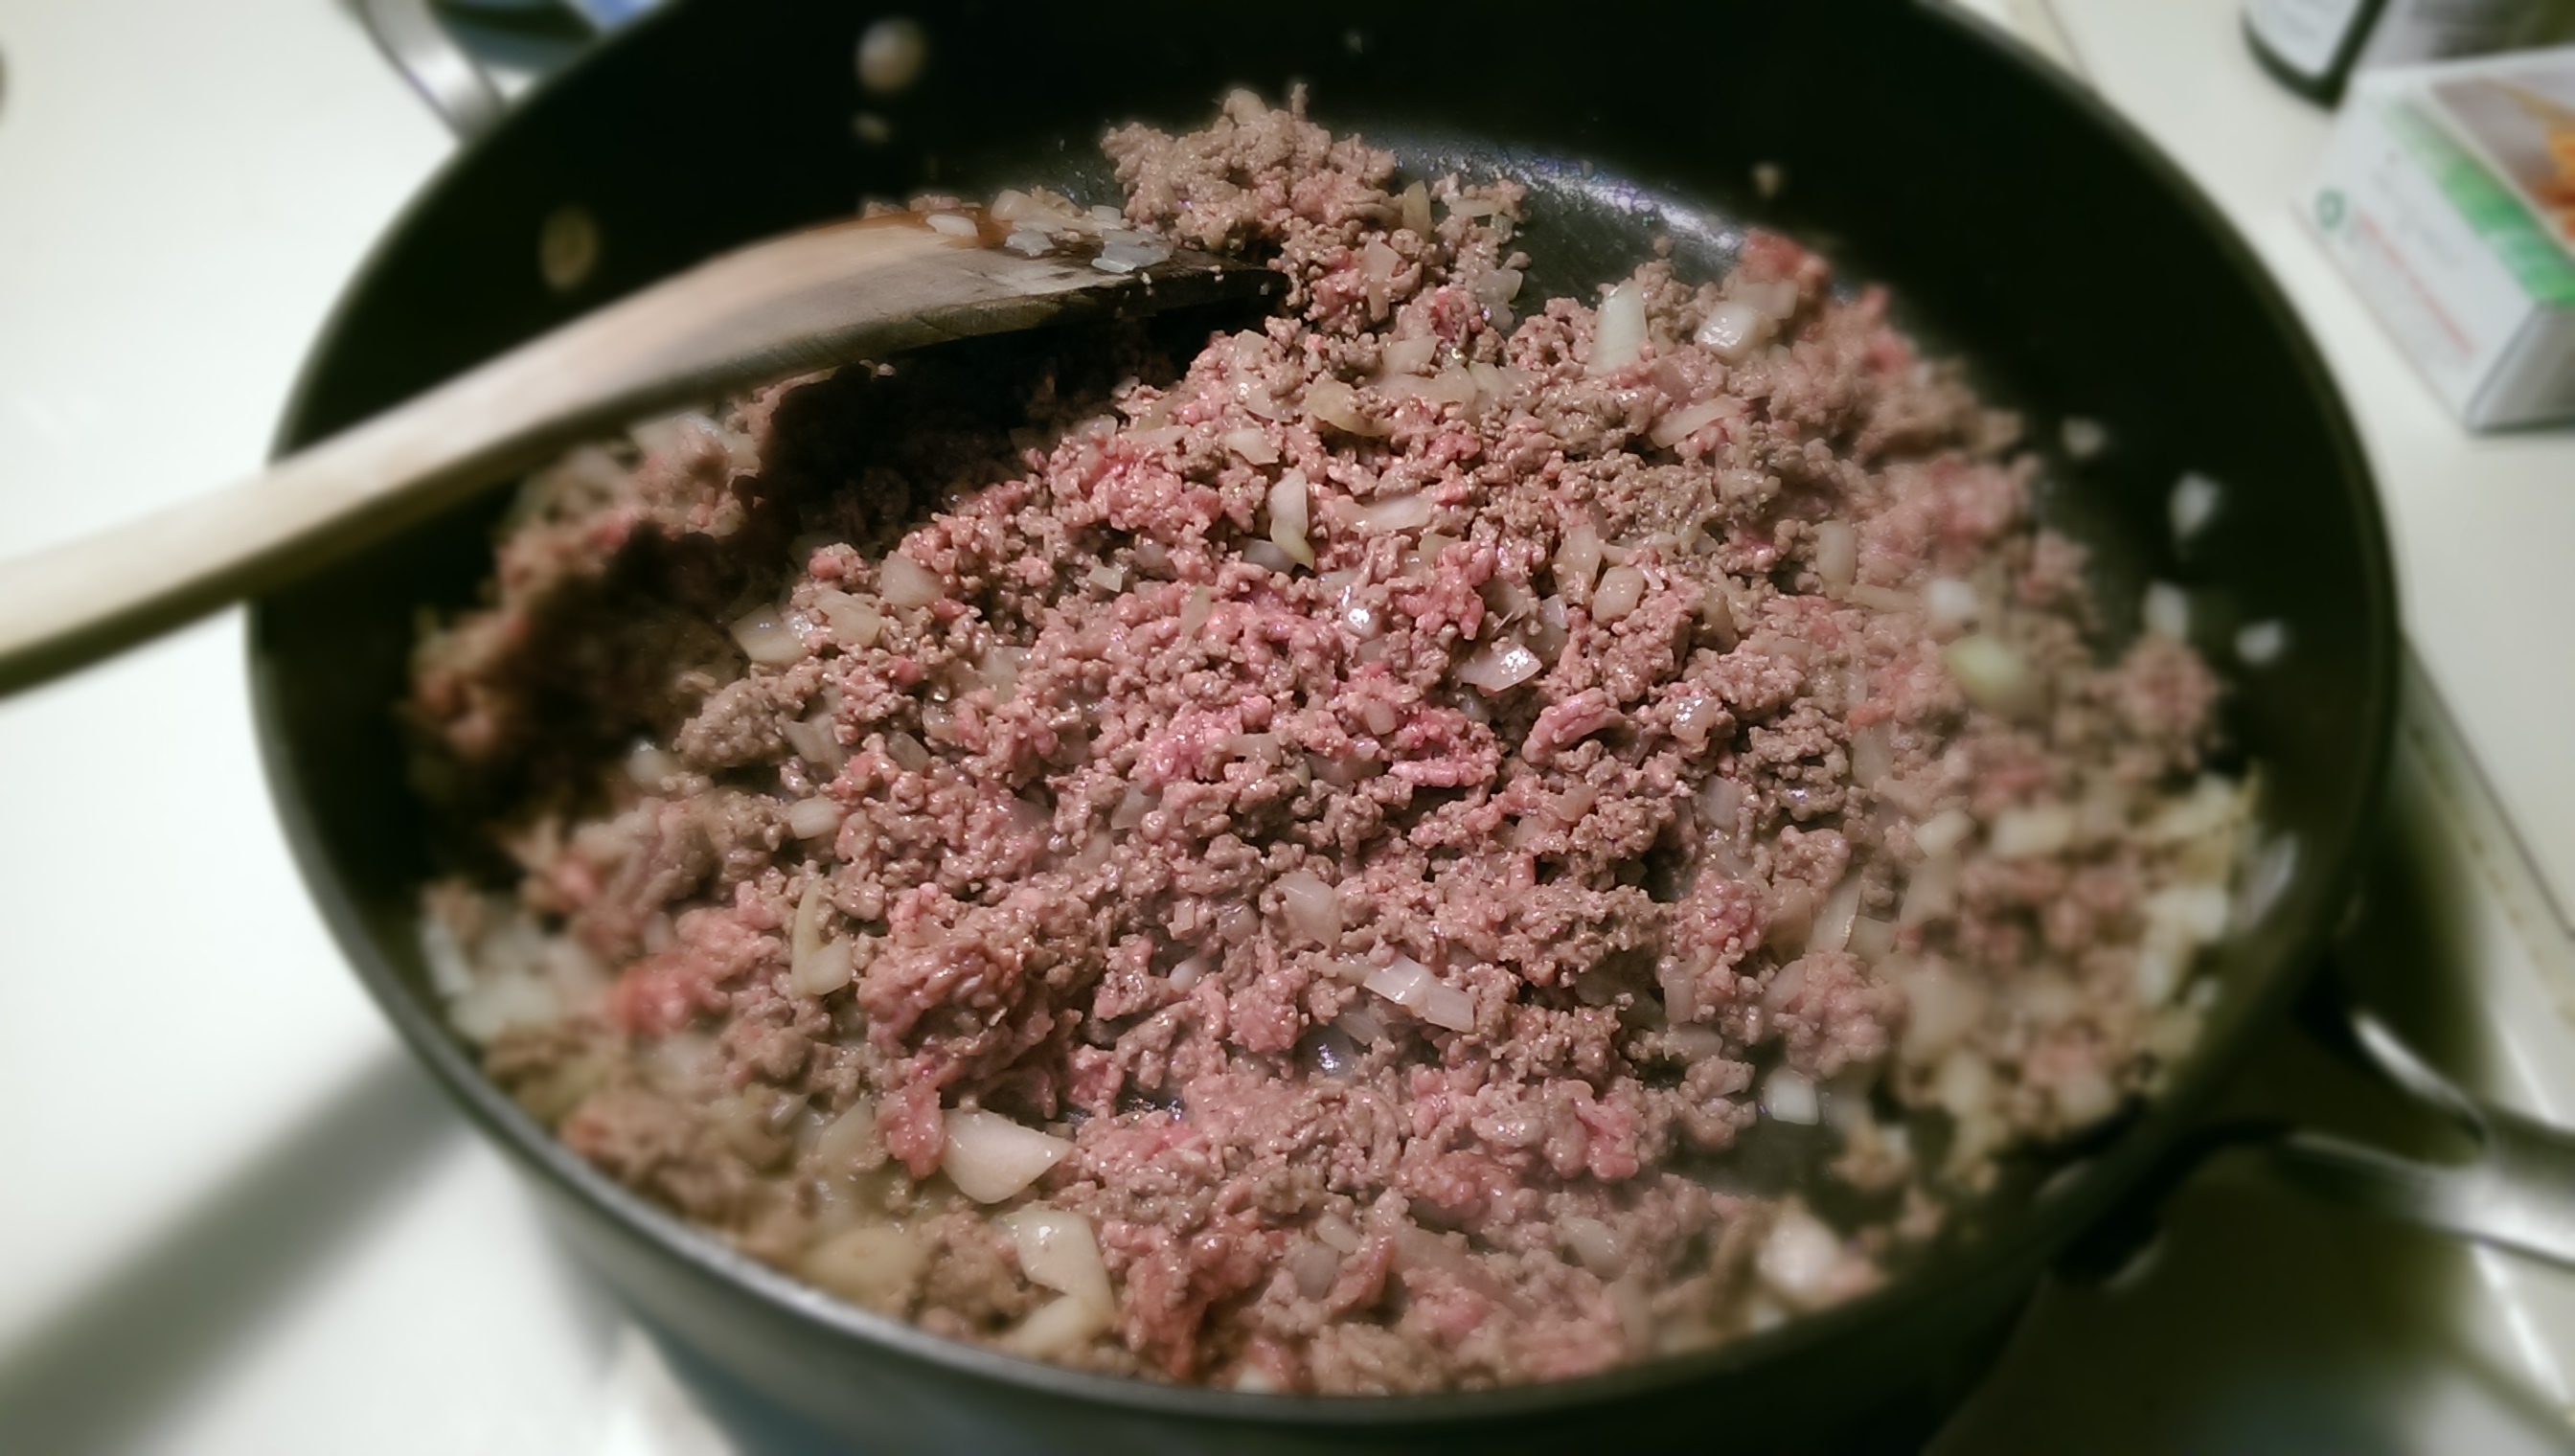
  2. When squash is finished cooking and is waiting to be pulled into spaghetti, melt fat or oil in large, oven-safe skillet (broiler proof, preferably) over medium-high heat. Add onions and saute for a few minutes until softened.
  3. Add ground beef and spices to pan. Cook until meat is almost finished and you can’t see any pink. Preheat broiler on high.
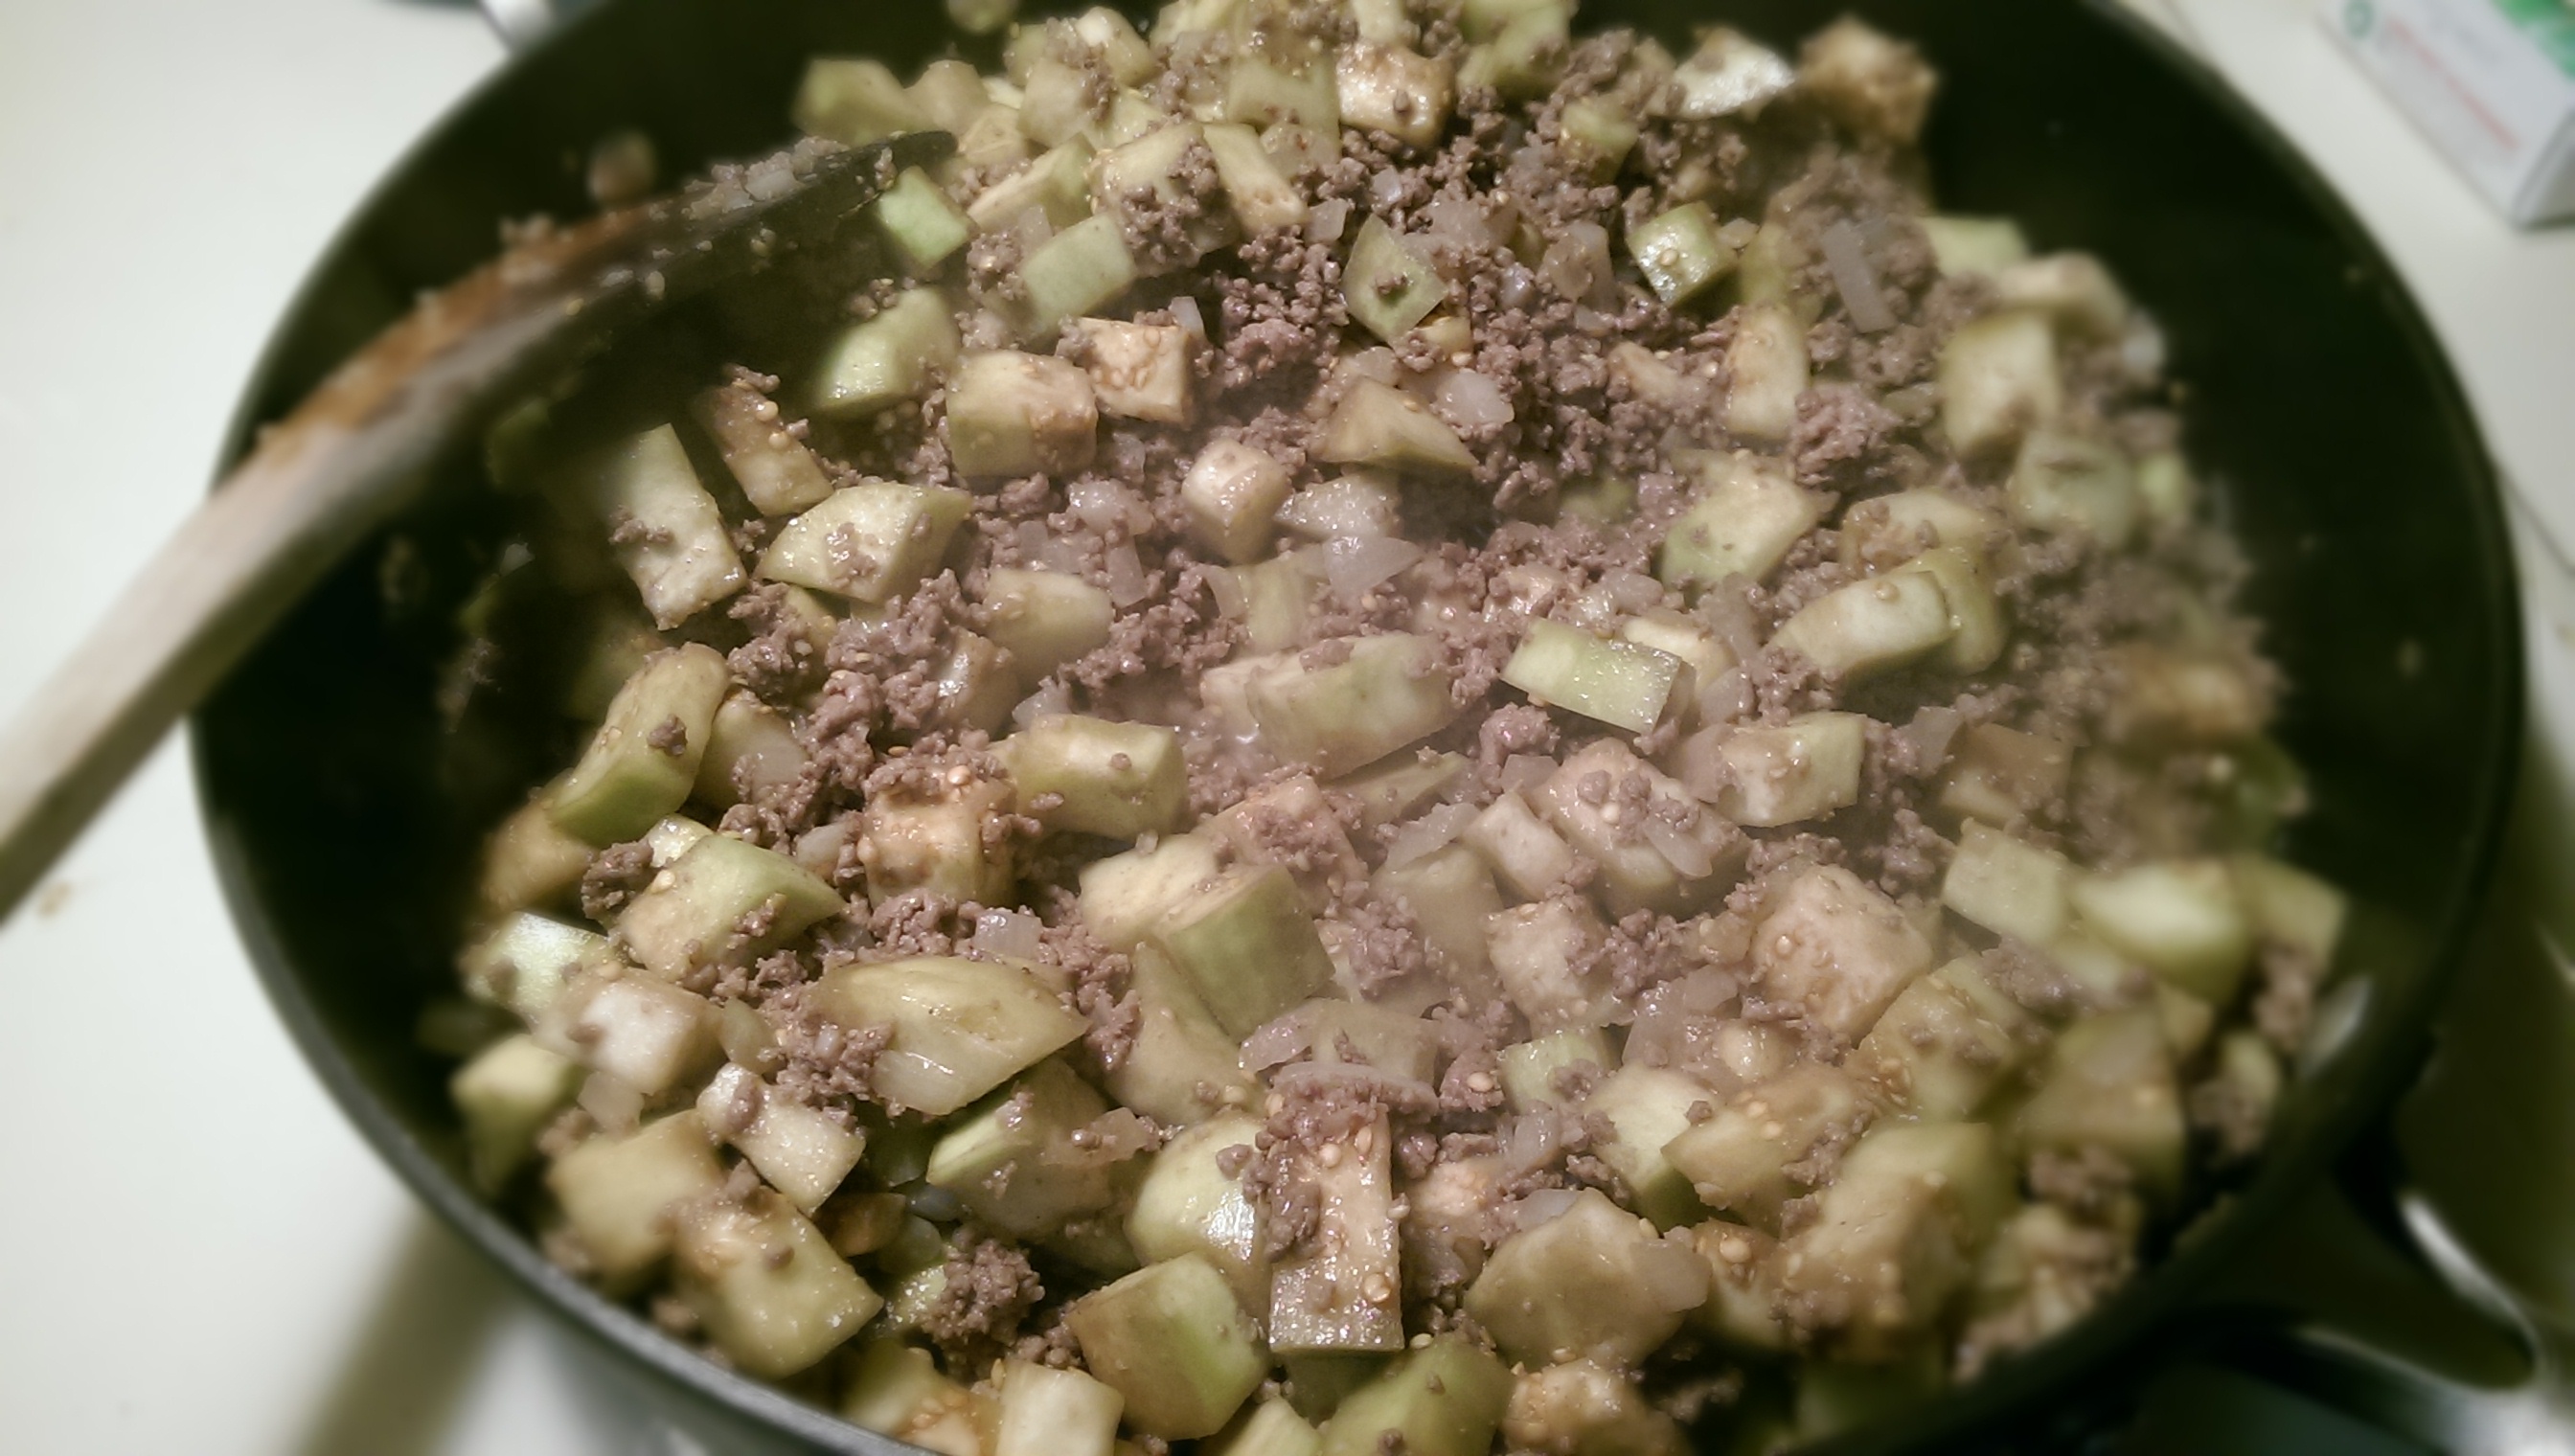
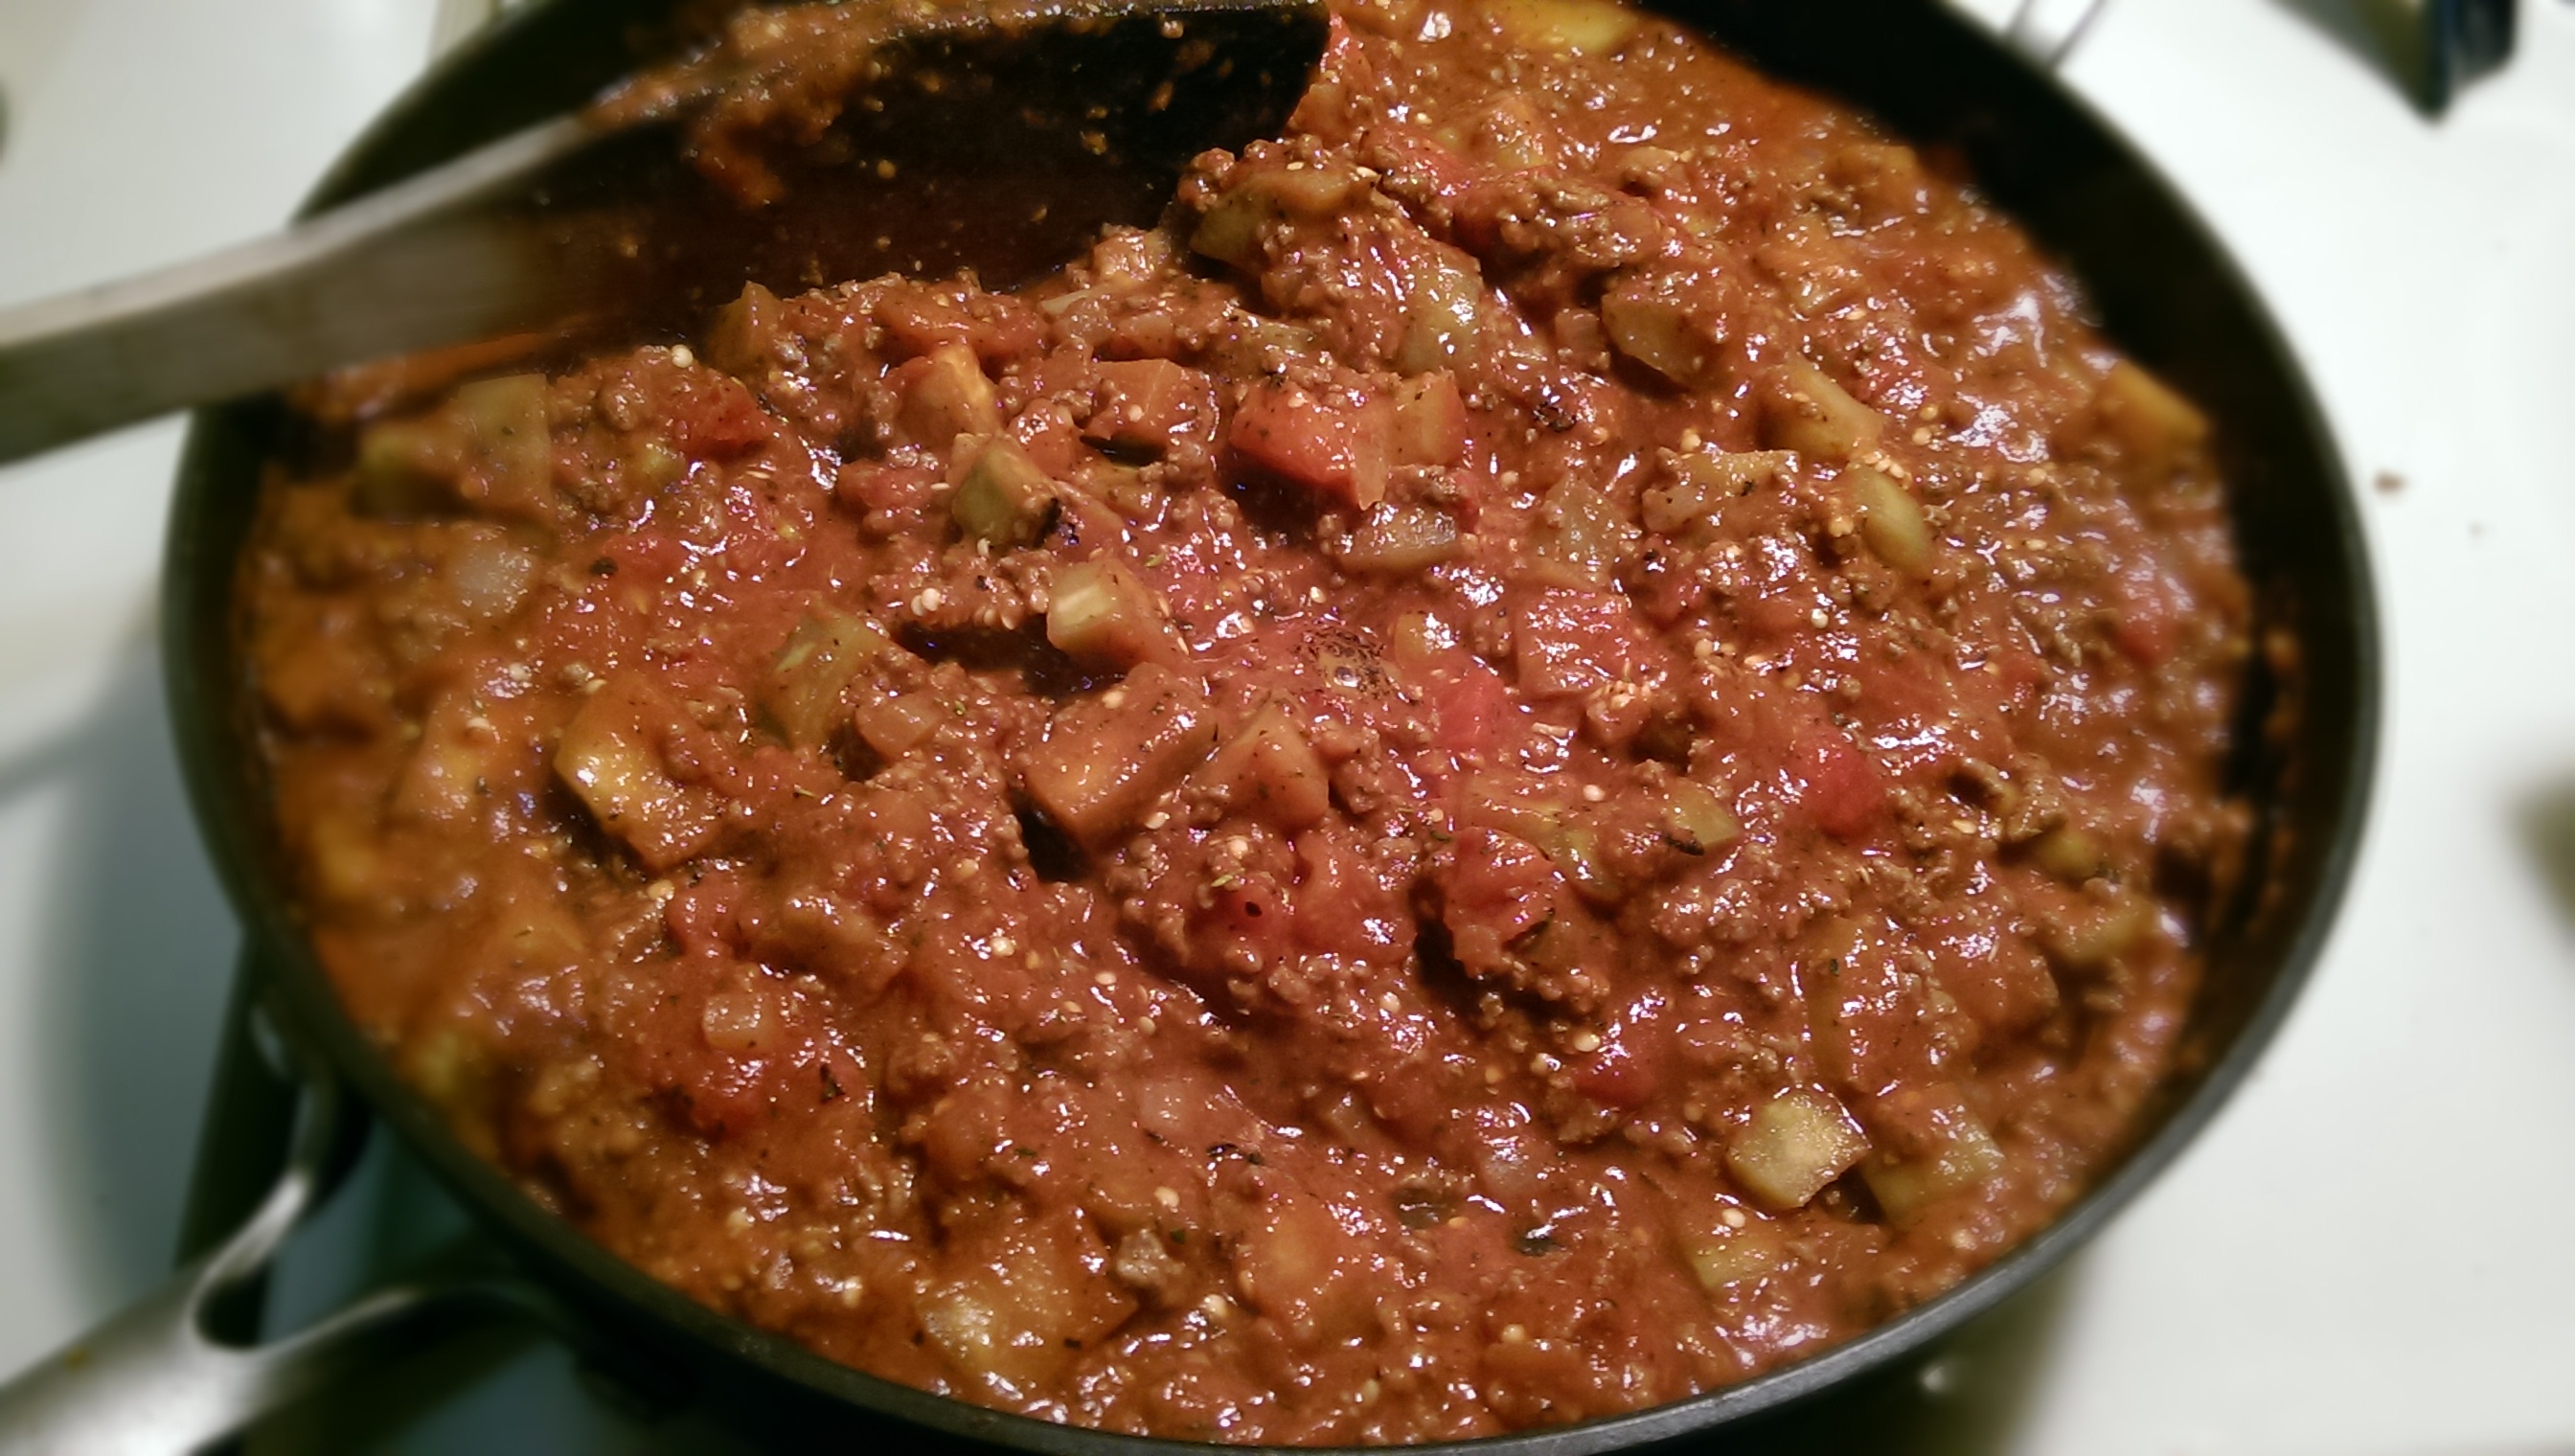
  4. Add chilies, beans, and tomato sauce, stirring well to combine.
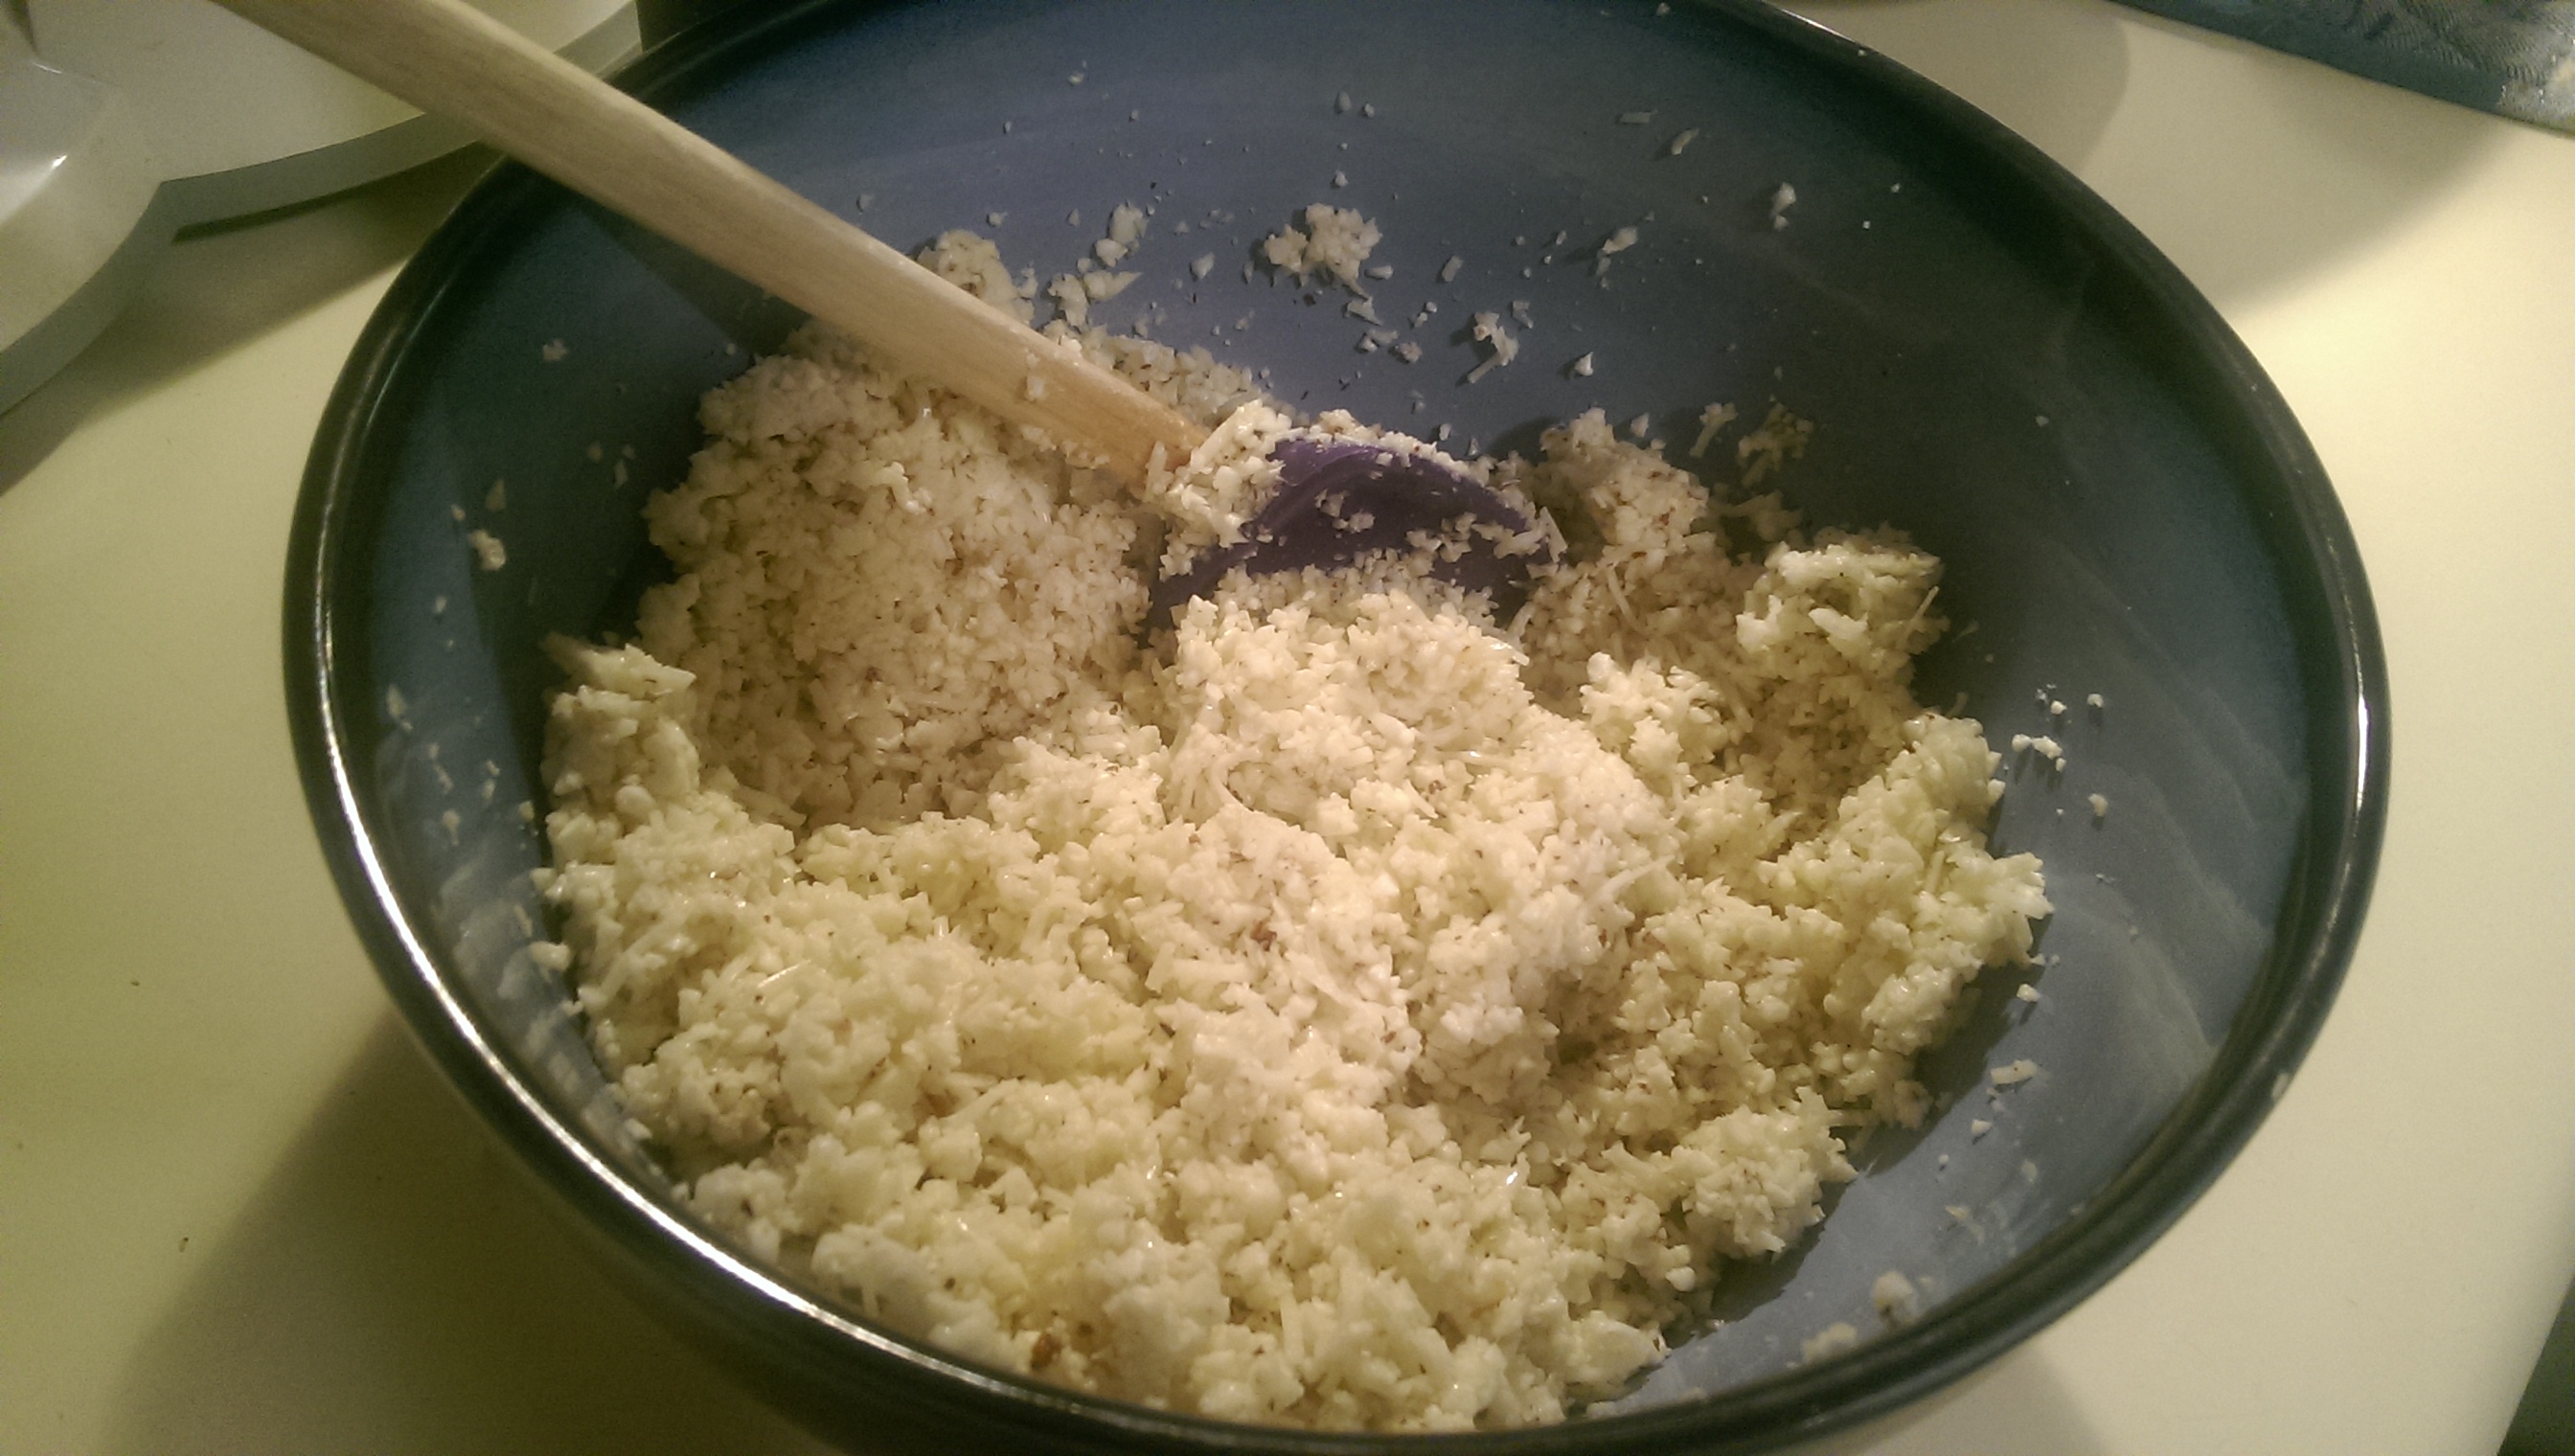
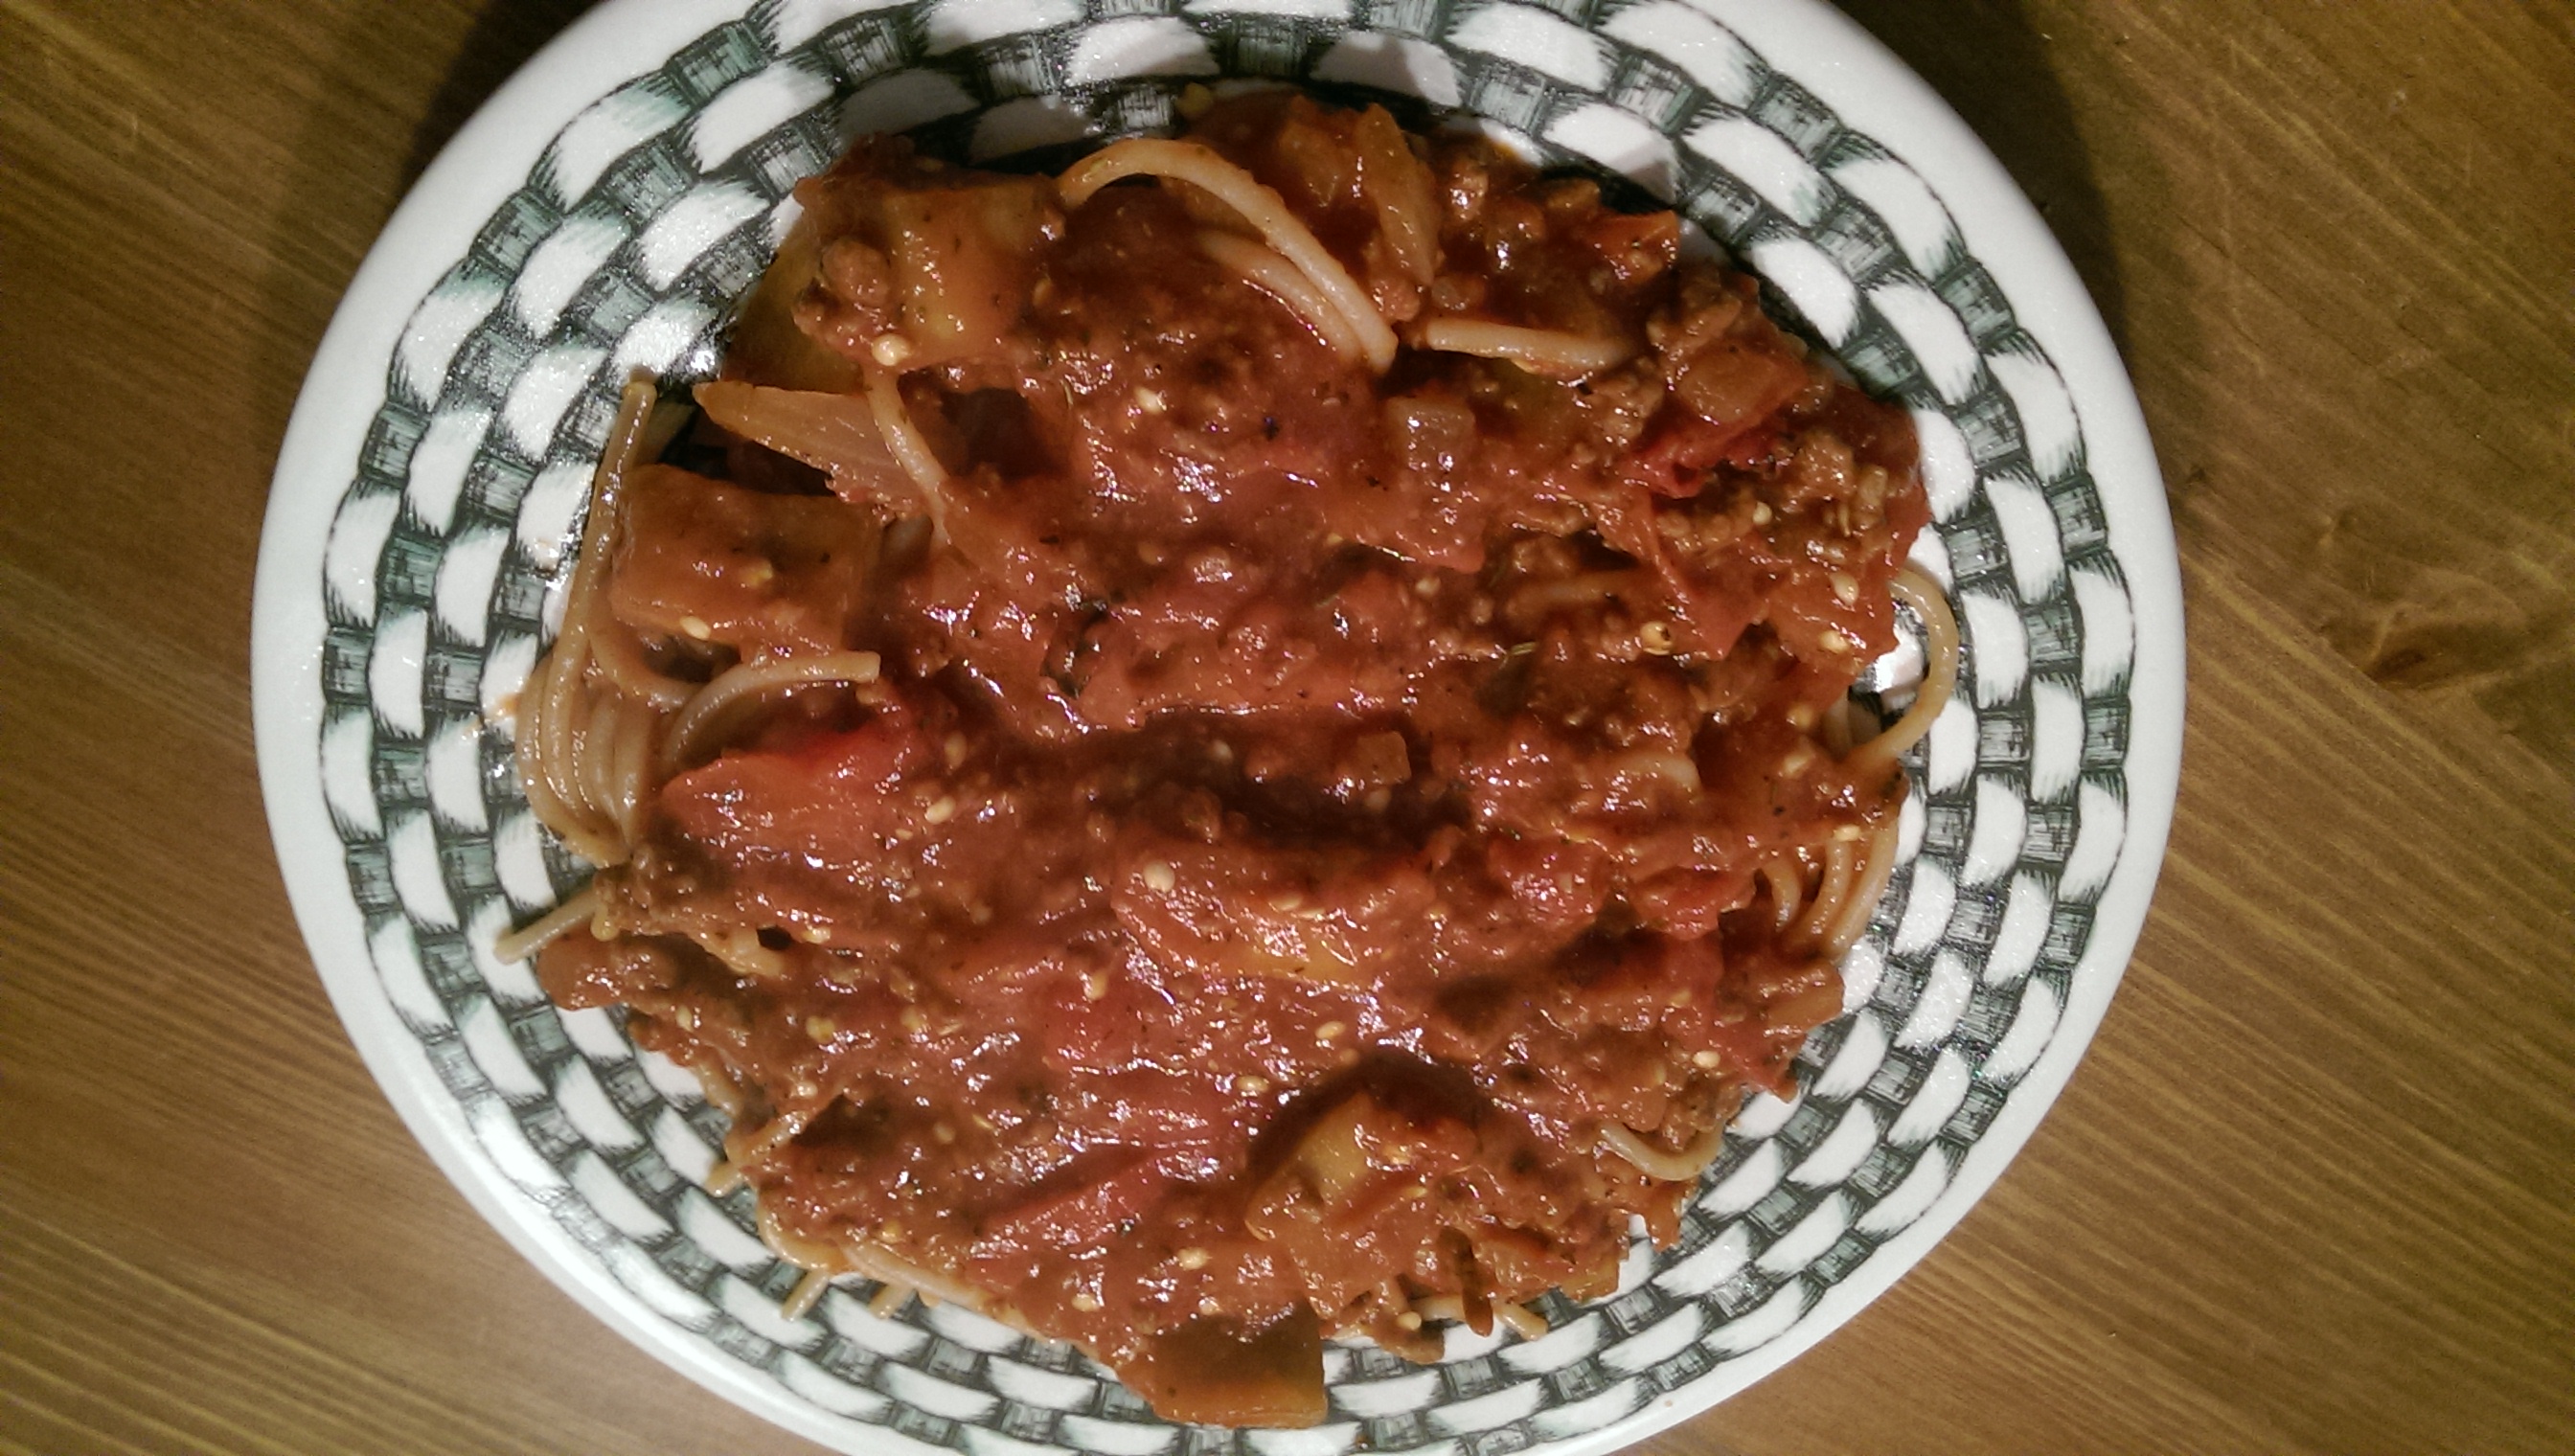
  5. Shred the squash into spaghetti strands with a fork and add to meat mixture. You may want to taste and see if you need to add more spices once everything is coated and combined. Add salt and pepper to taste.
  6. Even out the squash and meat mixture so it’s flat. (If you don’t have a pan that can be used under the broiler, transfer to a broiler-safe baking dish.) Top with shredded cheese and place under broiler for 3-4 minutes until top is golden brown. Serve with some sour cream, chopped fresh cilantro, and/or sliced scallions. Enjoy!

* You can do this the night before and store in the refrigerator in a sealed container until ready to use. Just don’t shred it until you are about to throw it into the pan!


Leave a comment

Baked Cheesy Cauliflower Tots

Baked Cheesy Cauliflower Tots | The Half-Crunchy MamaTater tots. We all used to look forward to them that one day out of the week when the cafeteria would serve them up for lunch. Of course that deep-fried goodness isn’t particularly a part of my family’s current eating lifestyle and I actually have no means (or clue) on how to deep fry anything. Sorry, South. Guess I’m still a Yankee.

I don’t have anything against potatoes and I love a few good french fries once in a blue moon, but when I first heard about swapping white potatoes out with cauliflower in tot form, I was definitely excited about trying them. I have been making different varieties of mashed cauliflower for years now, so this seemed to be the logical next step. So far, I have made two batches of cauliflower tots from different recipes on the web, but both times, The Russian was far from enthusiastic about the taste and Sugar Bee wouldn’t even try one. She’s the cauliflower freak (raw with hummus, of course) and I thought she was going to be the perfect tester. Nope. I ended up eating both batches (these were two very separate instances) and I felt like there was a thing or two missing from each recipe. Which brings me to last week when I finally decided to play around and create my own version of cauliflower tots. They are so fast, cheap, and easy (my three favorite things) that you will hit yourself on the head as to why you haven’t tried any of the many recipes out on that Pinterest thing.

Take out food processor, chop cauliflower into rice-like pieces……Baked Cheesy Cauliflower Tots | The Half-Crunchy Mama …put in bowl with all of the other ingredients and mix thoroughly…Baked Cheesy Cauliflower Tots | The Half-Crunchy Mama…spoon into greased mini muffin pan and bake.Baked Cheesy Cauliflower Tots | The Half-Crunchy MamaSeriously so freaking easy. Just try it tomorrow. Or maybe even tonight.Baked Cheesy Cauliflower Tots | The Half-Crunchy MamaDid I mention that they are delicious?? The Russian easily ate a third of the batch after tasting his first one. Not only did Sugar Bee try one, she ate three of them at dinner. And I could have eaten the whole batch. This version has cheese and I am going to work on a dairy-free version next, inspired by a comment from my Instagram of this success.Baked Cheesy Cauliflower Tots | The Half-Crunchy Mama


Baked Cheesy Cauliflower Tots

Ditch the deep-fried potato goodness and give these healthier baked tots a try. Extremely high in Vitamin C and a great source of B-6, magnesium, iron, and calcium, a head of cauliflower also offers you around 11 grams of protein. After you make these, it will be easy to eat half of a head in one meal as you fill your belly with this kid-approved tater tot replacement.

INGREDIENTS
  • One small head of cauliflower (or 2/3 of a large head)
  • 1 cup shredded cheese of choice (I have used both a Mexican and an Italian cheese blend)
  • 1 egg
  • ¼ cup almond meal
  • ½ tsp ground mustard
  • 1 tsp onion powder
  • 1 tsp garlic powder
  • 1 tsp kosher salt
  • a few grinds black pepper
DIRECTIONS
  1. Preheat oven to 400ºF. Lightly grease a mini muffin tin with cooking oil or spray.
  2. Remove main stem from head of cauliflower and break into pieces. Place in food processor and pulse until finely shredded. Smaller stems are okay to include.
  3. Place the shredded cauliflower in a kitchen towel to remove excess moisture. (Note: I let mine sit out and get room temperature before working with it and I find that there is less moisture released, so this step can be avoided if time allows.)
  4. In a large bowl, combine the shredded cauliflower with all of the remaining ingredients, stirring well to distribute evenly.
  5. With a spoon, scoop the mixture into each muffin cup, pressing down firmly with your fingertips as you go.
  6. Bake for 20 minutes until golden. Enjoy!


Leave a comment

Garlic and Herb “Spaghetti”

Garlic and Herb "Spaghetti" | The Half-Crunchy MamaIf you still have not tried spaghetti squash, whether it’s because you are intimidated by the thought of cooking a food that is new to you or you think it’s too healthy or have an aversion to food that is good for you, stop right now and go get one at the store. It is so easy to cook up spaghetti squash and use it in place of pasta for any dish. I first started using it for my Eggplant Ragout several years ago. As it turns out, it’s a good thing that I love using it in my meals because it has been a blessing with Sugar Bee and her wheat issues. Squash is an even better alternative than any gluten-free pasta that I could give her. When she was one, she would double-fist feed herself with my ragout over “spaghetti” and was the talk of her school. I have even made a quiche using spaghetti squash as a crust. It’s just awesome. And so easy.

Slice the squash in half, being very careful as I’m always certain that this time will be the time I lose a finger doing it, and scoop the seeds and rough, stringy parts out. Coat the insides with extra-virgin olive oil and place cut-side down onto a baking sheet. Bake in a preheated oven at 450ºF for about 30 minutes. It is done when the skin gives as you press down on it. I like mine to be a little more roasted like in this picture, but be careful not to cook it too long or it will be more like spaghetti mush instead of spaghetti strands.Garlic and Herb "Spaghetti" | The Half-Crunchy MamaWhile that’s in the oven, prep your onion and herbs. Chop one small onion into fairly small dice. I used the herbs that I had on hand, but feel free to experiment with other flavors and what you have in the house or garden. I chopped one tablespoon of fresh thyme, and two tablespoons each of fresh parsley and basil. I also included five cloves of minced garlic, but I would probably push it to at least six because as I’ve said before, we LOVE garlic here.Garlic and Herb "Spaghetti" | The Half-Crunchy MamaWhen the spaghetti squash is finished and cooled enough to handle, strip out the strands with a fork. It should look something like this. Garlic and Herb "Spaghetti" | The Half-Crunchy Mama
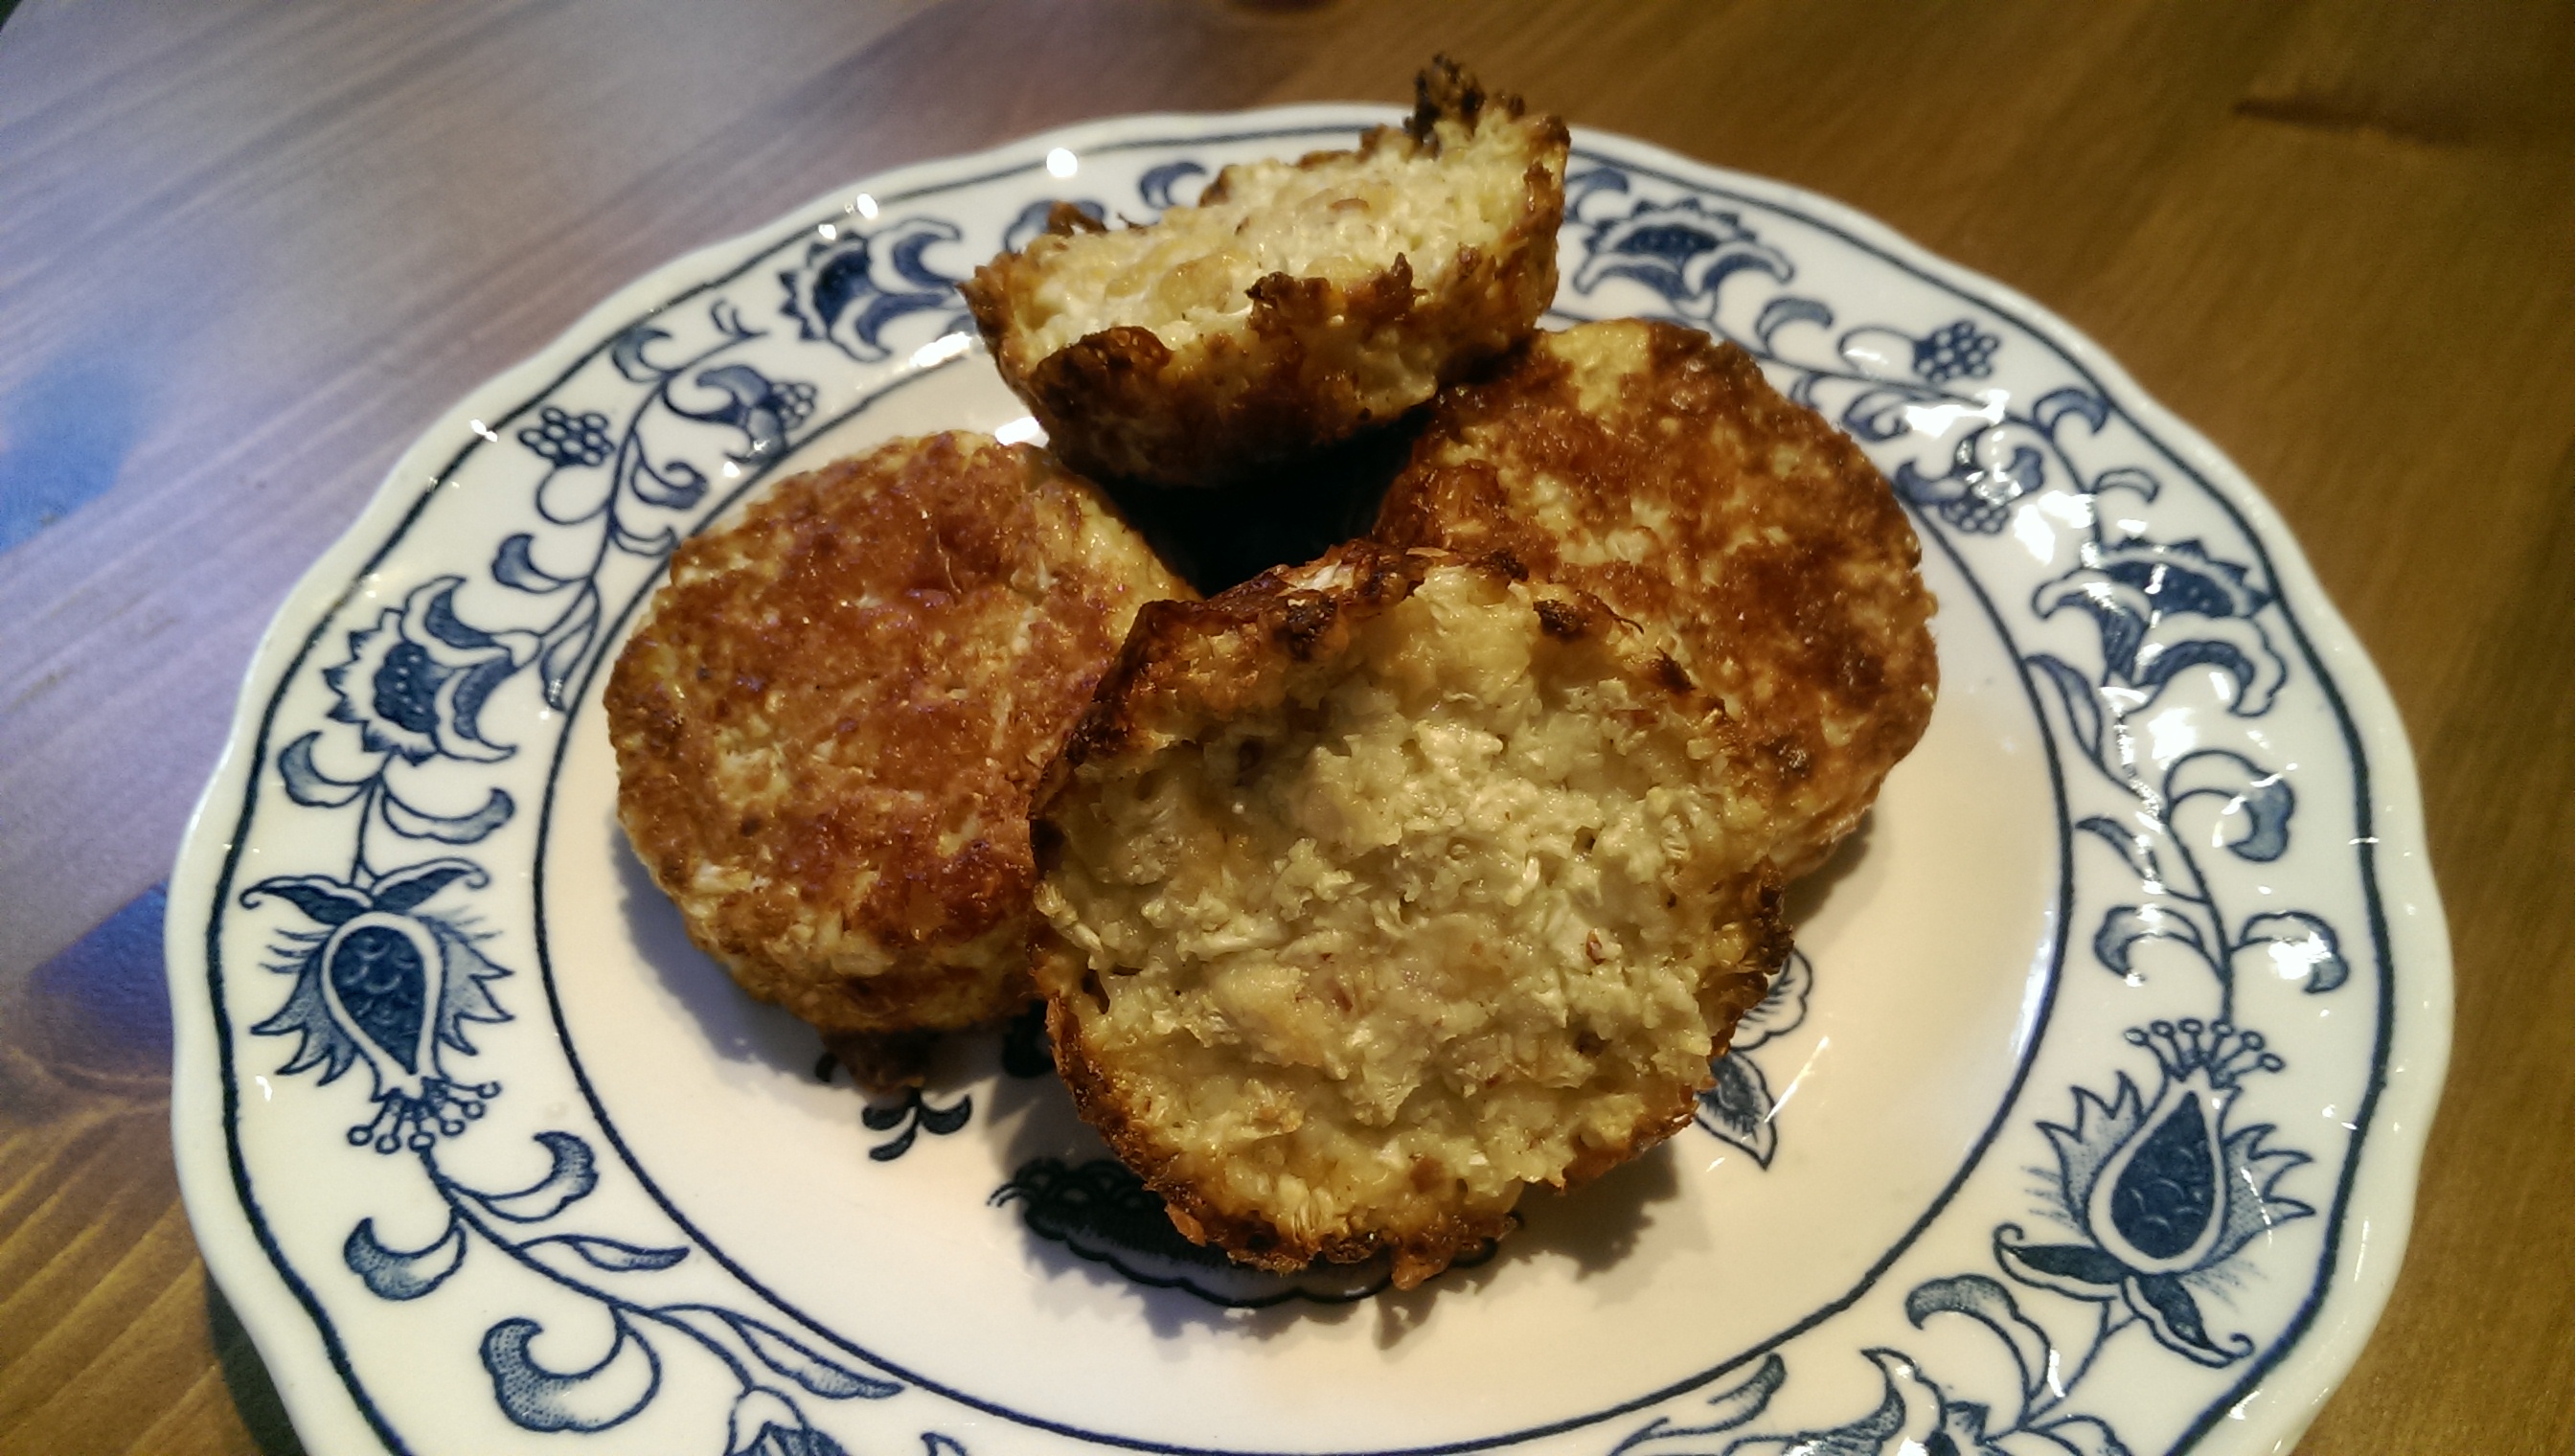
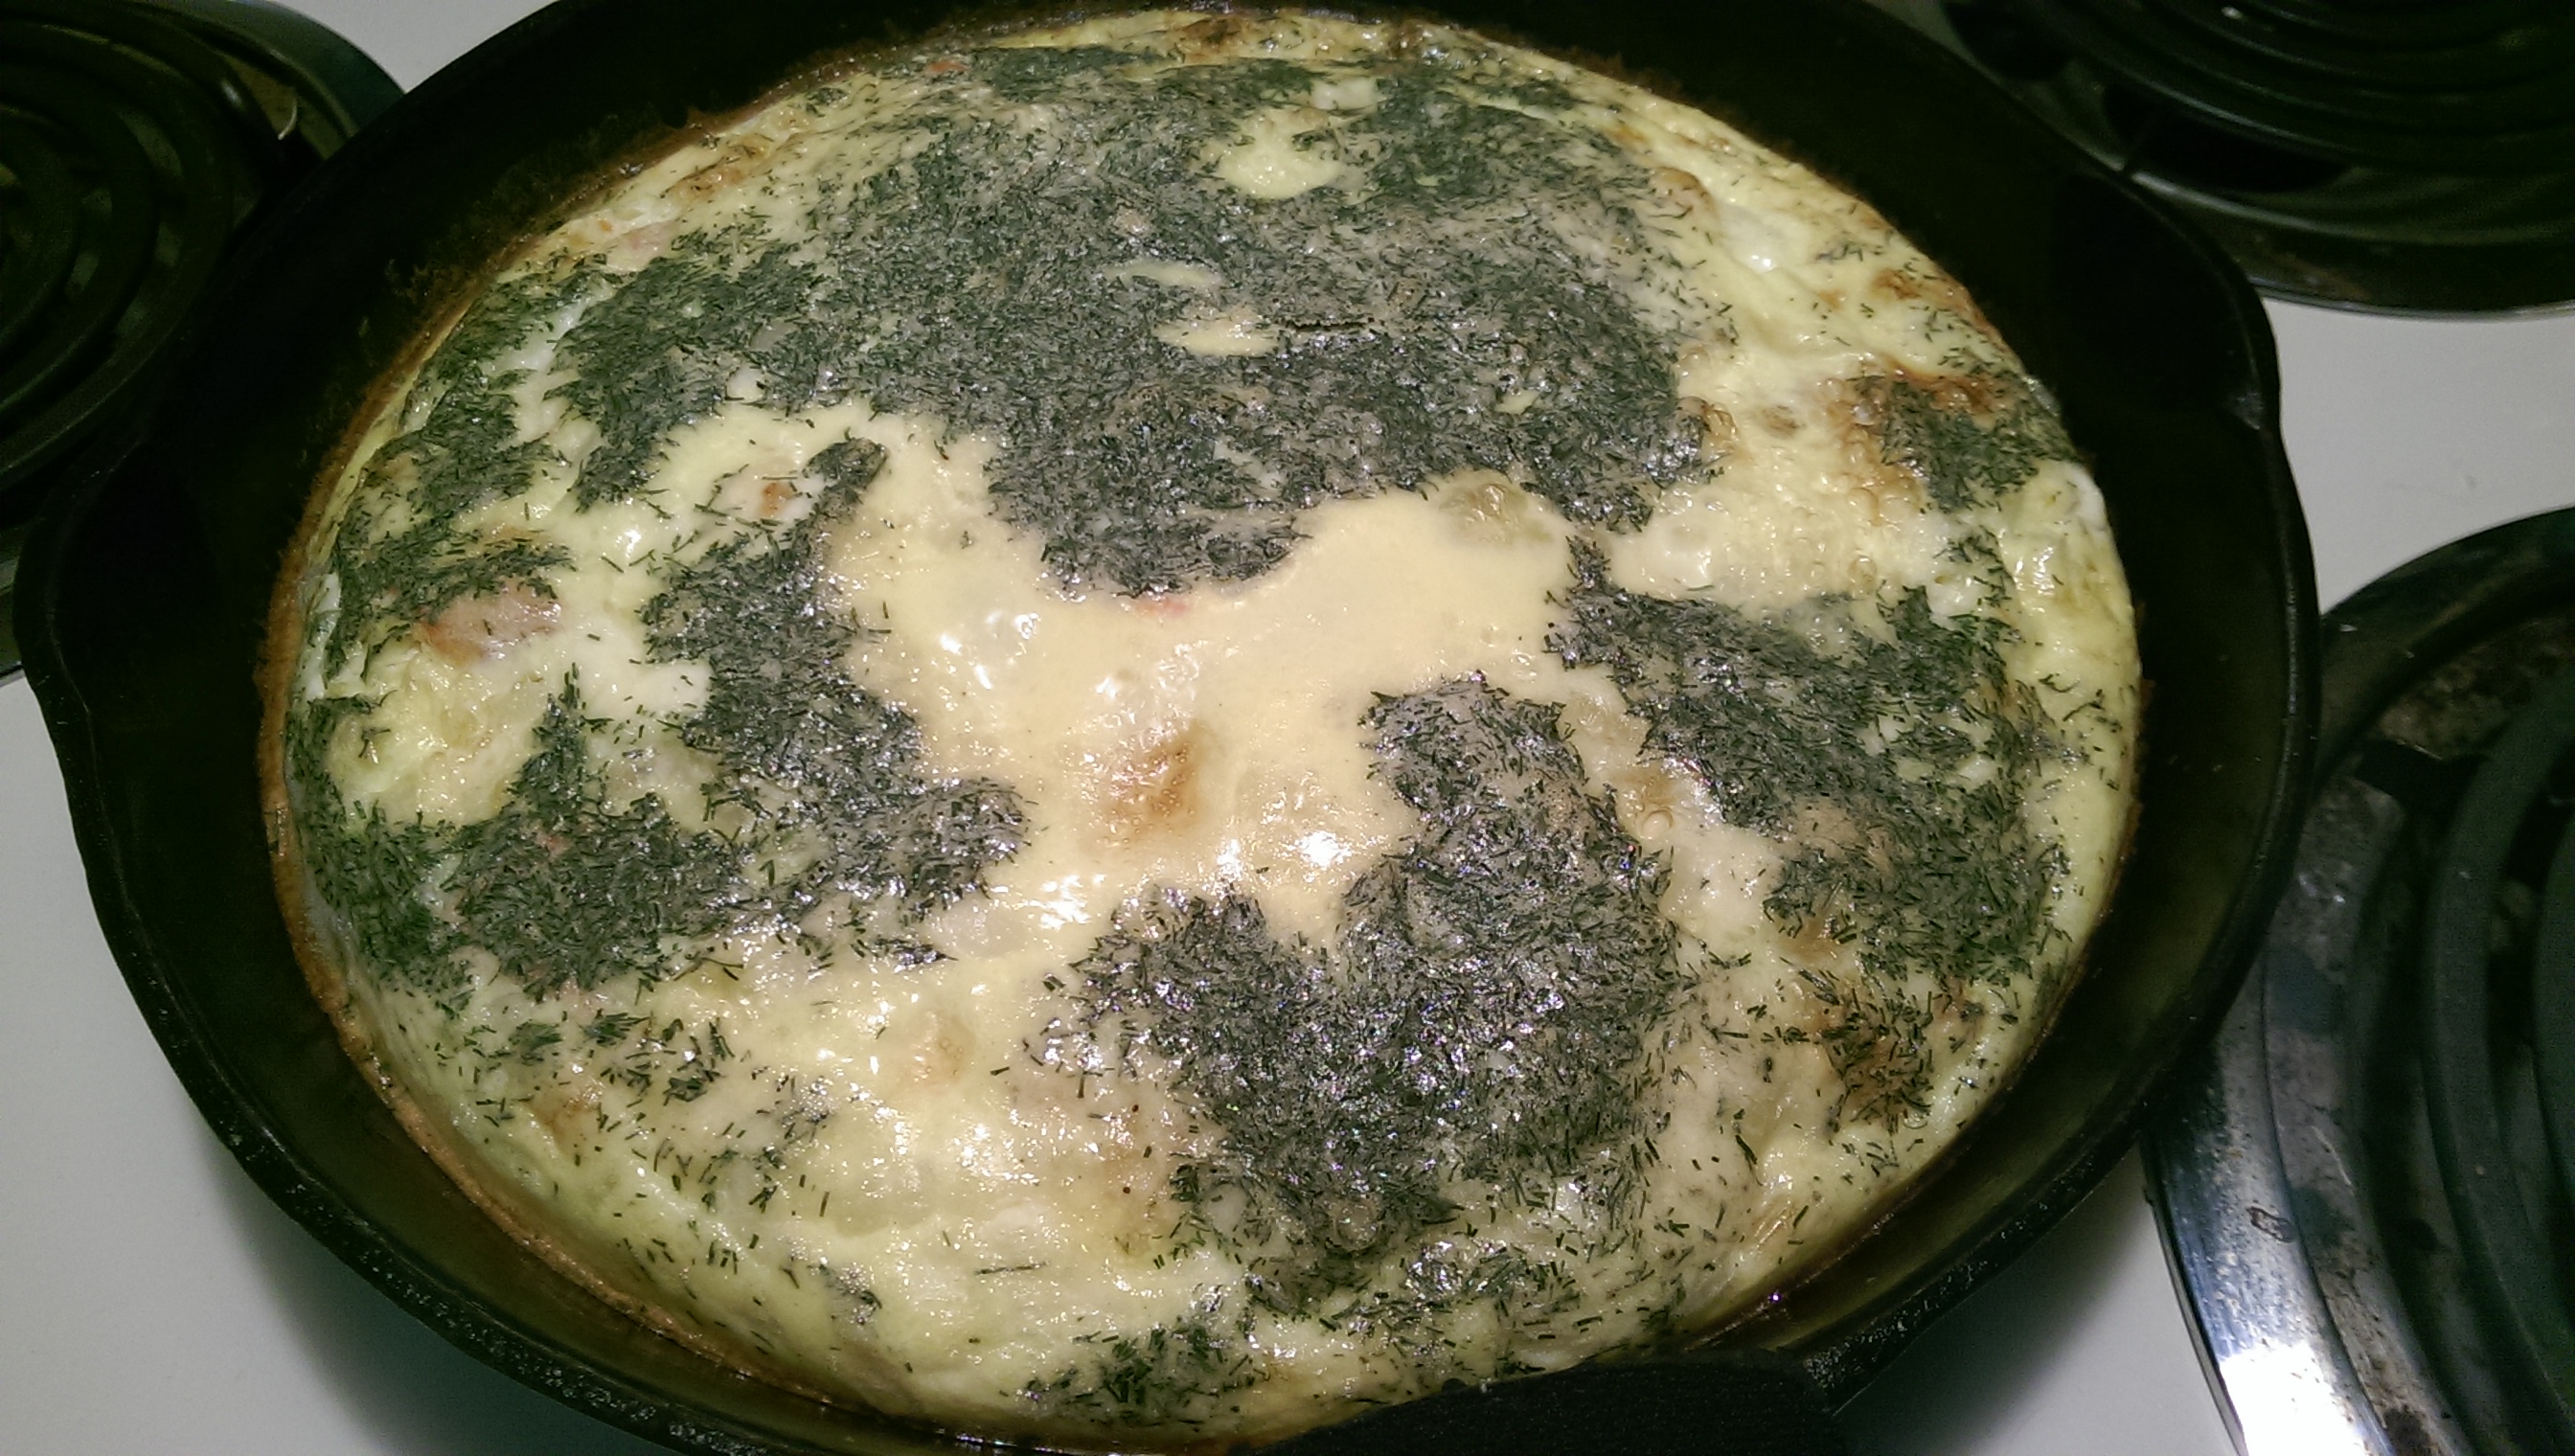
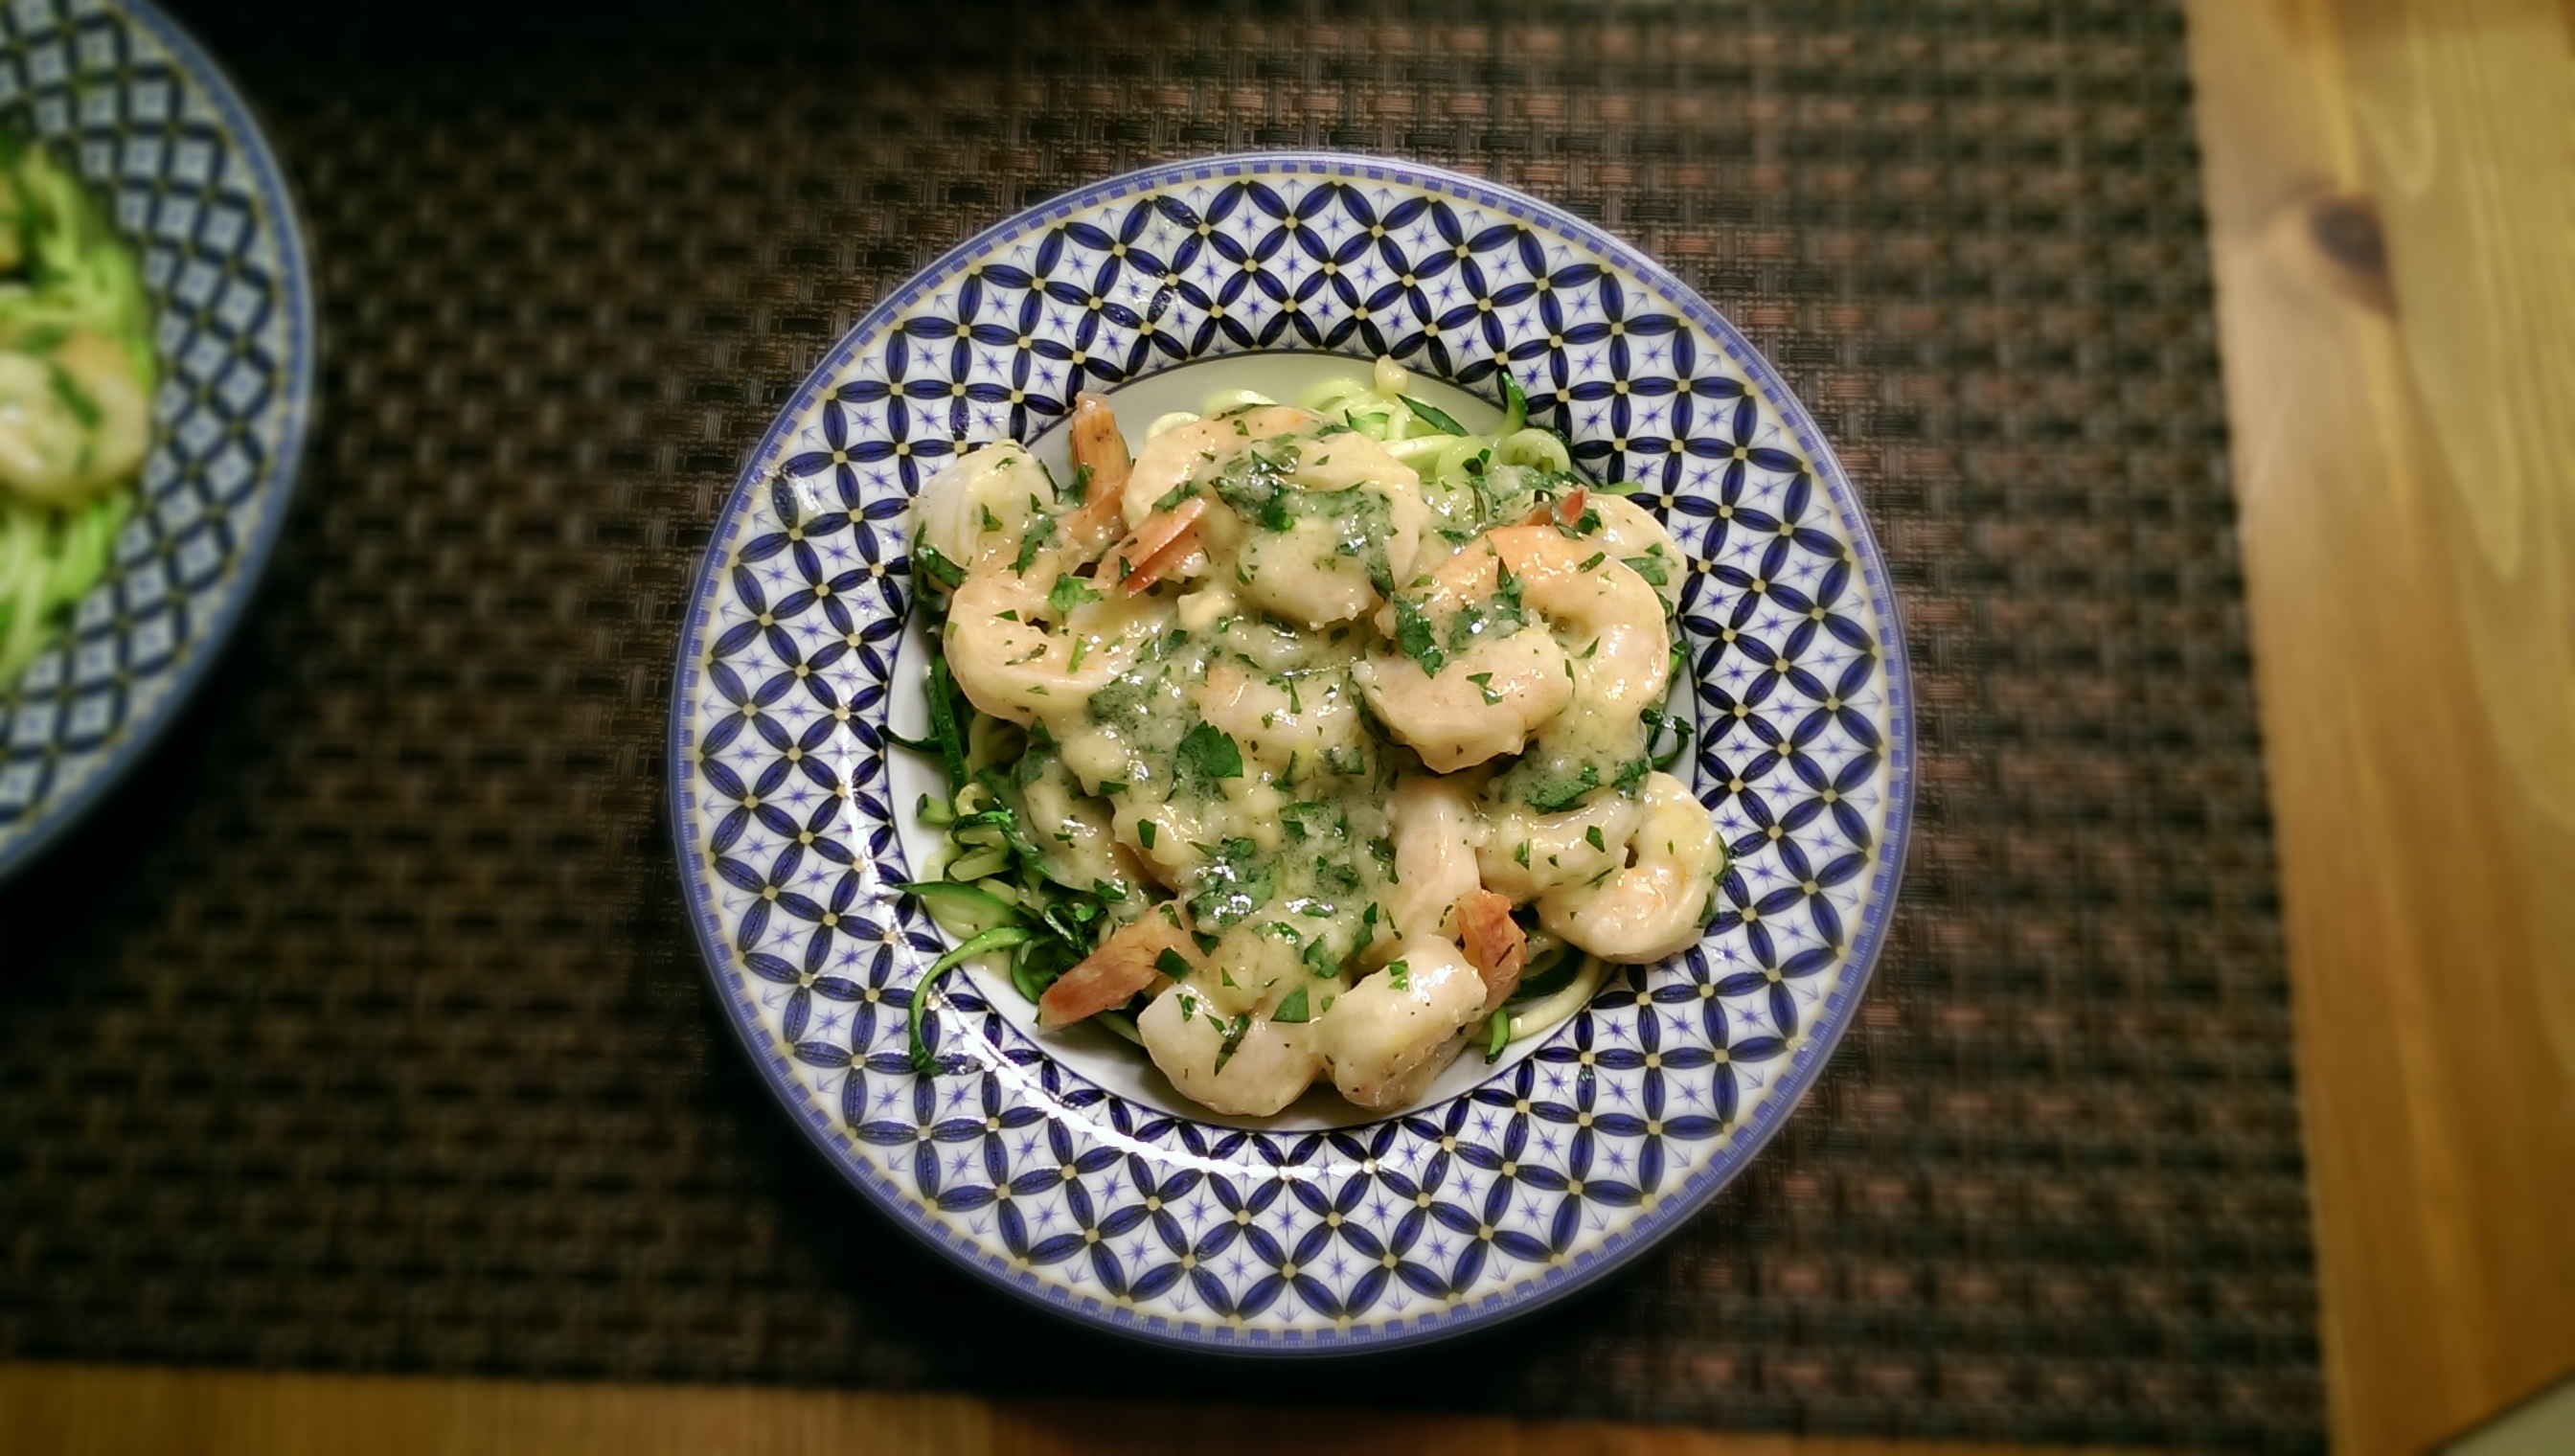
Melt about two tablespoons of Kerrygold butter over medium heat. Add the onions and cook for about 5 minutes, until softened. Add the garlic and stir, cooking about a minute. Throw in the “spaghetti” and fresh herbs, and add some sea salt and fresh ground pepper, stirring well to combine. I added some freshly grated Parmesan cheese since I’m allowed a bit of hard cheese now and then. Butter and Herb "Spaghetti" | The Half-Crunchy MamaI served this as my side dish with a delicious salmon burger from Costco. Wild-caught salmon and very few other ingredients (some oil and spices), without any wheat to hold them together. It was such an easy meal to throw together. And nutritious!Garlic and Herb "Spaghetti" | The Half-Crunchy Mama(The Russian doesn’t mind his food touching, so this one was his)


 Garlic and Herb “Spaghetti”

Spaghetti squash is a great alternative to pasta for any recipe and can also be a side dish or meal on its own. Depending on what it’s served with, I usually get 3-4 servings out of a medium squash. This is a flavorful way to serve it up and you can add almost anything you want to this basic recipe.

INGREDIENTS
  • 1 medium-large spaghetti squash
  • 1-2 Tbsp extra-virgin olive oil, however much is needed to coat the inside of the cut squash
  • 2 Tbsp Kerrygold butter, ghee, or oil of your choice
  • 1 small onion, diced small
  • 4-6 cloves of garlic, minced (to your preference)
  • 1 Tbsp fresh thyme, chopped
  • 2 Tbsp fresh basil, chopped
  • 2 Tbsp fresh parsley, chopped
  • Sea salt and fresh ground pepper
DIRECTIONS
  1. Preheat oven to 375ºF
  2. Cut the spaghetti squash in half lengthwise. Scoop out and discard the seeds and stringy threads.
  3. Coat the insides and cut edges of the squash with EVOO. Place the halves cut side down on a baking sheet and bake for about 30 minutes. Squash is done when skin gives from a poke with your finger. Turn over squash halves and set aside to cool until able to handle.
  4. Melt butter in skillet over medium heat. Add onions and cook 5 minutes until soft.
  5. Meanwhile, pull spaghetti strands from squash with a fork, pulling the fork through the flesh lengthwise from one end to the other. (Use a potholder to hold the squash if still too warm to handle.)
  6. Add garlic and stir, cooking until fragrant, about a minute.
  7. Toss squash and the fresh herbs in the pan with the onions and garlic, mixing well to combine.
  8. Add salt and pepper to taste. Enjoy!


1 Comment

A Half-Crunchy Thanksgiving

If everything had gone according to my plan, this would have been finished up on Tuesday or Wednesday. Life. It gets in the way sometimes. So what am I cooking this year?

For the past several years, we have been celebrating Thanksgiving with Sugar Bee’s Godparents and their boys. They are an extension of our family and we love them very much. What’s even better is that we all eat in a similar way. There’s not a lot of questions about what we can make or what the other family can eat, so it becomes pretty easy to celebrate with them. No awkwardness about our diets, as in the way we nourish our bodies, not a “diet” as most people think. It’s the way we live.

So every year we split up the responsibilities so that neither family is responsible for the entire meal. This year, I am in charge of two desserts, three sides, and biscuits that we can all eat without getting all sorts of digestive issues. I’m throwing this quick post together of what I’m making (some I have already made ahead yesterday…WIN!), so you can pin them for next year. Actually, some of these will get made again for the Christmas season, too 🙂 You can find them all on my Pinterest Holiday board.

Tuesday night, I made the cranberry sauce. It was done in the slow cooker and is Paleo-friendly. YUM! With fresh cranberries, pears, ginger, and orange with honey and coconut sugar to sweeten, this recipe was so easy and is the perfect one for me to bring to dinner. 2014-11-25 19.29.37

2014-11-26 08.51.01

Paleo slow cooker cranberry sauce

The next thing I made is my usual for both Thanksgiving and Christmas Eve dinner, Spiced Sweet Potato Casserole. I LOVE this recipe, not only because it’s super easy and only requires me to dirty my KitchenAid stand mixer (fast cleanup!), but you can assemble this the night before and just finish it off in the oven the next day before dinner.2014-11-26 23.15.31 The next thing that I was able to cross off the list was a request. I made these for the first time last year. They are Pecan Pie Bars from Paleomg and they are amazing! I think that they are going to be even better this year because I made them yesterday, so they have had lots of time to firm up.

2014-11-26 18.41.25

They spent several hours in the freezer yesterday afternoon and they have been in the fridge since last night. Can’t. Wait.

2014-11-26 23.16.20

After getting home from Thanksgiving Eve beverages last night with my friend, I assembled my first ever breakfast casserole. Why in the world have I never made one of these things before?!?! Of course, it’s a gluten-free recipe so Sugar Bee can eat it, and let me tell you…with all the cheesy, bacony goodness, you would never know OR care! Oh my LORD it was good!

2014-11-26 23.13.00I assembled it, covered it, and put it in my garage fridge overnight. When I got up this morning, all I had to do was take it out and leave it on the counter while I preheated the oven. Once the oven reached 325 degrees, this amazing mess was ready for us to eat in less than an hour. Make this. I used the light GF white bread from Whole Foods because I figured that the consistency of their gluten-free bread would be perfect and I was 100% right. This one is a keeper!

2014-11-27 09.17.59Now for the things that I have left to make. (I will try and remember to update this post tonight or tomorrow with pictures of my finished products.)

This will be my second dessert, Crustless Pumpkin Pie by Gluten Free Easily. I’m really looking forward to this one!

My other side is going to be Honey-Roasted Root Vegetables. I’ve been making this other dish for holiday dinners for the past several years, Roasted Root Vegetables with Maple Glaze. I decided to try one of the others that I saved and have never tried. Here’s the recipe for the honeyed version.

The last thing that I will be making are GF biscuits. I have made these before with a great mix that I buy at Aldi. It calls for shortening (yuck), so I will be swapping that out with some expeller-pressed coconut oil. Expeller-pressed doesn’t have the coconut flavor that could ruin the biscuit taste. This is the one that I use.2014-11-27 11.55.25Happy Thanksgiving to you all! I will be getting back to more regular posts now that life and travel have both calmed down. Whew! October and November kept me BUSY!! Have a blessed day!!

***UPDATED***December 2, 2014

A few more pictures….

The Honey Root Veggies were so good that my husband only got leftovers the first night. I ate all the rest.

2014-11-27 15.32.40

This is the crustless pumpkin pie. Oh. My. God. As my friend said, it was so good that you really don’t even miss the crust. It was just incredible. And easy! Mine looks much darker than in the photo from the posted recipe, but I think this is because I didn’t use fresh pumpkin and I don’t really measure spices.

2014-11-27 15.33.06

No picture of the biscuits (although they looked the same as when I made them a few months ago and posted on Instagram), but I advise to either add flavor to them if using the expeller-pressed coconut oil over the shortening, or use Kerrygold butter in place of the shortening like I did the first time. They still had a great texture, but no flavor. At all. We have been putting Nutella on all the leftover ones, so they are still getting eaten.

Hope your Thanksgiving was as wonderful as mine!


1 Comment

Smoked Salmon and Goat Cheese Frittata

I love channeling my Gram in the kitchen when I use her old cast iron skillet. In fact, there are a lot of times that I’m cooking when I feel like she’s with me, especially around the holidays. I have several of her pans and skillets, but this cast iron one is by far my favorite. I miss her a lot (she passed in 2009, just shy of her 93rd birthday), but I feel her presence every time I use it. My mom says that my fried egg sandwiches taste just like Gram’s and that is the best compliment ever. I don’t use this skillet as often as I should and would like to, but it’s the best thing for frittatas, frying foods (not that I do that very often), and cooking/braising meat. It’s 10.5 inches across and 2 inches deep. Made in the USA, as was almost everything back then.

In case you missed my Cheesy Broccoli Egg Muffins post, breakfast is my favorite type of food and I would eat it all day long if I could. My favorite way to eat breakfast for dinner, or brinner, is in the form of a frittata. To me, frittatas are so much tastier than an omelette and way healthier than a quiche. And you can make up any kind of frittata combinations you want! Trust me, I do it all the time. This combination was created based on what was in the fridge since I was feeling too lazy to get to the store. We love all salmon, especially lox, and I usually have a thing or two of goat cheese in the drawer. Easy peasy.

The easiest way that I have found to deal with packaged lox (the pieces can be very sticky to each other) is to take the slab of slices and cut them all in long strips.

Smoked Salmon and Goat Cheese Frittata | The Half-Crunchy Mama

Then I loosen them up and separate them as best as I can. I hate when they all clump together in the egg mix and you are left with huge bites of smoked salmon in random places of the frittata and nowhere else.
Smoked Salmon and Goat Cheese Frittata | The Half-Crunchy Mama

 The same thing goes for the goat cheese. I have struggled a few times with how to handle the brick of cheese that I usually have in the fridge. Of course if you buy or have goat cheese that is already crumbled, this next part won’t apply, but it’s cheaper to purchase this way and now I have a trick to share.

Smoked Salmon and Goat Cheese Frittata | The Half-Crunchy Mama

I cut it up while it’s still in the package. Goat cheese is so soft and very difficult to cut no matter what way you want it to be, so I have learned to do it this way if I want it to be close to the size of crumbles. I make cuts both vertically and horizontally in the package, and everything stays in the plastic until I’m ready to dump it in. It still isn’t as perfect as prepackaged crumbles, but you never know what else might be included in those packages to keep the cheese clumps all nicely separated.

Smoked Salmon and Goat Cheese Frittata | The Half-Crunchy Mama

Now I’ll talk about my butter. Unless I’m about to do a bunch of baking for a party or something that will involve a lot of butter, I usually only purchase Kerrygold from the store. If you have time and patience to make your own or spend extra pennies on something better, by all means. For me and my cheap, half-crunchy bum, I’ll go with this one. And I swear it tastes different than the rest of the ones in the dairy case at your regular supermarket. When using cast iron, I don’t bother with anything of low quality. My pan is perfectly seasoned and I’m afraid of using anything that isn’t close to what it has been used to its whole life. You know, like food. Not “organic,” not “non-GMO,” not “grass-fed,” “free-range,” or “rBGH-free” because these things never existed back in Gram’s day. Animals and crops were naturally raised and we dealt with bugs and disease. People still ate. Farmers were respected. People didn’t have all sorts of crazy allergies to food and the environment, and the general population was not nearly as sick as we are today. Okay, I’m getting off my soap box now. Sometimes I just have to rant and get this stuff out.

Smoked Salmon and Goat Cheese Frittata | The Half-Crunchy Mama

Back to the recipe. After prepping the salmon and cheese, it’s time to get going on the onion and garlic. Chop a small onion finely and mince two cloves of fresh garlic. Melt 1 Tablespoon of butter in the skillet over medium heat. Add the onions and garlic, and saute about 3 minutes.

Smoked Salmon and Goat Cheese Frittata | The Half-Crunchy Mama

 While they are sauteing, whisk 10 eggs in a large bowl with 1/4 milk, if you do dairy, sea salt, and fresh ground pepper. If you don’t do milk and have nothing else to add in its place, use a tablespoon or two of water to help make the eggs fluffy. Add the sliced smoked salmon, the goat cheese, and 2-3 Tbsp dried dill (fresh is WAY better if you have it, but I was all out) to the egg mixture.  Pour egg mixture over the onions and garlic, slightly stirring to combine.

Smoked Salmon and Goat Cheese Frittata | The Half-Crunchy Mama

 Turn the heat up to medium high and cook until the edges start to firm and climb up the side of the pan a little and bubbles start to appear.

Smoked Salmon and Goat Cheese Frittata | The Half-Crunchy Mama

 Transfer it to an oven preheated to 350ºF and bake for about 25 minutes. It should look nice and golden on the top when finished, and a toothpick should come out clean from the middle.

Smoked Salmon and Goat Cheese Frittata | The Half-Crunchy Mama

Slice and serve! It goes well with a nice green salad with a mild dressing.

Smoked Salmon and Goat Cheese Frittata | The Half-Crunchy Mama

 One last shot to show how well a wonderfully seasoned pan can work. It helps that this pan is older than me and that I have loved on it just as my Gram did. Once you get used to using one, you will be in love as much as I am.

Smoked Salmon and Goat Cheese Frittata | The Half-Crunchy Mama


 Salmon Goat Cheese Frittata

This simple recipe can help you get dinner on the table in about 35 minutes with very little prep work. It goes well with a small side salad for dinner, and the leftovers are great for any meal!

INGREDIENTS
  • 6 ounce package of smoked salmon, sliced into small strips
  • 4 ounce package of goat cheese, cut into small pieces (or packaged crumbles)
  • 1 small onion, finely diced
  • 2 cloves of garlic, minced
  • 1 Tbsp butter, lard, or oil of your choice
  • 10 eggs
  • 1/4 milk (or other liquid, I’ve only used water)
  • 2-3 Tbsp dill (dried, but fresh would be better)
  • 1/4+ tsp sea salt
  • 1/8+ tsp fresh ground pepper
DIRECTIONS
  1. Preheat oven to 350ºF.
  2. Heat 1 Tbsp butter in a deep or large ovenproof skillet over medium heat. Once melted, saute onions and garlic for about three minutes.
  3. While onions and garlic saute, whisk together the eggs and milk/liquid, salt, and pepper. Add salmon, cheese, and dill to the eggs and stir to combine.
  4. Pour egg mixture over the onions and garlic, give a quick stir, and raise the heat to medium-high. Cook until the edges start to firm and climb up the pan and bubbles start to form.
  5. Transfer pan to the preheated oven and bake for about 25 minutes until golden brown on top and an inserted toothpick comes out clean.
  6. Serve with a lightly dressed green salad. Enjoy!


Leave a comment

Creamy Veggie Tagliatelle (yes, it’s gluten free!)

How I came up with this recipe is twofold. It was partially due to what I was craving and knew I had in the house, and the rest was inspired by a recipe used for the photo on this box of pasta. I had found myself scoping out the egg pastas as I was craving some egg noodles, hoping to find some gluten-free ones so that Sugar Bee would be able to eat whatever I ended up making. All of the ones at the particular store I was at contained wheat. This was my very first time trying this brand (whether egg or plain pasta) and the success from this meal was the reason I ended up using this brand for my Eggplant Ragout one night. My thoughts that I shared in that post about choosing the spaghetti are identical to when I first picked this box up. In fact, I’m pretty sure that this was my first experience with Jovial pasta, but egg pasta IS different from regular (as regular as GF can be), so I think those thoughts are still valid here. I took one look at the box and between the “100% organic” and “Product of Italy” on the label, I was sold. Italians know what they are doing with pasta, glutened or not.

Creamy Veggie Tagliatelle - The Half-Crunchy Mama

Upon further inspection of the recipe on the box, I realized I had most of the ingredients at home and I could make a dish like this with minimal investment during this trip to the store. I was getting close to payday, so of course I was short on funds and looking to maximize my spending. This was so cheap, fast, and easy…just how I like my weeknight meals to be.

I took a large zucchini and julienned it, giving me about 3 cups of shredded zucchini. Then I sliced a sweet onion into pieces that mimicked the shreds. That was the extent of my prep work.

I melted 3 tablespoons of Kerrygold butter in a pan over medium heat. I threw in the onion and about 2 teaspoons of minced garlic from a jar, and sauteed for about 2 minutes. I threw in the zucchini shreds and about a cup and a half of  matchstick organic carrots from a bag (no prep!), tossing everything in the butter to coat. After adding some sea salt and fresh ground pepper, I let this all cook for about three minutes until the veggies started to soften a little, but kept their bright colors. I removed the veggie mixture from the pan with a slotted spoon, leaving behind any leftover butter drippings.

Creamy Veggie Tagliatelle - The Half-Crunchy Mama

 I cooked the pasta according to the directions on the box and then returned the saute pan to the stove over low heat. I added 3/4 cup of regular whipping cream and a cup and a half of grated Parmesan-Pecorino cheese, stirring until the cheese had melted. I then returned the veggies to the pan, tossing to coat them well in the creamy cheese sauce.

After cooking and draining the pasta, I returned the noodles to the pot and poured the creamy veggie sauce over them, combining well to plate a perfect summer pasta dish.

Creamy Veggie Tagliatelle - The Half-Crunchy Mama

 The absolute best part? This dish reheated PERFECTLY, unlike a typical Alfredo or cream sauce that you would make for a pasta dish. Bonus!

Creamy Veggie Tagliatelle - The Half-Crunchy Mama


Creamy Veggie Tagliatelle

A jazzed-up version of a recipe on a box of pasta, with extra cheese, added garlic, and lighter cream. I would think you could serve this over spaghetti squash, too, in case you are living completely grain free.

INGREDIENTS
  • 3 Tbsp butter or ghee
  • 1 onion, quartered and thinly sliced
  • 2 tsp minced garlic (I used jarred)
  • 1 large zucchini, julienned (about 3 cups)
  • 1.5 cups matchstick carrots (bagged is perfect)
  • 3/4 cup whipping cream (heavy cream not necessary)
  • 1.5 cups grated Parmesan-Pecorino cheese
  • Sea salt and fresh ground pepper
DIRECTIONS
  1. Melt the butter in a saute pan over medium heat. Add the onions and garlic, cooking for 2 minutes.
  2. Add the zucchini, carrots, salt, and pepper, and toss well to combine and coat in butter. Cook for 3 minutes. Remove from pan with a slotted spoon and set aside.
  3. Cook the GF tagliatelle according to package directions. When finished, drain and return to pot.
  4. While the pasta is cooking, return the saute pan to stove over low heat. Add the cream and grated cheese. Heat until the cheese is melted. Return the veggie mixture to the pan and toss to coat in the sauce, heating until warmed through.
  5. Pour creamy veggie sauce over the cooked pasta and stir to combine well. Serve and enjoy! (Even leftover!)


Leave a comment

Lemony Zucchini Noodle Shrimp Scampi

Lemony Zucchini Noodle Shrimp Scampi

My creation for dinner Saturday night. A bag of frozen cooked shrimp, a few zucchini, some fresh herbs, and items that are always in the house gave birth to deliciousness.

Lemony Zucchini Noodle Shrimp Scampi

As I mentioned in my post for Creamy Zucchini Noodles, I love my spiral slicer. We love zucchini noodles and they are a healthy alternative to pasta for whole food and grain-free diets. So I made some noodles.

I took this next picture to share with you another of my favorite kitchen tools, the Microplane grater. I zested the whole lemon before squeezing all the juice, using both for the sauce.

Lemony Zucchini Noodle Shrimp Scampi

 Aside from making the noodles and handling the lemon, the only prep that was needed was getting the garlic ready for the mincer. My favorite kind of meals are ones that are fast, cheap, and easy. This one checks all of those boxes.

As usual, I tossed the noodles in olive oil that was preheated in a skillet over medium heat. I shook some salt and fresh ground pepper over it and cooked them for about 5 minutes until they softened, but were still a little firm. I removed the pan from the burner and set it aside.

Lemony Zucchini Noodle Shrimp Scampi

 Then it was time for the sauce. I melted 4 tablespoons of butter (I use Kerrygold) over medium-low heat and then added 6 cloves of freshly minced garlic, cooking for about 2 minutes. Then I added 1/4 cup of white wine, the lemon juice, and zest, bringing it to a boil.

Lemony Zucchini Noodle Shrimp Scampi

After about a minute or two of boiling, I added the thawed shrimp. I heated the shrimp in the sauce over medium until they were heated through. (You can tell when they are heated enough when they have shrunk a little and the sauce starts to boil again.) I removed the shrimp from the pan with a slotted spoon and set them aside. Then I added a tablespoon of gluten-free flour (Bob’s Red Mill), whisking constantly to combine. I also added a little salt and fresh pepper after the flour.

Lemony Zucchini Noodle Shrimp Scampi

Once the sauce had thickened, I returned the shrimp to the pan and coated them in the buttery lemon sauce.

Lemony Zucchini Noodle Shrimp Scampi

I threw in about 2 tablespoons each of freshly chopped parsley and basil from the garden, tossing well to coat the shrimp.

Lemony Zucchini Noodle Shrimp Scampi

I divided the zucchini noodles into our bowls and topped them with the Lemony Shrimp Scampi. Oh. my. It was so good that this is the fastest turnaround for a recipe post from me. Ever.

Lemony Zucchini Noodle Shrimp Scampi


Lemony Zucchini Noodle Shrimp Scampi

The amount of shrimp should probably be for three servings, but I only had two servings of noodles (portion size is not something the Russian and I do well), so I would suggest that you add another zucchini to the noodles if you don’t want to eat 6 ounces of shrimp in one meal. Another thought that I had was it may not be easy to find a 12 ounce package of shrimp, so if you can only find a 16 ounce one, use two additional zucchini and increase all the sauce ingredients slightly. If you are friend of mine, you can probably eat the portions that this recipe makes – perfect for two!

INGREDIENTS
  • 2 medium zucchini, cut into noodles with a spiral slicer (or julienne peeler)
  • 1-2 Tbsp extra-virgin olive oil
  • 4 Tbsp butter or ghee
  • 6 cloves of garlic, freshly minced
  • 1/4 c white wine, preferably on the dry side
  • Freshly squeezed juice of one lemon (about 2 1/2 Tbsp)
  • Zest of one lemon (about 1 tsp)
  • 12 ounce package of frozen cooked shrimp, thawed and drained
  • 1 Tbsp gluten-free all-purpose flour
  • 2 Tbsp chopped parsley
  • 2 Tbsp chopped basil
  • Salt and fresh ground pepper
DIRECTIONS
  1. Heat EVOO in a skillet over medium heat. Add zucchini, salt, and pepper to pan and toss to coat. Cook for 5 minutes until noodles have softened, but are still firm and bright green. Remove from heat and set aside.
  2. Melt butter in another skillet over medium-low heat. Add garlic and cook for about two minutes until garlic is soft and fragrant, but not browned. Add wine, lemon juice, and zest. Bring to a boil and cook for about 1 minute.
  3. Turn heat to medium and add the shrimp, tossing to coat. Cook until heated through (when visibly shrinking and liquid starts to boil again). Remove shrimp with a slotted spoon and set aside.
  4. Add flour, salt and pepper (to taste) to the lemon butter sauce and whisk constantly until flour dissolves and sauce thickens.
  5. Return shrimp to pan, add fresh herbs, and toss to coat.
  6. Serve zucchini noddles topped with shrimp, drizzling extra sauce over the top. Enjoy!


3 Comments

Eggplant Ragout

Get excited!! It’s a true original from The Half-Crunchy Mama. I apologize to my readers (especially my Facebook fans that knew about this for a few weeks) for taking so long with this post. Back-to-back weddings, a few weeks with Sugar Bee out of summer camp, and my job workload has left me with about a dozen drafted posts that aren’t close to publication time. But hey, I’m finally getting this one out to you! Better late than never and I think you will find it was worth the wait.

I have varied my eggplant ragout so many times through the years. For this particular batch, I worked with what I had in the house. You can switch up the spices, add some red wine, use sauce from a jar, improvise! That’s what I’m always doing in the kitchen. About 95% of the time that I make this dish, it gets served over oven-roasted spaghetti squash. I couldn’t find one in Kroger and was in no mood to go to another store that evening, so I went with a gluten-free pasta. I kind of prefer it on the squash, but it will be just as delicious served over any pasta you choose (but I would go for the squash). There are a lot of things that you can do to make this your own. Hopefully, it will still look similar to this in the pan when it’s finished and ready to fill your belly.

Eggplant Ragout - The Half-Crunchy Mama

The most exciting part of making my ragout this time around was that it was made with two freshly grown eggplants picked right from my very own container garden.  #humblebrag One large one would probably be enough. Feel free to adjust the quantity of both the beef and the eggplant based on the ratio that you want to have in your sauce.

Peel, slice, and dice the eggplant.

Eggplant Ragout - The Half-Crunchy Mama

Dice it even smaller than this. I left them a little too big this time (about 1/2 inch dice), but it worked good for the photos 🙂 Put the diced eggplant in a bowl lined with paper towels, tossing with salt as you add to the bowl. It’s time to get the eggplant to sweat.

Eggplant Ragout - The Half-Crunchy Mama

 Let the salted eggplant sweat it out in the bowl while you prep the other ingredients. It should be nice and glistening with visible water droplets before it gets thrown into the pan.

Eggplant Ragout - The Half-Crunchy Mama

Chop and dice an onion. If you somehow missed this tutorial on the interwebs, it will forever change the way you cut onions. Next, mince up about 5 cloves of garlic….more or less depending on your taste. As I’ve said before, we love garlic in this house.

Heat your oil in a deep saute pan over medium heat. Add the onions and garlic to the pan, and saute until the onions are just getting soft, but not browned. I LOVE the smell that fills that house from just this part alone.

Eggplant Ragout - The Half-Crunchy Mama

 Throw a pound to a pound and a half of ground beef into the pan and combine, breaking it up. Add some Worcestershire sauce and/or red wine. Yes, I use the “unclean” Worstey sauce on just about anything beefy or pretending to be beef (like ground turkey).  I love the flavor. And I love wine which is why it’s often included in any meaty saucy concoction, but I actually didn’t have any red wine in the house. WHAT?!  Hard to believe, I know, and a shame that I didn’t have any to go along with cooking my ragout. I knew something was missing.

Eggplant Ragout - The Half-Crunchy Mama

 While the meat is still a little pink, add your (hopefully) very sweaty eggplant to the pan.

Eggplant Ragout - The Half-Crunchy Mama

 Drizzle a generous amount of EVOO over the eggplant, as well as some freshly ground pepper, before combining with the meat mixture. Eggplant absorbs a LOT of oil, so don’t worry about going a little overboard with oiling it up in the pan. Turn the heat up to medium-high and cook 5-8 minutes, stirring often, until the eggplant starts to get softer. (They will be releasing liquid as they cook.)

Eggplant Ragout - The Half-Crunchy Mama

Add the fire-roasted, diced tomatoes, tomato puree, tomato paste, and all the spices. Taste a little of the liquid and add salt and pepper according to your taste buds. I can’t tell you how much to add because I don’t use much salt. Start with maybe 1 teaspoon of salt and several turns around the pan with the pepper grinder and taste it again. Continue until you like the flavor.

You will know it’s ready to simmer when it’s ridiculously thick and you can stand a utensil up in it.

Eggplant Ragout - The Half-Crunchy Mama

 Cover and simmer the sauce until the eggplant basically turns to mush. When you think that it’s getting close to being finished, get going on the pasta. If you are roasting spaghetti squash like I usually do, you should be about ready to take it out of the oven if it’s not already cooling off to get spaghettied.

Eggplant Ragout - The Half-Crunchy Mama

As I mentioned above, Kroger didn’t have any squash and I was pressed for time, so I headed over to the natural food section to scope out what GF pastas they had. They had a few brands that I don’t really care for because they do NOT reheat well and taste horrible as leftovers, so I was starting to get nervous about what I was going to do. Then I spotted this box:
Eggplant Ragout - The Half-Crunchy Mama

 Gluten-free spaghetti made in Italy? Well surely this must be tasty. After all, Italians know their pasta! I cooked it up and I must give it a RAVE review. I have tried almost every brand of GF pasta on the market and can tell you what tastes “real” and what to avoid unless you are going to eat it all right away (no leftovers). Not only did this taste amazing, but it reheats beautifully. Six thumbs up from this household!

After finishing the pasta (or making spaghetti out of the squash), it’s time to eat! This was the plate I made up for Sugar Bee.

Eggplant Ragout - The Half-Crunchy Mama

 Of course mine needed cheese. Fresh shredded Parmesan-Reggiano….yum.

Eggplant Ragout - The Half-Crunchy Mama

As usual, Sugar Bee approves!

Eggplant Ragout - The Half-Crunchy Mama


Eggplant Ragout

Be sure to dice the eggplant very small or it will take a long time for them to soften. You could also leave the meat out and double the eggplant for a vegetarian meal. If you prefer to make a casserole or want an idea for what to do with the leftovers, scroll down past the recipe details for a cheesy transformation! 

INGREDIENTS
  • 1 large or two small eggplants, peeled and diced small (1/4 inch)
  • 1 medium onion, diced
  • 5 cloves of garlic, minced or pressed
  • Extra-virgin olive oil (several tablespoons, divided)
  • 1-1.5 lbs ground beef
  • 1-2 Tbsp Worcestershire sauce and/or red wine
  • Salt and fresh ground pepper
  • 28-ounce can of fire-roasted diced tomatoes
  • 28-ounce can of tomato puree
  • 2 Tbsp Italian seasoning
  • 1 tsp dried basil
  • 3 ounces tomato paste (about 3 ounces)
  • Pasta of choice or roasted spaghetti squash
  • Cheese for garnish, if desired
DIRECTIONS
  1. Sprinkle peeled and diced eggplant with salt while adding it to a bowl lined with paper towels. Set aside to sweat.
  2. Heat oil (a few turns around the pan) in a deep saute pan over medium heat. Add the onions and garlic and cook until the onions start to get soft, but not brown.
  3. Add ground beef and Worcestershire/wine, and mix well to combine.
  4. When the beef is still slightly pink, add the eggplant, fresh ground pepper, and drizzle a few tablespoons of EVOO all over the eggplant. Increase heat to medium-high and cook, stirring often, for 5-8 minutes until eggplant begins to soften.
  5. Add tomatoes, puree, paste, and spices, and add salt and pepper to taste. (Taste a few times.) Reduce heat to medium-low, cover, and simmer until eggplant starts to get mushy.
  6. When the sauce is almost finished, cook pasta according to package directions or spaghetti the cooled roasted squash.
  7. Serve ragout over pasta and top with cheese, if desired. Enjoy!
*Note: If using spaghetti squash, begin roasting it before making the sauce as it takes time to cook and will need to cool before handling. Here is a link to basic cooking methods. I cut in half, coat flesh with EVOO, and roast cut-side down in the oven at 375ºF for about 30 minutes, depending on size. When cool enough to handle, shred with a fork to make spaghetti-like strands.


Leftovers? Or maybe you want it to be a casserole instead?

Here’s a second meal you can make out of what is leftover or you can just continue here from where I ended the Ragout recipe.

Combine pasta and ragout in the pasta pot or a large bowl. Add to glass baking dish (I used an 8×8-inch one for the leftovers) coated with cooking spray. Pat down with spatula or back of spoon to flatten.

Eggplant Ragout - The Half-Crunchy Mama

 Add a layer of grated Parmesan cheese. I use a grated Parmesan and Romano blend that I get from Trader Joe’s.

Eggplant Ragout - The Half-Crunchy Mama

 Cover with about one cup of shredded cheese. I like the Italian blend one from Publix, but regular shredded mozzarella would be just fine.

Eggplant Ragout - The Half-Crunchy Mama

 Place in preheated oven and bake at 325ºF for 15 minutes. Switch on the broiler for the last minute or two to brown the top. Now you have another meal!

2014-07-19 18.56.48


5 Comments

Creamy Zucchini Noodles

This recipe is a huge favorite with the Russian and I. After I made it once to try it out, I added it into my regular rotation of dishes. It’s fast, cheap, and easy, all very important characteristics with everything I’m juggling these days, and his eyes light up whenever I mention making it again. There is little doubt that once Sugar Bee* gets over her “it has skins” phase about everything put in front of her that she will be chowing down on this one, too. She still loves avocado (her first food) and is a total veggie-head. Don’t be fooled by the word “creamy” in the title. This dish is non-dairy, gluten-free, vegetarian, paleo-friendly, you name it and it probably fits, like nearly every recipe I will ever post.

The recipe originates from the blog of Empowered Sustenance. Her original recipe can be found here. She is an amazing resource and I have really enjoyed her posts. You should follow her blog, too!

First, I have to mention (brag) that the zucchini used for this blog was successfully grown in my own container garden. This is only my second year taking a crack at growing my own food and I’m quite impressed with myself. If I actually had time, I would research a lot about how to successfully grow each individual crop and spend a lot more time tending to the plants. I’m sure I would probably have actual garden beds, a greenhouse, and compost everything, but containers are about all I can handle at this point in my life. Just take a look at this beauty!!

2014-07-06 17.29.57

Now let me focus your attention on one of the best things ever invented, next to the Kitchen Aid  stand mixer. I LOVE this thing! You can spiral fruits and vegetables into noodles or chips in minutes. It’s so easy to use and clean. If you don’t have one, go buy it. Now. Amazon usually has the best price. Look, I’ve even given you a place to click and get one here. If you are a clean eater, paleo, or GFer and you still don’t have one, I’m not sure we can talk anymore. You should have had this yesterday. But if you don’t have one, you can use a julienne peeler like this one to make the noodles.

Creamy zucchini noodles

Another nifty item to have is an avocado saver. There are those rare occasions where we actually have half an avocado left in our house and this thing actually works. You do have to pull it real tight to make sure air can’t get to the flesh, and there might still be a little discoloration when you get to it, but it’s a very thin layer that scrapes off very easily.

Creamy zucchini noodles

This was after two days in the saver in the fridge. I think that’s pretty darn good! The lighting  in this picture stinks, but as you will see in the picture down below in this post after it’s been scraped into the bowl, it was still nice and green. The only thing was that those little stripes appeared. TWO DAYS. Here it is on Amazon, but I bought mine in Publix. My mom found one for herself up in NY at Stop N Shop, so I’m sure you can get one anywhere. Do it.

Creamy zucchini noodles

To make the zucchini noodles, trim the ends off the zucchini, position it in the slicer, and turn the handle. Yep, this is really hard stuff here.

2014-07-06 17.34.54

I like to make my noodles on the short side. When I first started making this, I would make them too long, making cooking, mixing, and even eating them a little difficult. I break them off after a few turns and drop them in the bowl. Then I turn and make some more. One of the easiest things going on in my world of cooking prep.

Creamy zucchini noodles

When you are done making the zucchini noodles, it’s time to cook them. Heat the EVOO in a saute pan over medium heat. Add the zucchini noodles, some Italian seasoning and garlic powder, and turn the noodles around in the pan to coat them in the oil and spices.

Creamy zucchini noodles

While the zucchini is cooking, get the sauce ready. Scoop the avocado into a medium-sized bowl with juice from half a lemon, a giant tablespoon of mayo (you could use yogurt, if tolerable), salt, and fresh ground pepper to taste.

2014-07-06 18.24.06-1

Mash the ingredients together with a fork until it looks like a creamy guacamole.

2014-07-06 18.26.57

When the zucchini has finished cooking, it should still have a nice green color and be soft, but not mushy. Remove it from the heat and let it stand a minute or two. Don’t let it cool too long as the warmth from the zucchini helps the creamy avocado sauce to coat the noodles.

Creamy zucchini noodles

 After it has cooled for a few minutes, add it to the bowl of creamy sauce and stir to combine. I try to drain some of the oil off of the noodles before placing them in the bowl or the sauce can get too runny. Serve immediately and enjoy!

Creamy zucchini noodles

* Sugar Bee is what I call my three-year-old daughter. I actually call her My Sweet Sugar Bee, but this shortened version will work fine for my blog.


Creamy Zucchini Noodles

These quantities make two servings if made as a side dish, one if you eat it all by yourself as a meal…which you might want to do after the first time you make it. This is easily doubled and since I have found that it does last until the next day, I usually make a double batch. I have also sauteed fresh garlic in the oil before adding the zucchini for extra flavor (then omitting the garlic powder). We love garlic! Happy cooking!

INGREDIENTS
  • 1-2 tsp extra virgin olive oil (or the oil/fat of your choice)
  • 1 medium zucchini, made into noodles with a spiral slicer or  julienne peeler
  • 1 tsp Italian seasoning
  • 1/2-1 tsp garlic powder
  • 1/2 ripe avocado
  • Juice of half a lemon, freshly squeezed
  • 1 heaping Tbsp of mayonnaise (or yogurt)
  • Salt and pepper to taste
DIRECTIONS
  1. Heat oil in saute pan over medium heat. Add the zucchini, Italian seasoning, and garlic powder, tossing to coat. Saute for 3-5 minutes until noodles have softened, but not mushy and are still bright green.
  2. While noodles are cooking, mash avocado with the remaining ingredients in a bowl with a fork until it has the consistency of a creamy guacamole.
  3. When zucchini is finished cooking, remove from heat and let cool for 1-3 minutes. Add to the bowl with the avocado mixture, allowing some of the oil to drain off. Stir to coat noodles and serve. Enjoy!


5 Comments

The Half-Crunchy Mama’s Baba Ghanoush

Yay! A recipe post! I’m glad you’re back. Food always brings people back.

The Russian* and I are obsessed with eggplant. Seriously obsessed. My daughter, now almost three, has eaten eggplant since she could eat food that only needed to be mashed a little before swallowing. Her favorite recipe is what I call “Eggplant Ragu” and I will surely post that one as soon as I make it again so  I can write it down. When they are 10 for $10 at Kroger, we are eating eggplant in a variety of ways. I like to slice and grill it, marinate with other veggies for a variety of dishes (one of several ratatouille recipes, eggplant parm, eggplant lasagna, eggplant salads…all future postings), and of course, baba ghanoush. If I could figure out how to freeze eggplants, we would be set! Hmmm….might have to start researching and experimenting.

They way I like to cook is kind of like how I get my news. I read a few different sources and make my own decisions on how to move forward. My recipes are usually a little from this recipe, a little from another, and some other piece or two from yet a different one, all mixed together with my own knowledge of cooking and what tastes good and works together. After reading several different recipes, I decided that I had enough information to make my own. I must say the first batch was pretty damn fantastic. After half a dozen or so batches, they seem to only get better.

One “mistake” I apparently made was cutting the eggplant before roasting it. Sometimes I read a little too fast and miss an important item. Kind of like when I’m supposed to read directions or instructions for putting something together. Well, after my maiden batch, I was pretty sure that this is the best way to do it and that everyone else made the mistake by keeping the eggplant whole.

First, slice the eggplant in half lengthwise.

The Half-Crunchy Mama's Baba Ghanoush

Then oil up the cut side with some EVOO.

The Half-Crunchy Mama's Baba Ghanoush

Place it cut side down on a nonstick baking sheet.

The Half-Crunchy Mama's Baba Ghanoush

Bake it for about 25 minutes or so, depending upon how big it is (or they are if you are making a double batch). You want the eggplants to have some give when you push on the skins…usually anywhere between 20-30 minutes. They should look nice and golden and be pretty smushy. Perfect for going into the food processor.

The Half-Crunchy Mama's Baba Ghanoush

 Now you will want to let them cool off before scooping out the insides, unless you’re impatient (I don’t know anyone like that). In that case, you will need a towel or something to protect your hand. However, I suggest giving them at least a few minutes. That will give you time to set everything else up.

Get out your food processor. I have a small one and large one, but it’s almost easier to make it in two batches than drag the huge one out. And clean it.

You will also need EVOO, that’s extra-virgin olive oil for those of you that have never watched any of Rachael Ray‘s shows. Sadly, much to the disappointment of all of my chef friends, she’s the one that actually got me cooking and helped me to realize how much I love to cook. In addition to the olive oil, grab a lemon, a few cloves of garlic, tahini (I like this one and you can get it in most stores), pepper (preferably fresh ground), and Kosher or sea salt. Yep, that’s all that’s in it. Gluten-free, vegan, vegetarian, paleo, whatever your eating preferences or restrictions are, you can eat this! Unless you’re just picky and are afraid to try delicious things to put in your belly.

The Half-Crunchy Mama's Baba Ghanoush

 Now for the fun part.

Hopefully the eggplant(s) are cooled off now. Scoop out the insides into the food processor with a spoon. Now, I’m not really one for measuring anything. I go with how I feel, so sometimes my measurements are estimates. Taste as you go, stick your finger in and taste, and then adjust accordingly. Salt is the biggest thing I have a hard time with and I often under salt my food. It’s better than putting too much in.

For a single eggplant batch, I usually add two cloves of garlic run through the press (even though it’s going to get blended, it helps to distribute better), a heaping tablespoon of tahini, 1/2 of a fresh squeezed lemon, 1-2 tablespoons of EVOO, 1/2-1 teaspoon of sea salt, and a few circles of the pepper grinder around the heap of ingredients waiting to be blended.

The Half-Crunchy Mama's Baba Ghanoush

 You don’t want to process it too much or it will get really runny. I like it to be thick enough to pick up a bunch on the end of a baby carrot, not having to scoop it up with a spoon because it slides off.

The Half-Crunchy Mama's Baba Ghanoush

 Hopefully you will get something that looks as beautiful as this when you are finished and have plated it…or put it in a plastic or glass container that can be sealed up. Store it in the refrigerator and enjoy for several days to come!

The Half-Crunchy Mama's Baba Ghanoush

 Remember, there are no preservatives, so enjoy it sooner rather than later. Clean and fresh food is best!

* This is the endearing term for my Moscow-born husband that will be regularly used when discussing anything to do with him in my posts.

The Half-Crunchy Mama’s Baba Ghanoush

These quantities are for a single batch. I usually double everything, so multiplying ingredients does not affect the taste as happens sometimes with recipes. For two or twenty, Baba away!

 INGREDIENTS:

1 Eggplant (FYI, to pick a proper eggplant, it should feel heavy for its size and give a little when you squeeze it)
2 Cloves of garlic, minced or pressed
1 Tbsp tahini
1/2 Fresh-squeezed lemon
1 Tbsp extra-virgin olive oil, plus some for oiling the eggplant before roasting
1/2-1 tsp kosher or sea salt, to taste (I have used both at different times, so this one is your choice)
Several turns of fresh ground pepper, to taste

 DIRECTIONS:

1. Preheat oven to 400°F.
2. Slice the eggplant in half lengthwise. Coat cut side with olive oil. Place cut-side down onto baking sheet and bake in oven for about 25 minutes. Total time could be anywhere between 20 and 30 minutes, depending upon size. The  eggplant is ready to be removed when there is lots of give when pressing on the skin with your finger. Allow to cool.
3. Once cooled, scoop insides of eggplant into food processor bowl. Add the remaining ingredients and blend until combined and the preferred consistency has been reached. (Be careful not to over-process or it will be like soup.)
4. Store in airtight container for up to a week in the refrigerator. Enjoy!