The Half-Crunchy Mama

Trying to live a natural life with balance


1 Comment

A Half-Crunchy Thanksgiving

If everything had gone according to my plan, this would have been finished up on Tuesday or Wednesday. Life. It gets in the way sometimes. So what am I cooking this year?

For the past several years, we have been celebrating Thanksgiving with Sugar Bee’s Godparents and their boys. They are an extension of our family and we love them very much. What’s even better is that we all eat in a similar way. There’s not a lot of questions about what we can make or what the other family can eat, so it becomes pretty easy to celebrate with them. No awkwardness about our diets, as in the way we nourish our bodies, not a “diet” as most people think. It’s the way we live.

So every year we split up the responsibilities so that neither family is responsible for the entire meal. This year, I am in charge of two desserts, three sides, and biscuits that we can all eat without getting all sorts of digestive issues. I’m throwing this quick post together of what I’m making (some I have already made ahead yesterday…WIN!), so you can pin them for next year. Actually, some of these will get made again for the Christmas season, too 🙂 You can find them all on my Pinterest Holiday board.

Tuesday night, I made the cranberry sauce. It was done in the slow cooker and is Paleo-friendly. YUM! With fresh cranberries, pears, ginger, and orange with honey and coconut sugar to sweeten, this recipe was so easy and is the perfect one for me to bring to dinner. 2014-11-25 19.29.37

2014-11-26 08.51.01

Paleo slow cooker cranberry sauce

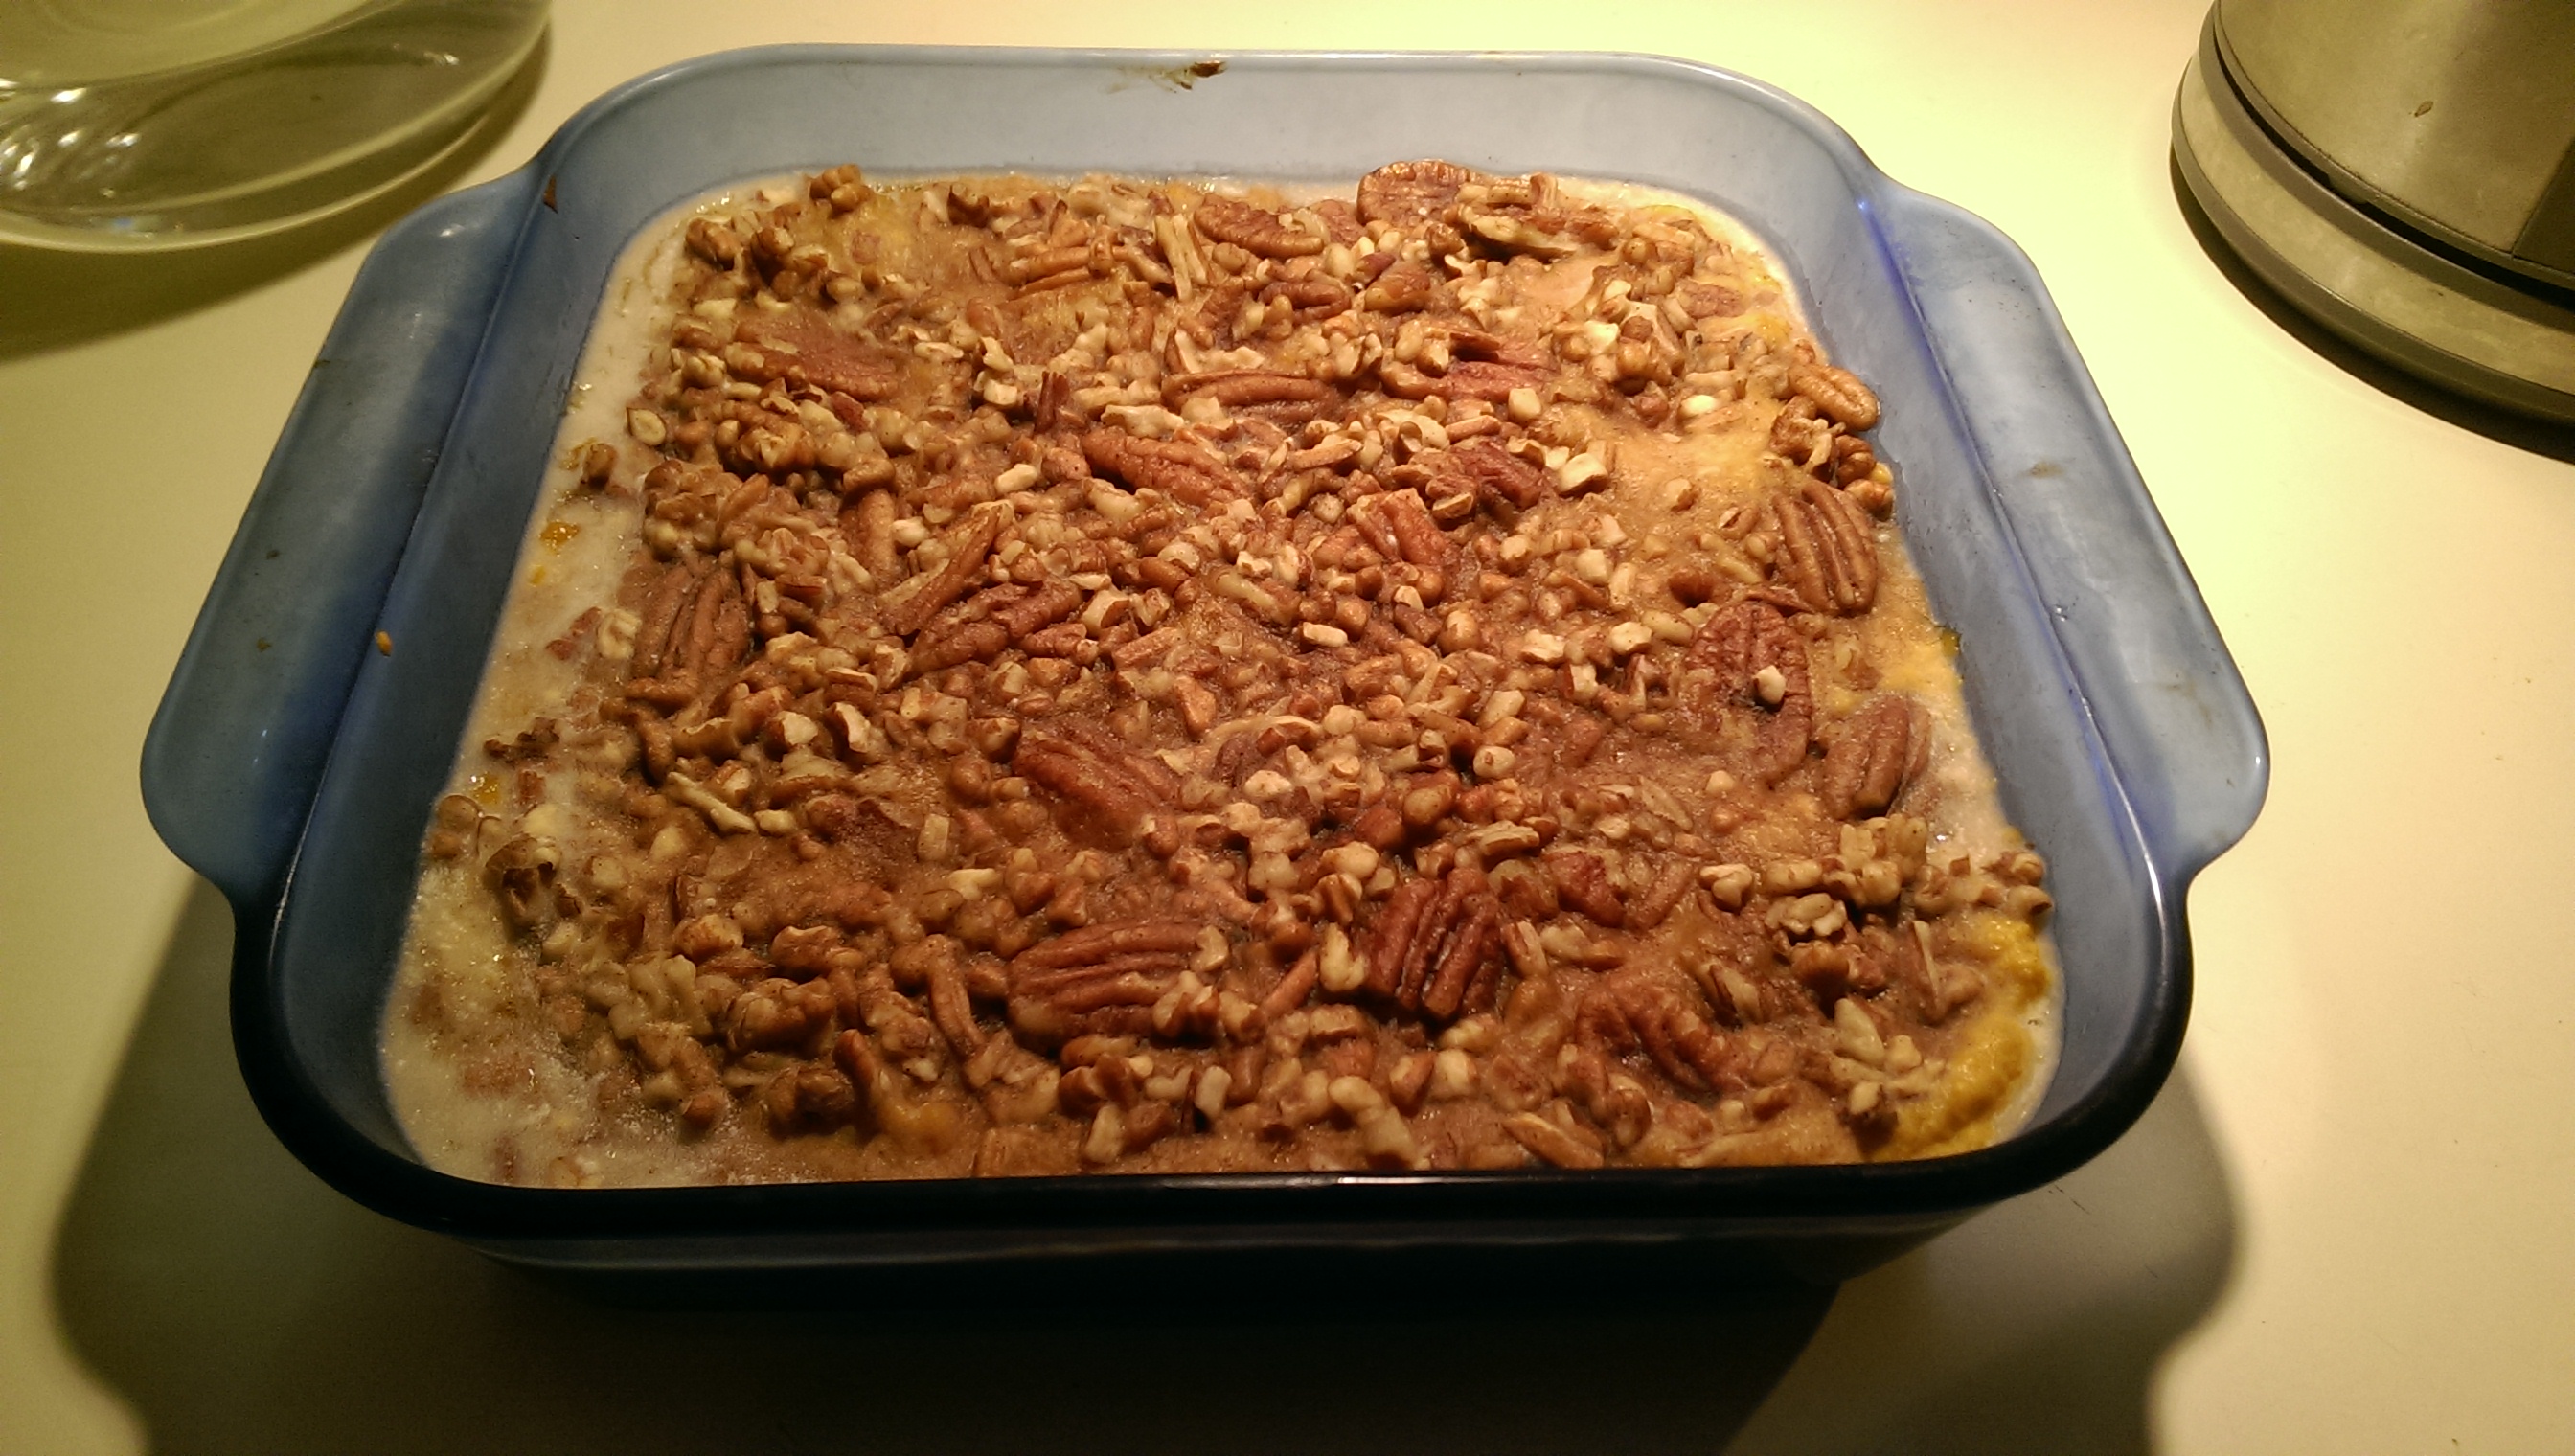
The next thing I made is my usual for both Thanksgiving and Christmas Eve dinner, Spiced Sweet Potato Casserole. I LOVE this recipe, not only because it’s super easy and only requires me to dirty my KitchenAid stand mixer (fast cleanup!), but you can assemble this the night before and just finish it off in the oven the next day before dinner.2014-11-26 23.15.31 The next thing that I was able to cross off the list was a request. I made these for the first time last year. They are Pecan Pie Bars from Paleomg and they are amazing! I think that they are going to be even better this year because I made them yesterday, so they have had lots of time to firm up.

2014-11-26 18.41.25

They spent several hours in the freezer yesterday afternoon and they have been in the fridge since last night. Can’t. Wait.

2014-11-26 23.16.20

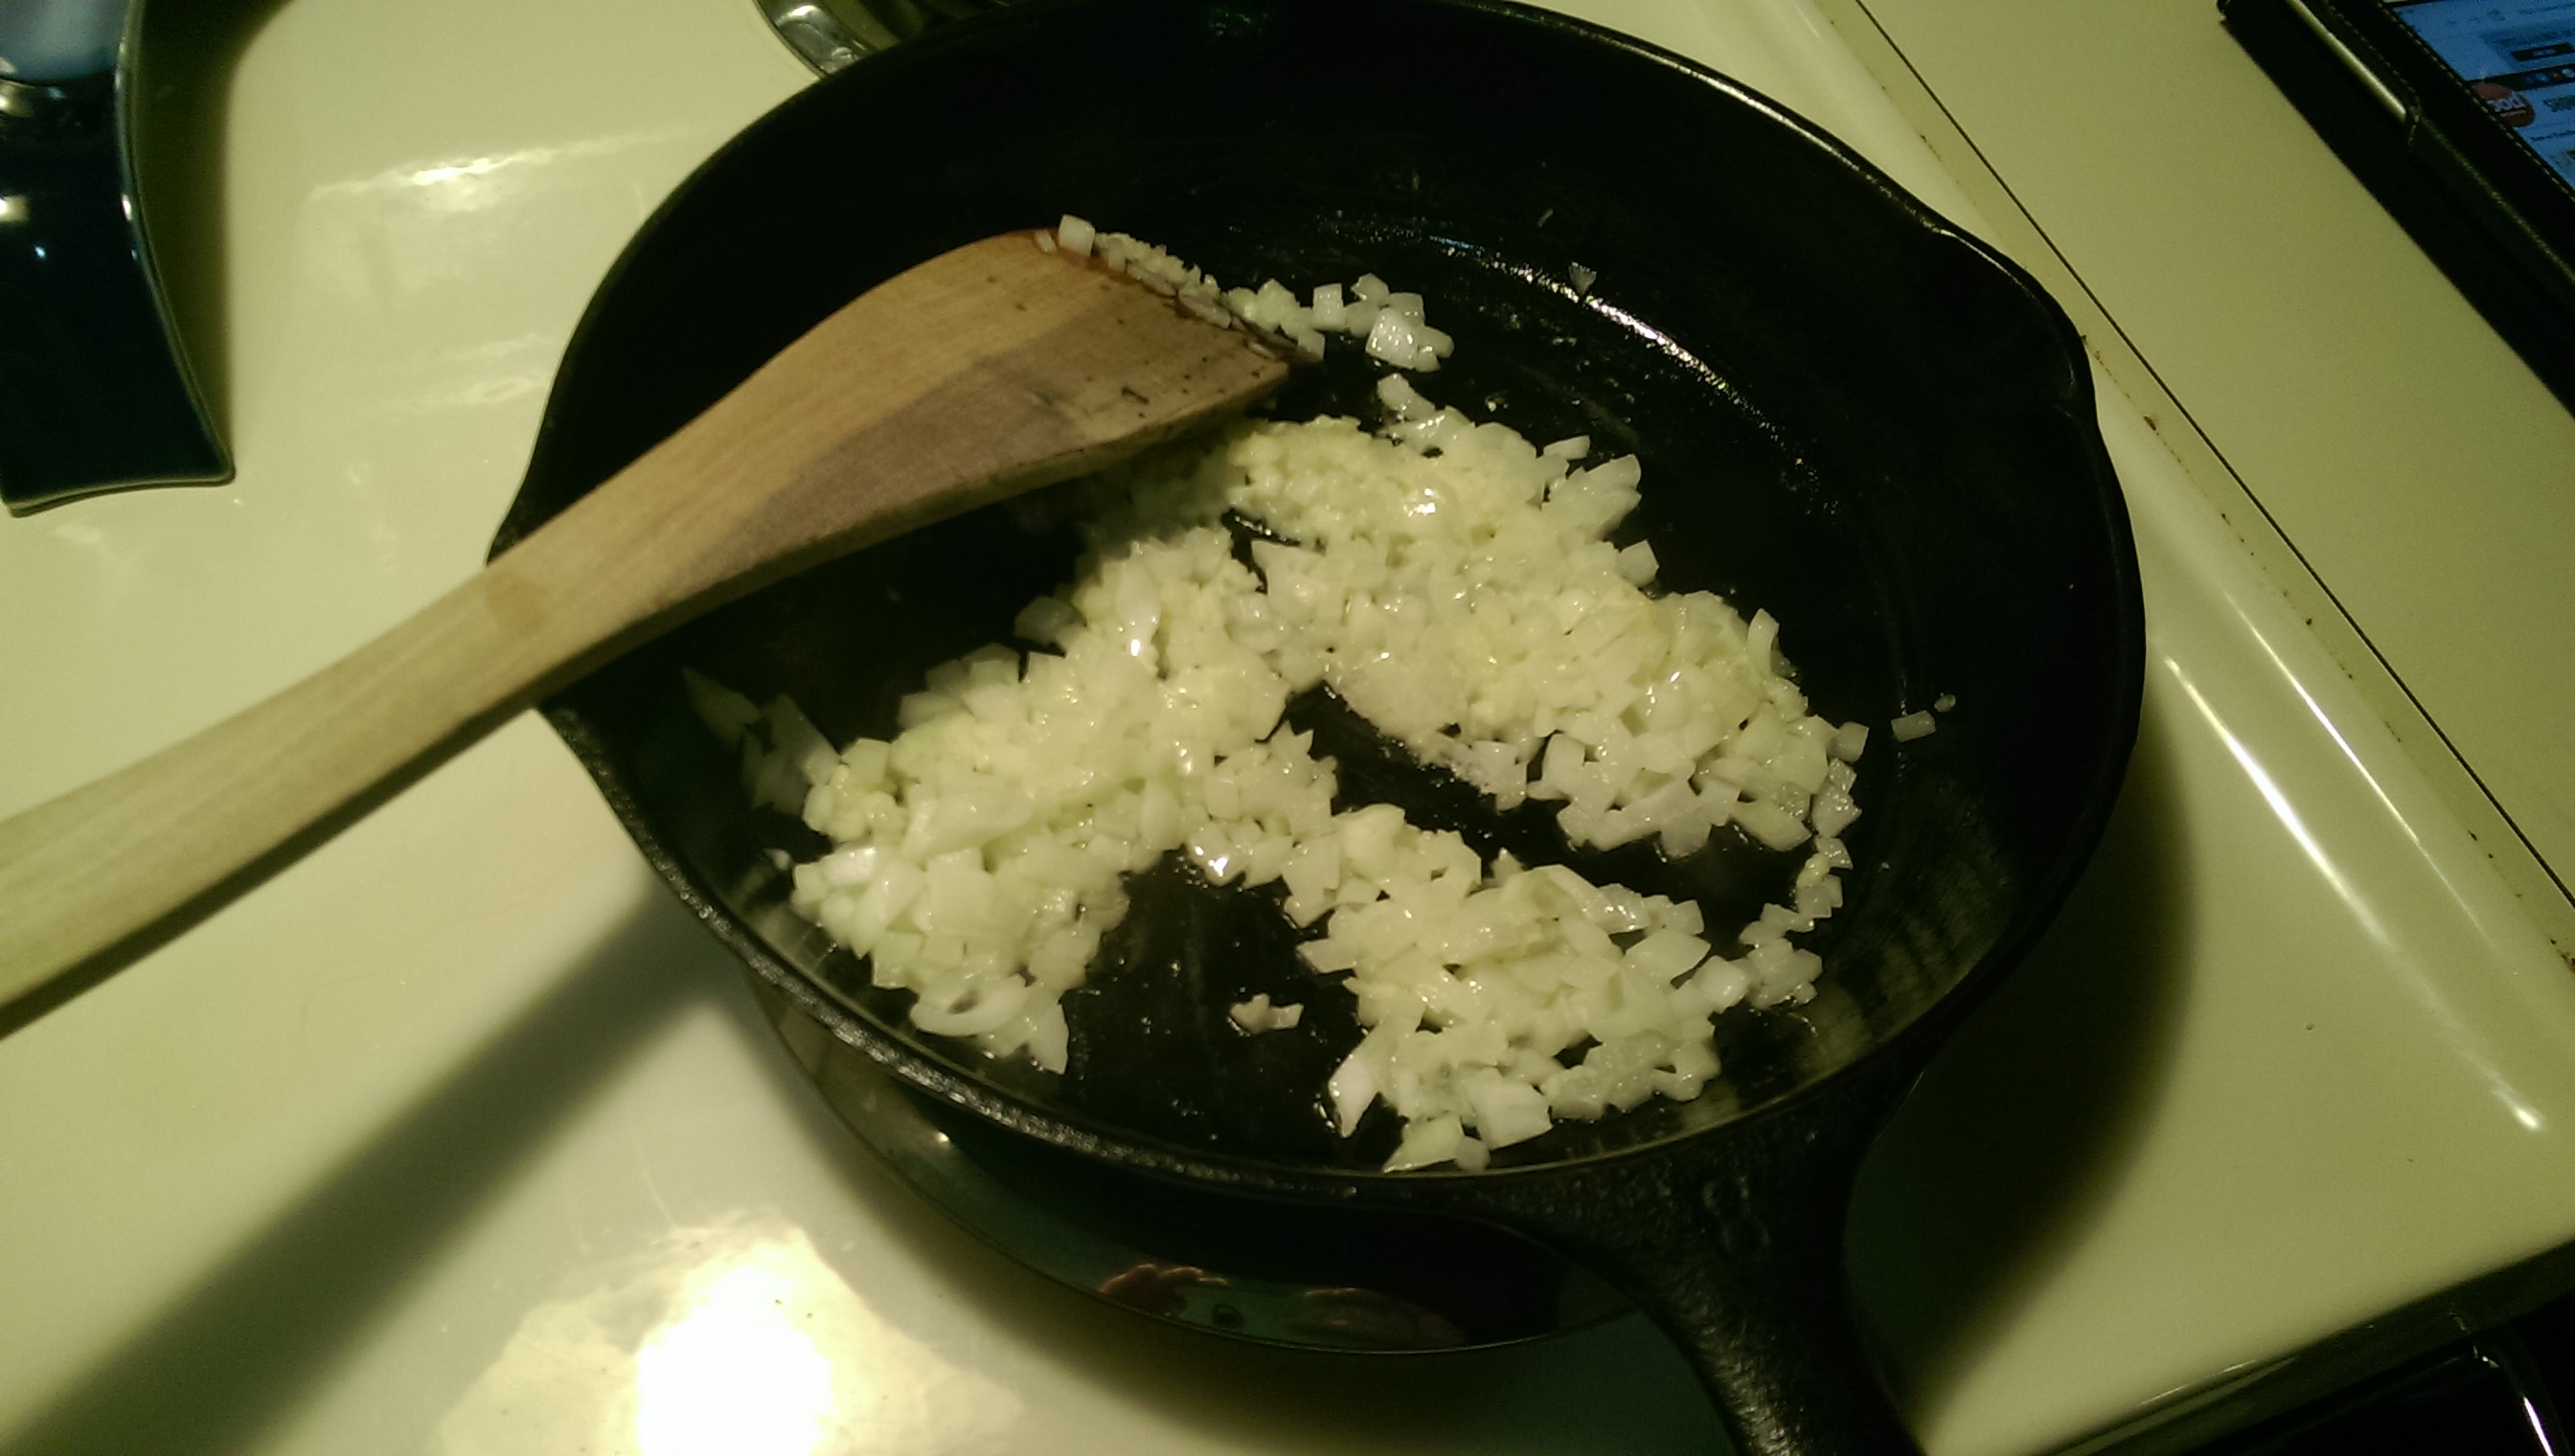
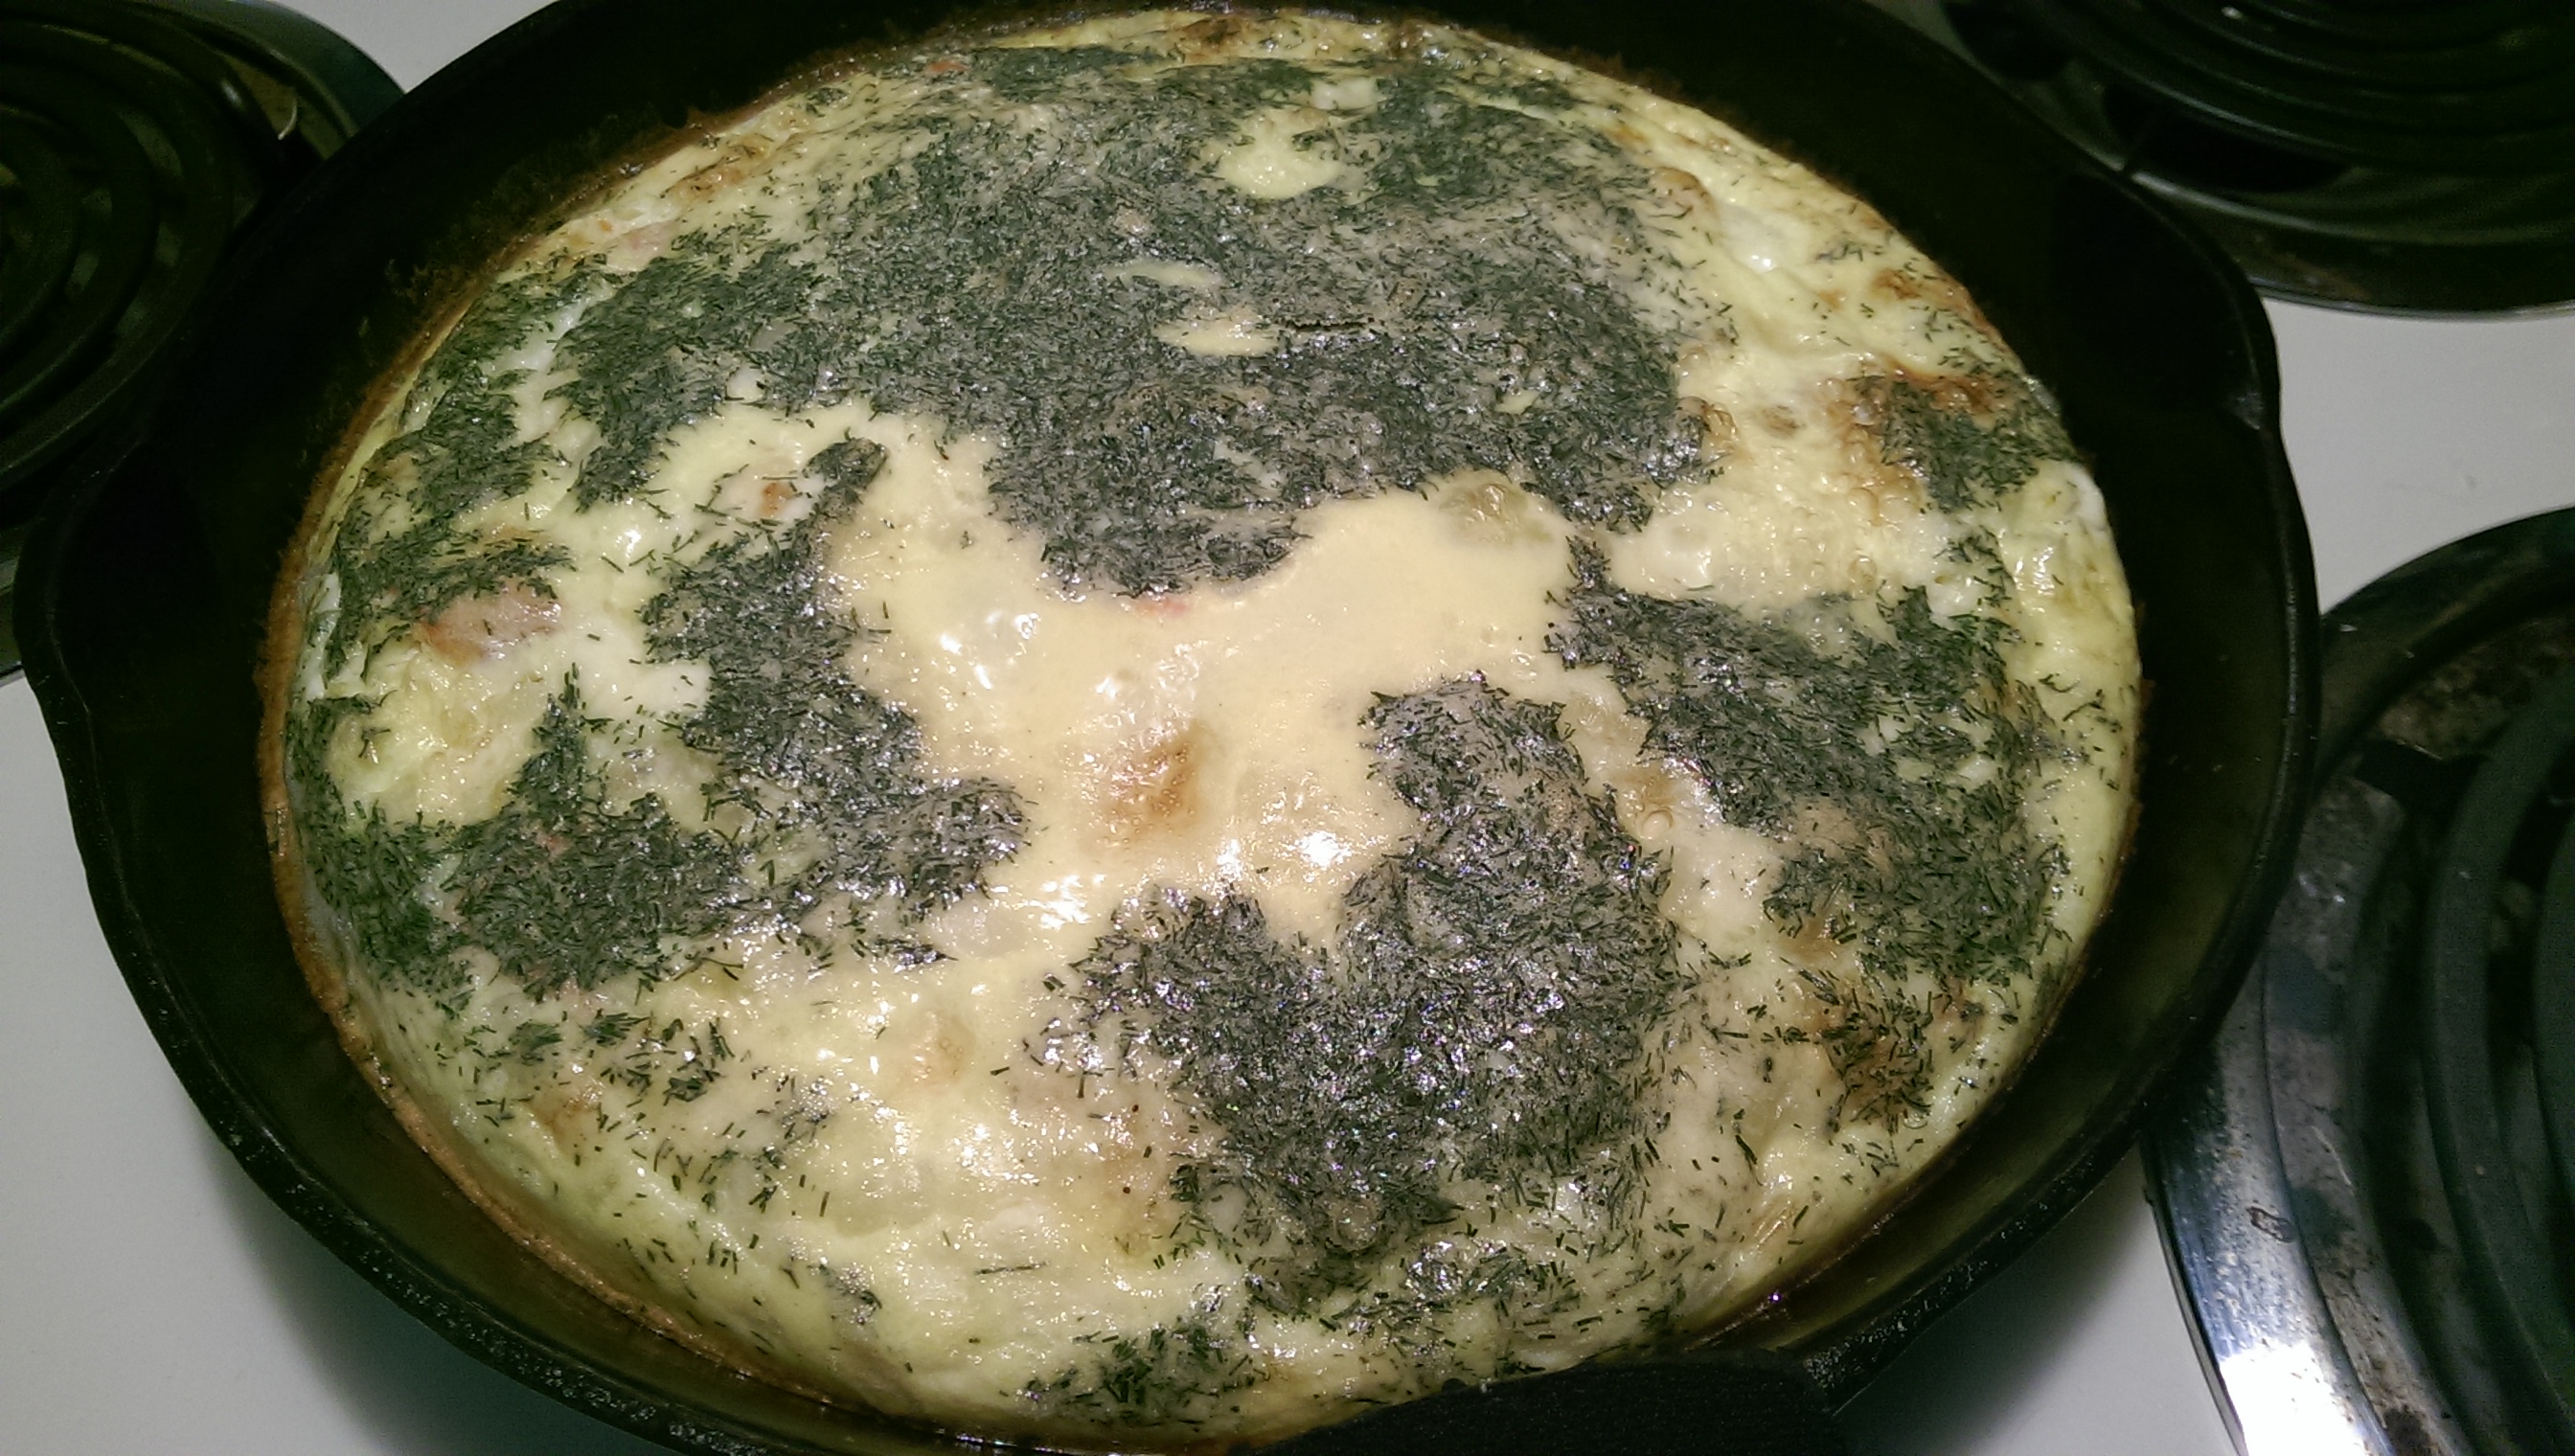
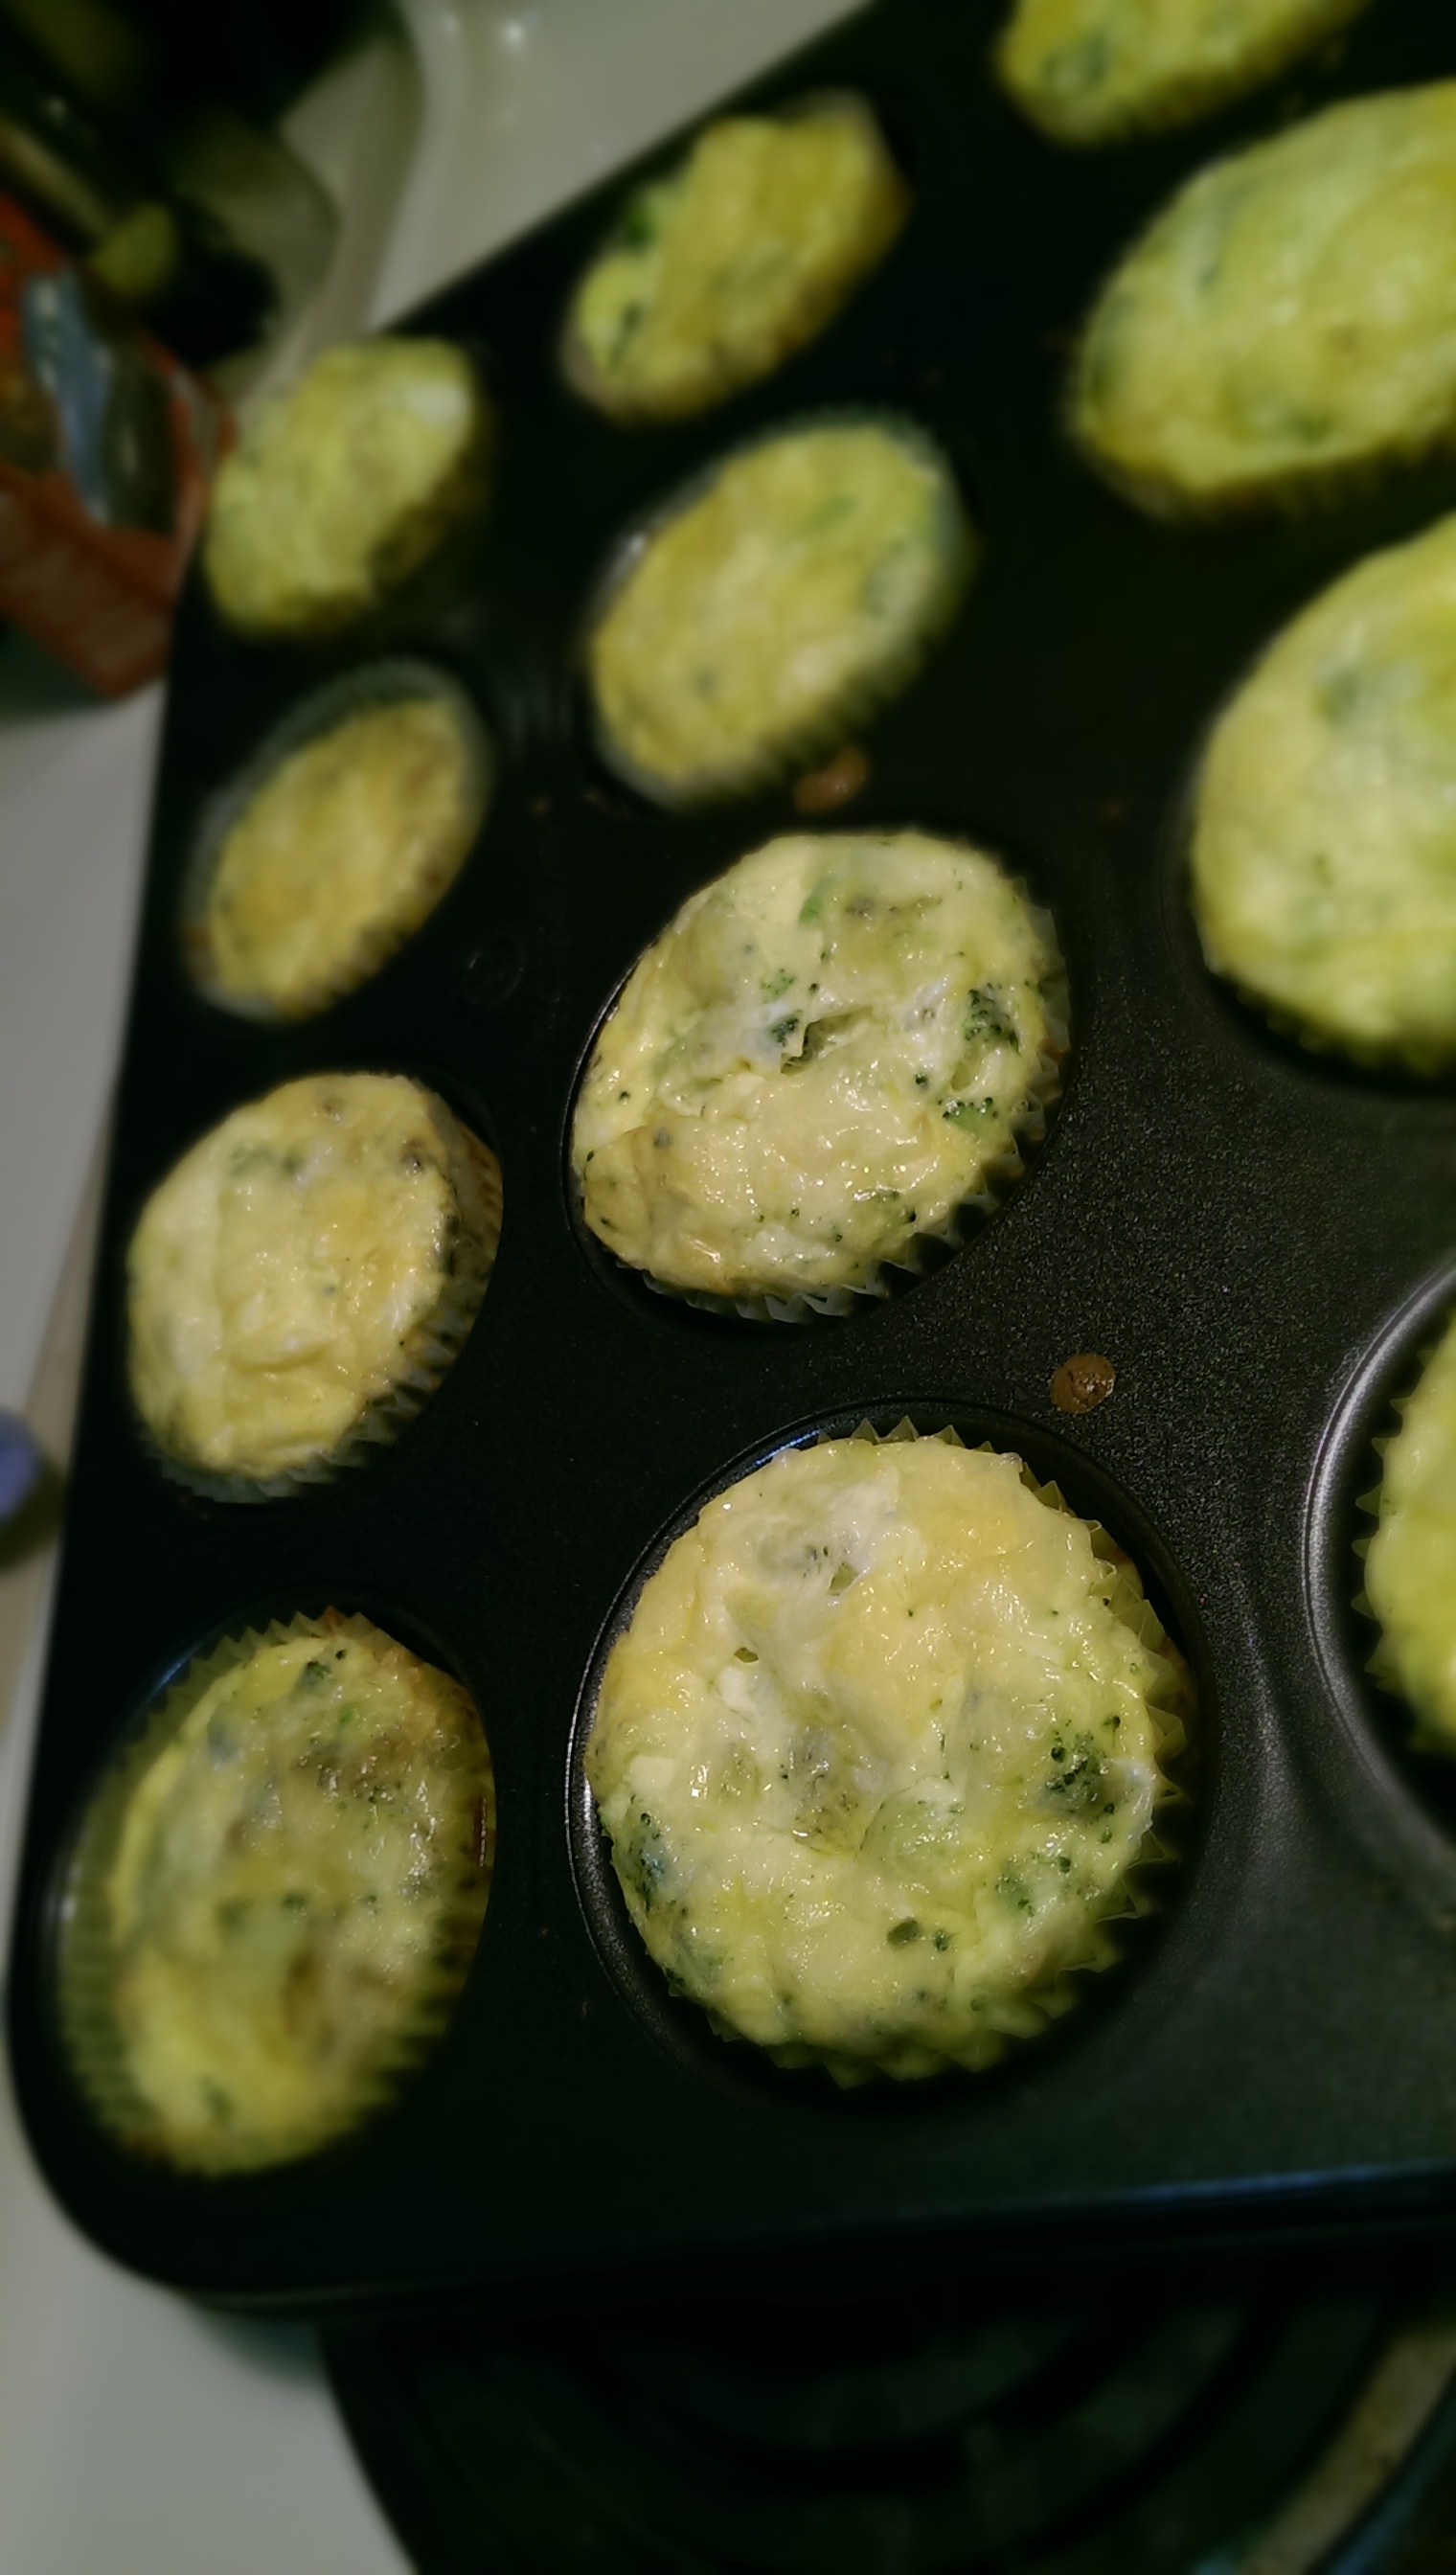
After getting home from Thanksgiving Eve beverages last night with my friend, I assembled my first ever breakfast casserole. Why in the world have I never made one of these things before?!?! Of course, it’s a gluten-free recipe so Sugar Bee can eat it, and let me tell you…with all the cheesy, bacony goodness, you would never know OR care! Oh my LORD it was good!

2014-11-26 23.13.00I assembled it, covered it, and put it in my garage fridge overnight. When I got up this morning, all I had to do was take it out and leave it on the counter while I preheated the oven. Once the oven reached 325 degrees, this amazing mess was ready for us to eat in less than an hour. Make this. I used the light GF white bread from Whole Foods because I figured that the consistency of their gluten-free bread would be perfect and I was 100% right. This one is a keeper!

2014-11-27 09.17.59Now for the things that I have left to make. (I will try and remember to update this post tonight or tomorrow with pictures of my finished products.)

This will be my second dessert, Crustless Pumpkin Pie by Gluten Free Easily. I’m really looking forward to this one!

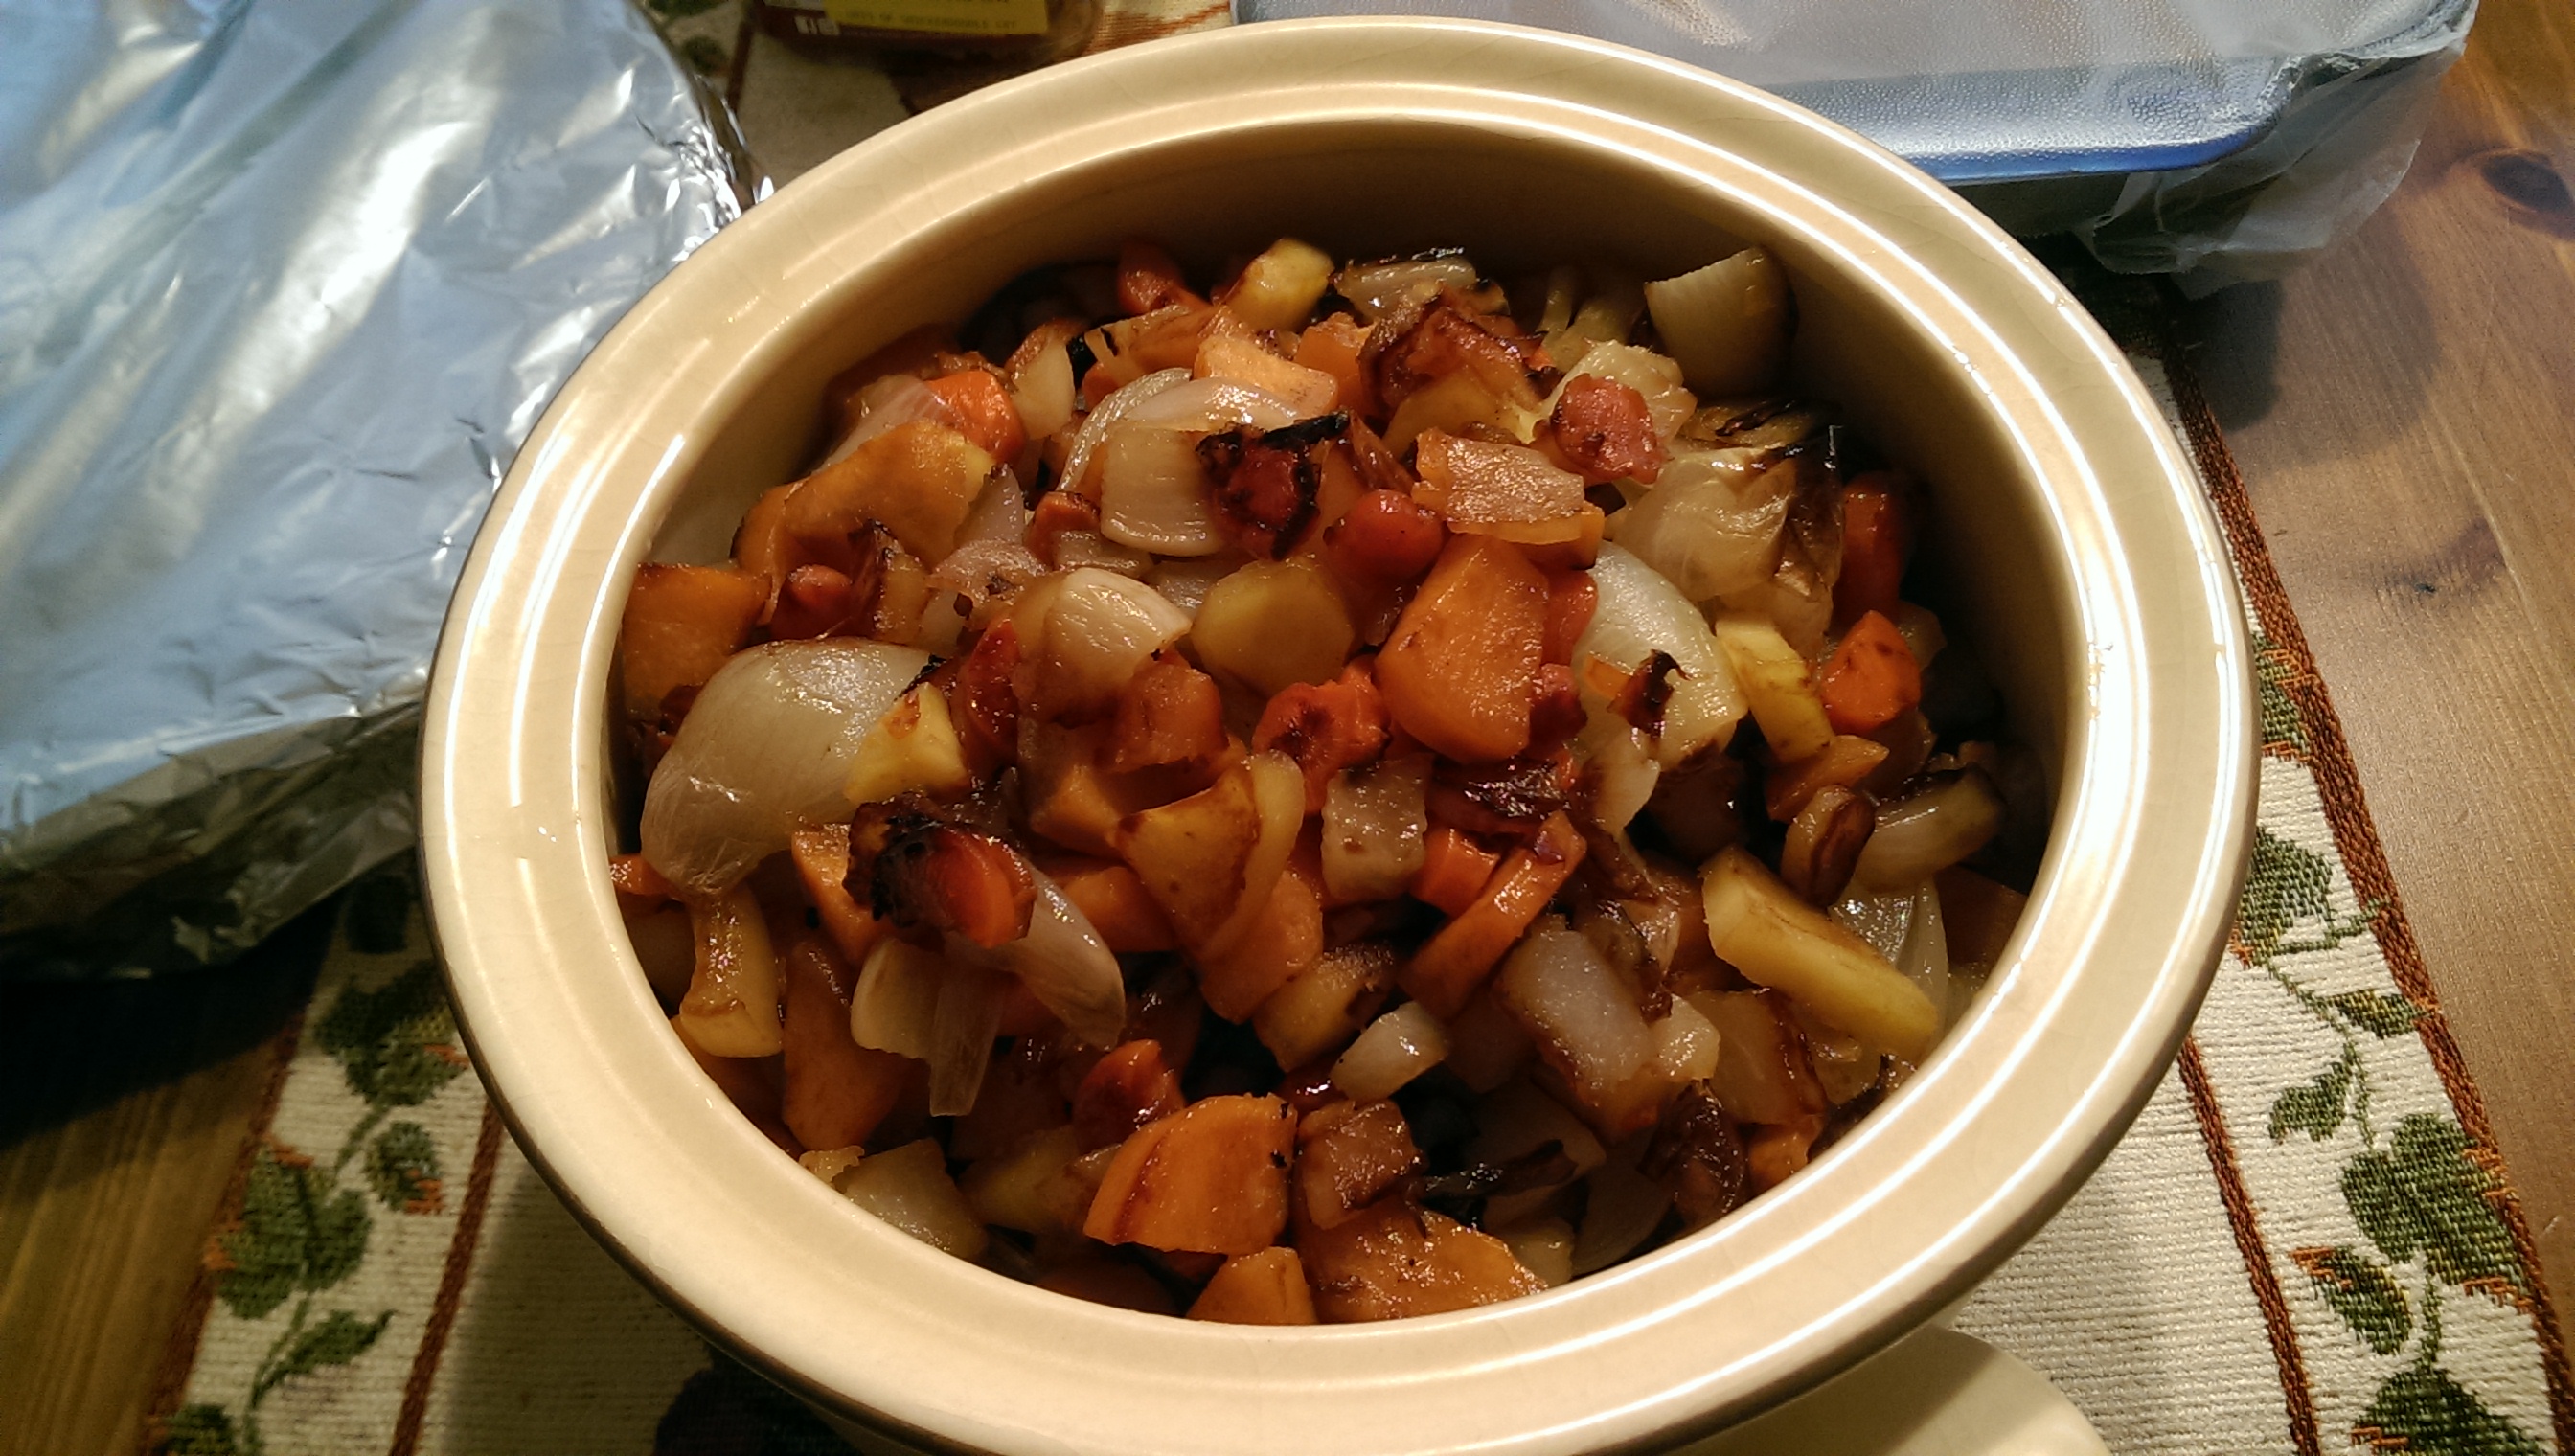
My other side is going to be Honey-Roasted Root Vegetables. I’ve been making this other dish for holiday dinners for the past several years, Roasted Root Vegetables with Maple Glaze. I decided to try one of the others that I saved and have never tried. Here’s the recipe for the honeyed version.

The last thing that I will be making are GF biscuits. I have made these before with a great mix that I buy at Aldi. It calls for shortening (yuck), so I will be swapping that out with some expeller-pressed coconut oil. Expeller-pressed doesn’t have the coconut flavor that could ruin the biscuit taste. This is the one that I use.2014-11-27 11.55.25Happy Thanksgiving to you all! I will be getting back to more regular posts now that life and travel have both calmed down. Whew! October and November kept me BUSY!! Have a blessed day!!

***UPDATED***December 2, 2014

A few more pictures….

The Honey Root Veggies were so good that my husband only got leftovers the first night. I ate all the rest.

2014-11-27 15.32.40

This is the crustless pumpkin pie. Oh. My. God. As my friend said, it was so good that you really don’t even miss the crust. It was just incredible. And easy! Mine looks much darker than in the photo from the posted recipe, but I think this is because I didn’t use fresh pumpkin and I don’t really measure spices.

2014-11-27 15.33.06

No picture of the biscuits (although they looked the same as when I made them a few months ago and posted on Instagram), but I advise to either add flavor to them if using the expeller-pressed coconut oil over the shortening, or use Kerrygold butter in place of the shortening like I did the first time. They still had a great texture, but no flavor. At all. We have been putting Nutella on all the leftover ones, so they are still getting eaten.

Hope your Thanksgiving was as wonderful as mine!


1 Comment

Smoked Salmon and Goat Cheese Frittata

I love channeling my Gram in the kitchen when I use her old cast iron skillet. In fact, there are a lot of times that I’m cooking when I feel like she’s with me, especially around the holidays. I have several of her pans and skillets, but this cast iron one is by far my favorite. I miss her a lot (she passed in 2009, just shy of her 93rd birthday), but I feel her presence every time I use it. My mom says that my fried egg sandwiches taste just like Gram’s and that is the best compliment ever. I don’t use this skillet as often as I should and would like to, but it’s the best thing for frittatas, frying foods (not that I do that very often), and cooking/braising meat. It’s 10.5 inches across and 2 inches deep. Made in the USA, as was almost everything back then.

In case you missed my Cheesy Broccoli Egg Muffins post, breakfast is my favorite type of food and I would eat it all day long if I could. My favorite way to eat breakfast for dinner, or brinner, is in the form of a frittata. To me, frittatas are so much tastier than an omelette and way healthier than a quiche. And you can make up any kind of frittata combinations you want! Trust me, I do it all the time. This combination was created based on what was in the fridge since I was feeling too lazy to get to the store. We love all salmon, especially lox, and I usually have a thing or two of goat cheese in the drawer. Easy peasy.

The easiest way that I have found to deal with packaged lox (the pieces can be very sticky to each other) is to take the slab of slices and cut them all in long strips.

Smoked Salmon and Goat Cheese Frittata | The Half-Crunchy Mama

Then I loosen them up and separate them as best as I can. I hate when they all clump together in the egg mix and you are left with huge bites of smoked salmon in random places of the frittata and nowhere else.
Smoked Salmon and Goat Cheese Frittata | The Half-Crunchy Mama

 The same thing goes for the goat cheese. I have struggled a few times with how to handle the brick of cheese that I usually have in the fridge. Of course if you buy or have goat cheese that is already crumbled, this next part won’t apply, but it’s cheaper to purchase this way and now I have a trick to share.

Smoked Salmon and Goat Cheese Frittata | The Half-Crunchy Mama

I cut it up while it’s still in the package. Goat cheese is so soft and very difficult to cut no matter what way you want it to be, so I have learned to do it this way if I want it to be close to the size of crumbles. I make cuts both vertically and horizontally in the package, and everything stays in the plastic until I’m ready to dump it in. It still isn’t as perfect as prepackaged crumbles, but you never know what else might be included in those packages to keep the cheese clumps all nicely separated.

Smoked Salmon and Goat Cheese Frittata | The Half-Crunchy Mama

Now I’ll talk about my butter. Unless I’m about to do a bunch of baking for a party or something that will involve a lot of butter, I usually only purchase Kerrygold from the store. If you have time and patience to make your own or spend extra pennies on something better, by all means. For me and my cheap, half-crunchy bum, I’ll go with this one. And I swear it tastes different than the rest of the ones in the dairy case at your regular supermarket. When using cast iron, I don’t bother with anything of low quality. My pan is perfectly seasoned and I’m afraid of using anything that isn’t close to what it has been used to its whole life. You know, like food. Not “organic,” not “non-GMO,” not “grass-fed,” “free-range,” or “rBGH-free” because these things never existed back in Gram’s day. Animals and crops were naturally raised and we dealt with bugs and disease. People still ate. Farmers were respected. People didn’t have all sorts of crazy allergies to food and the environment, and the general population was not nearly as sick as we are today. Okay, I’m getting off my soap box now. Sometimes I just have to rant and get this stuff out.

Smoked Salmon and Goat Cheese Frittata | The Half-Crunchy Mama

Back to the recipe. After prepping the salmon and cheese, it’s time to get going on the onion and garlic. Chop a small onion finely and mince two cloves of fresh garlic. Melt 1 Tablespoon of butter in the skillet over medium heat. Add the onions and garlic, and saute about 3 minutes.

Smoked Salmon and Goat Cheese Frittata | The Half-Crunchy Mama

 While they are sauteing, whisk 10 eggs in a large bowl with 1/4 milk, if you do dairy, sea salt, and fresh ground pepper. If you don’t do milk and have nothing else to add in its place, use a tablespoon or two of water to help make the eggs fluffy. Add the sliced smoked salmon, the goat cheese, and 2-3 Tbsp dried dill (fresh is WAY better if you have it, but I was all out) to the egg mixture.  Pour egg mixture over the onions and garlic, slightly stirring to combine.

Smoked Salmon and Goat Cheese Frittata | The Half-Crunchy Mama

 Turn the heat up to medium high and cook until the edges start to firm and climb up the side of the pan a little and bubbles start to appear.

Smoked Salmon and Goat Cheese Frittata | The Half-Crunchy Mama

 Transfer it to an oven preheated to 350ºF and bake for about 25 minutes. It should look nice and golden on the top when finished, and a toothpick should come out clean from the middle.

Smoked Salmon and Goat Cheese Frittata | The Half-Crunchy Mama

Slice and serve! It goes well with a nice green salad with a mild dressing.

Smoked Salmon and Goat Cheese Frittata | The Half-Crunchy Mama

 One last shot to show how well a wonderfully seasoned pan can work. It helps that this pan is older than me and that I have loved on it just as my Gram did. Once you get used to using one, you will be in love as much as I am.

Smoked Salmon and Goat Cheese Frittata | The Half-Crunchy Mama


 Salmon Goat Cheese Frittata

This simple recipe can help you get dinner on the table in about 35 minutes with very little prep work. It goes well with a small side salad for dinner, and the leftovers are great for any meal!

INGREDIENTS
  • 6 ounce package of smoked salmon, sliced into small strips
  • 4 ounce package of goat cheese, cut into small pieces (or packaged crumbles)
  • 1 small onion, finely diced
  • 2 cloves of garlic, minced
  • 1 Tbsp butter, lard, or oil of your choice
  • 10 eggs
  • 1/4 milk (or other liquid, I’ve only used water)
  • 2-3 Tbsp dill (dried, but fresh would be better)
  • 1/4+ tsp sea salt
  • 1/8+ tsp fresh ground pepper
DIRECTIONS
  1. Preheat oven to 350ºF.
  2. Heat 1 Tbsp butter in a deep or large ovenproof skillet over medium heat. Once melted, saute onions and garlic for about three minutes.
  3. While onions and garlic saute, whisk together the eggs and milk/liquid, salt, and pepper. Add salmon, cheese, and dill to the eggs and stir to combine.
  4. Pour egg mixture over the onions and garlic, give a quick stir, and raise the heat to medium-high. Cook until the edges start to firm and climb up the pan and bubbles start to form.
  5. Transfer pan to the preheated oven and bake for about 25 minutes until golden brown on top and an inserted toothpick comes out clean.
  6. Serve with a lightly dressed green salad. Enjoy!


1 Comment

Cheesy Broccoli Egg Muffins

I love to eat breakfast any time of the day. And by breakfast, I mean eggs. I could eat eggs three times a day and never get bored. There are so many ways to eat them! I even have an entire Pinterest board dedicated to recipe ideas that involve eggs; Breakfast Anytime. Most of them are frittatas (my favorite things to create) and muffin things like this one, but there are some others on there that I make quite often, like this Kale and Feta Egg Bake recipe. You should check it out. But you won’t find any other kinds of breakfast recipes, like the carbtastic ones, because we don’t really eat food like that in our house. I have never been a pancake/waffle/french toast kind of person, except maybe a few times when I was pregnant. I blame my Sugar Bee for that.

Speaking of Sugar Bee, she’s a broccoli fiend. This kid goes through phases of obsessions (like all toddlers), but the broccoli one seems to be pretty consistent. The odd part to me is that her preferred way to eat it is raw with hummus, which completely thrills me as eating raw foods retains their nutrients. Steaming is the next best option, but raw broccoli maintains its high levels of vitamins A ,C, and K, and none of the other bonuses (calcium, iron, fiber, and the cancer-fighting sulforaphane) have a chance to deteriorate like they do when cooked. Of course in this recipe, the broccoli is steamed before a quick bake in the eggs, but I couldn’t help rambling on about the reasons for my broccoli love. Now on to the recipe!

Everyone complains about egg muffins sticking to the pan, but I haven’t found using liners to be a much better solution. This time, I decided to spray the liners with cooking spray (yes, I use PAM – gasp! – and Trader Joe’s makes a good coconut oil one but coconut and eggs don’t go together) to see if that would make a difference. It did help make the paper a lot easier to remove from the muffins…no little pieces left behind after removing the liner…especially in the ridges along the sides where little pieces would hide. I don’t care much for paper in my food.

Cheesy broccoli muffins

After setting up the liners, preheat the oven to 375ºF and get a pot of water heating up to steam the broccoli. I use a stainless pot with a steam insert similar to this one, but it’s a lot nicer than mine. (That’s why there’s no picture. I really need a new one.) Chop up about 2 cups of broccoli into small pieces and steam for a few minutes, just until you can poke a fork through and there is a bright green mess looking at you when you lift the lid.

Cheesy broccoli muffins

In a large bowl, crack in 8 eggs and whisk together. I like to add a little water to make it fluffy. Add about 1 Tablespoon dried chives. I didn’t have any fresh on hand, but if you do, always go with fresh herbs. Add salt, pepper, garlic powder, a few circles around the bowl of sriracha (or other hot sauce), and shredded cheese. I used a cheddar/Mexican blend, but any flavor will do. Add the steamed broccoli and stir to combine.

Cheesy broccoli muffins

Spoon into the muffin liners so they are almost full and top with more cheese. You can never have too much cheese. Unless you can’t eat cheese. And that thought just makes me sad.

Cheesy broccoli muffins

 I had some left in the bowl after filling the 12 muffin liners, so I grabbed one of these little ramekins and poured the rest in. (If you don’t have a small ovenproof baker or two to use, you might want to omit an egg or some of the broccoli or cheese from the recipe.) This made a nice portion for the Russian when he got home from school that night.

Cheesy broccoli muffins

Bake for 12-15 minutes. The magic number for me was 14, but my oven is so old, just check on it and use your judgement. They should fluff up and be pretty when they are done, with a slight golden sheen.Cheesy broccoli muffins

  So yummy! I couldn’t stop eating them. I think I had three for dinner that night. Sugar Bee enjoyed hers, too!

Cheesy broccoli muffins


Cheese Broccoli Egg Muffins

Breakfast can be any time and any place with these portable, protein-filled muffins. Broccoli is high in vitamins, fiber, protein, and cancer-fighting nutrients. This is a tasty way to get more broccoli into your diet. Superfood!

INGREDIENTS
  • 2 cups chopped broccoli
  • 8 eggs
  • Splash of water
  • 1 Tbsp chives (dried)
  • 1 tsp garlic powder
  • A few circles of sriracha, or hot sauce of your choice
  • Salt and pepper (to taste)
  • 1.5 cups shredded cheese, divided
DIRECTIONS
  1. Preheat oven to 375ºF. Add cupcake liners to 12-muffin baking tin. Spray liners with cooking spray.
  2. Steam broccoli for 2-5 minutes, until can be pierced with a fork and are still bright green. Remove from heat.
  3. In large bowl, whisk together eggs and water. Add chives, garlic powder, hot sauce, salt, pepper, and 1 cup of cheese. Stir to combine.
  4. Spoon mixture into muffin liners and top with the remaining 1/2 cup cheese. Bake 12-15 minutes. Muffins will fluff up and have a few golden spots on them when done. Enjoy!