If you still have not tried spaghetti squash, whether it’s because you are intimidated by the thought of cooking a food that is new to you or you think it’s too healthy or have an aversion to food that is good for you, stop right now and go get one at the store. It is so easy to cook up spaghetti squash and use it in place of pasta for any dish. I first started using it for my Eggplant Ragout several years ago. As it turns out, it’s a good thing that I love using it in my meals because it has been a blessing with Sugar Bee and her wheat issues. Squash is an even better alternative than any gluten-free pasta that I could give her. When she was one, she would double-fist feed herself with my ragout over “spaghetti” and was the talk of her school. I have even made a quiche using spaghetti squash as a crust. It’s just awesome. And so easy.
Slice the squash in half, being very careful as I’m always certain that this time will be the time I lose a finger doing it, and scoop the seeds and rough, stringy parts out. Coat the insides with extra-virgin olive oil and place cut-side down onto a baking sheet. Bake in a preheated oven at 450ºF for about 30 minutes. It is done when the skin gives as you press down on it. I like mine to be a little more roasted like in this picture, but be careful not to cook it too long or it will be more like spaghetti mush instead of spaghetti strands.While that’s in the oven, prep your onion and herbs. Chop one small onion into fairly small dice. I used the herbs that I had on hand, but feel free to experiment with other flavors and what you have in the house or garden. I chopped one tablespoon of fresh thyme, and two tablespoons each of fresh parsley and basil. I also included five cloves of minced garlic, but I would probably push it to at least six because as I’ve said before, we LOVE garlic here.When the spaghetti squash is finished and cooled enough to handle, strip out the strands with a fork. It should look something like this. Melt about two tablespoons of Kerrygold butter over medium heat. Add the onions and cook for about 5 minutes, until softened. Add the garlic and stir, cooking about a minute. Throw in the “spaghetti” and fresh herbs, and add some sea salt and fresh ground pepper, stirring well to combine. I added some freshly grated Parmesan cheese since I’m allowed a bit of hard cheese now and then. I served this as my side dish with a delicious salmon burger from Costco. Wild-caught salmon and very few other ingredients (some oil and spices), without any wheat to hold them together. It was such an easy meal to throw together. And nutritious!(The Russian doesn’t mind his food touching, so this one was his)
Garlic and Herb “Spaghetti”
Spaghetti squash is a great alternative to pasta for any recipe and can also be a side dish or meal on its own. Depending on what it’s served with, I usually get 3-4 servings out of a medium squash. This is a flavorful way to serve it up and you can add almost anything you want to this basic recipe.
INGREDIENTS
1 medium-large spaghetti squash
1-2 Tbsp extra-virgin olive oil, however much is needed to coat the inside of the cut squash
2 Tbsp Kerrygold butter, ghee, or oil of your choice
1 small onion, diced small
4-6 cloves of garlic, minced (to your preference)
1 Tbsp fresh thyme, chopped
2 Tbsp fresh basil, chopped
2 Tbsp fresh parsley, chopped
Sea salt and fresh ground pepper
DIRECTIONS
Preheat oven to 375ºF
Cut the spaghetti squash in half lengthwise. Scoop out and discard the seeds and stringy threads.
Coat the insides and cut edges of the squash with EVOO. Place the halves cut side down on a baking sheet and bake for about 30 minutes. Squash is done when skin gives from a poke with your finger. Turn over squash halves and set aside to cool until able to handle.
Melt butter in skillet over medium heat. Add onions and cook 5 minutes until soft.
Meanwhile, pull spaghetti strands from squash with a fork, pulling the fork through the flesh lengthwise from one end to the other. (Use a potholder to hold the squash if still too warm to handle.)
Add garlic and stir, cooking until fragrant, about a minute.
Toss squash and the fresh herbs in the pan with the onions and garlic, mixing well to combine.
It’s that time of year when all I want is warm soup. Even if it’s not that cold in Georgia, it’s still winter. And the temperature swing from midday to midnight can easily be 30 degrees. I’m really trying to lower our food budget, so soups are also budget-friendly and you end up with several meals worth when it’s done. Sugar Bee, my three year old, loves beans, especially black beans, so she’ll pretty much eat any soup now that has beans. I have even been known to add some beans to my chicken soup for her eating enjoyment. Here is another winner for her.
This one is also a time-saver. I usually make bean soups in the crock pot since I try to cook my own beans as much as possible. Not only is it a lot cheaper to soak and cook dried beans yourself (and you get to control the amount of salt), it also helps make them a less musical fruit if they are freshly cooked. Freshly soaking the beans loosens the skins, and releases the gas causing agent (oligosaccherides). When you dump that gassy water from the overnight soak and cook them with fresh, clean water, you end up with less gas. (Here’s a great post about how to cook and soak your own beans.) That aside, because I used canned beans for this recipe, I can see being able to throw this together for a last-minute dinner on a weeknight. Cheap, fast, and easy…just how I like my meals.
Southwest Black Bean Soup
Cheap, fast, and easy. That’s how I like my meals. Soups are a great way to get more out of your food budget. Bean soups are even more thrifty. This recipe uses canned beans, but you can easily swap the cans for a pound of presoaked beans, throw everything in the slow cooker, and set it for 8 hours on low. Either way, this is a perfect meal for a winter’s night.
INGREDIENTS
2 Tbsp oil (I used expeller-pressed coconut oil)
2 onions, diced
6 cloves of garlic, minced
1 generous Tablespoon chili powder
1 generous Tablespoon cumin
Four 15 oz cans black beans
32 oz broth (I used vegetable broth)
2 large roasted red peppers, chopped
2 Tablespoons tomato paste
2 bay leaves
Fresh ground black pepper, to taste
Juice of one lime
Fresh cilantro, chopped
DIRECTIONS
Heat oil in large stock pot over medium heat. Add onions and cook for 5-7 minutes, until softened, but not browned. Add garlic and cook until fragrant, about a minute.
Add cumin, chili powder, and beans, stirring to coat everything in spices.
Add broth, peppers, tomato paste, bay leaves, and pepper, and bring to a boil.
Reduce heat, cover, and simmer for 25 minutes. Add fresh lime juice and stir.
Spoon into bowls and garnish with fresh cilantro.
(Optional: Add spoon of sour cream like The Russian did)
I thought I would throw a few pictures together in here and share some of the successful blends that I have created in the past few months. These are what are currently working for my family and I, but you may or may not get the same results. Mostly because I am not a medical professional, naturopath, certified aromatherapist, or whatever. I’m just someone that has an understanding of what individual oils and blends can accomplish in the support that they can offer our bodies, as well as using a little muscle testing 🙂
(This post is for informational purposes only.)
Each individual oil and blend can support a multitude of systems and address many different needs. Different people will benefit from different oils in different ways, much like traditional medicine where not every prescription works the same and fits every person the same way. I am only touching upon what each oil in my blend recipes are capable of. I suggest you dig around the interwebs for more information. It’s amazing all the different things they can help support!
Snoring support
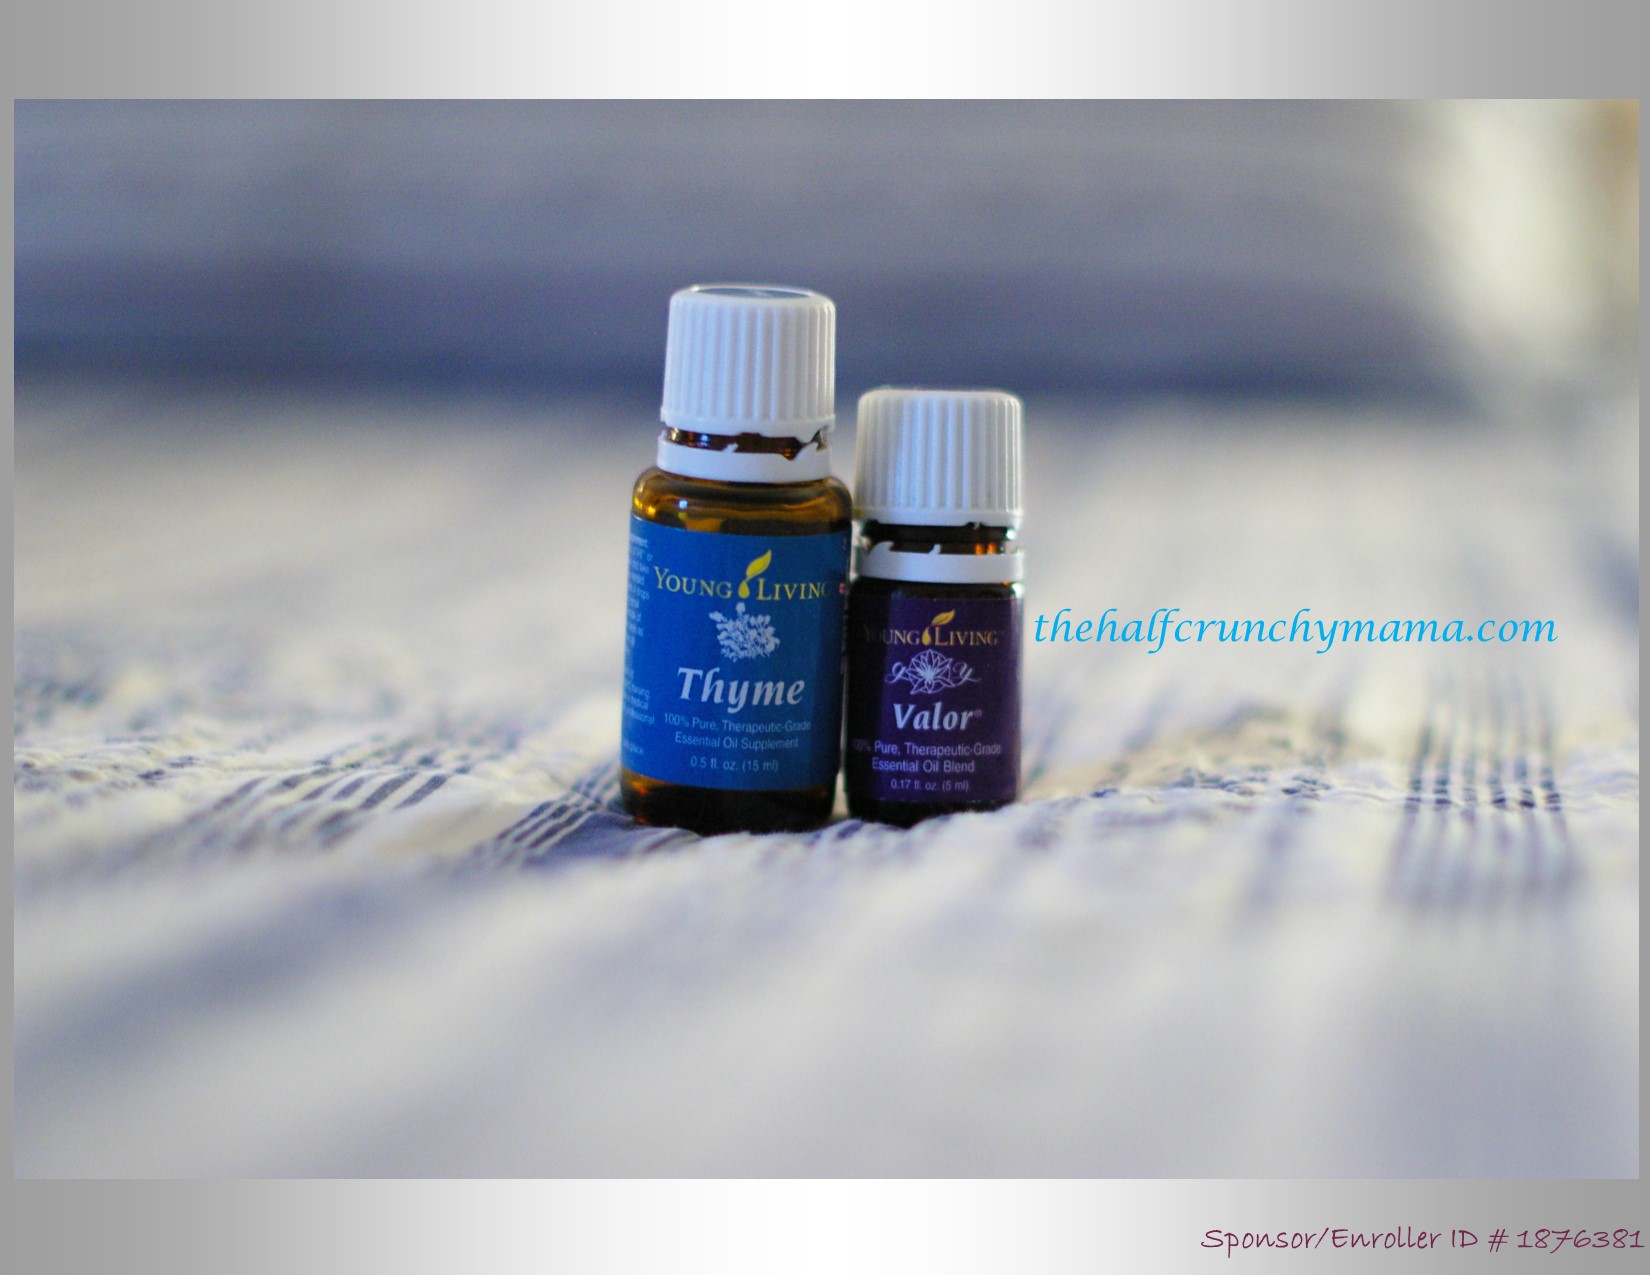
The hottest thing I have recommended has been using Valor for snoring. This was my first big win with oils as I mentioned in my Snoring? Backache? Hangover? Allergies? Bug bites? My oil solutions (Part 1) post. We had run out of Valor for quite some time and had been using its “backup” of Highest Potential. While this didn’t have the same effect, it was better than nothing!
Then Valor was finally back in stock and when The Russian started using it again, it just didn’t seem to be working as well as it had. I mentioned this on one of the Facebook groups I belong to and someone suggested using Thyme for snoring. I added 6 drops of Thyme to the roller bottle with diluted Valor that he keeps on his nightstand and WOW, I could barely hear him breathing! I guess this is the heavy-duty formula for stubborn snoring 🙂
Before I explain about why the specific oils in my next two blends likely tested, I want to share a bit of the chemistry. You will need to excuse me while I nerd out on you for a moment. (I love science.) This is a very base-level description of these constituents, but it’s important for me to explain that there is actual science behind using the oils – how and why the chemical constituents of each oil provide support. Yes, there is real science behind this oil craze. I’m only mentioning the oils that I have included in this post as examples below, but please feel free to research what other oils these constituents appear in. All of this information (and much more) can be found in the Reference Guide for Essential Oils, a.k.a., my bible (which is one of the freebies that you for becoming a member through me).
Sesquiterpenes are found in great abundance in essential oils and are antibacterial, highly anti-inflammatory, slightly antiseptic, and sedative. They are a major constituent in oils such as Cedarwood and Vetiver. They also play a (minor) role in the makeup of Bergamot, Cinnamon bark, Frankincense, and several of the oils that make up the R.C. blend.
Esters are calming, relaxing, and balancing. Bergamot and Lavender are high is esters.
Aldehydes are calming to emotions. Cinnamon bark oil is high in aldehydes.
Ketones stimulate cell regeneration, promote formation of tissue, and liquefy mucous, therefore helpful when there is dry asthma, colds, flu, or dry cough. Ketones are a major constituent in Peppermint oil.
Phenols are made up of the most powerful antibacterial, anti-infectious, and antiseptic constituents in the plant world. They are stimulating to the nervous and immune systems, contain high levels of oxygenating molecules, and have antioxidant properties. Because of their qualities, they can be irritating to the skin and should always be diluted. They are a major constituent in Thyme, Basil, Cinnamon bark, Peppermint, and many of the oils that make up the R.C. blend.
Cold and flu support
My next support formula to share with you has to do with the crud that seems to be everywhere this season. Some people get full-blown flu, others just get a cold with symptoms that linger for weeks. In November, The Russian came home from work and school full of gunk. He had been trying to fight it on his own (Russians can be slightly stubborn) and finally decided to ask me for assistance. In addition to some herbs, I tested him for a bunch of oils that would help support his body to fight whatever this was. It took him a close to a week to get cleared up since he had waited so long, but he didn’t have any of the lingering symptoms like the rest of the folks we know.
The real success with this blend came for Sugar Bee and I. We both woke up the day after Thanksgiving feeling pretty crummy. I felt like I was getting the flu, so I can only assume that she felt the same as she was complaining and boogery. I immediately started rubbing the blend on the back of my neck and on the bottoms of her feet (she’s three and this blend contains some hot oils), reapplying several times throughout the day, right up to bedtime. The next morning, I continued the applications for both of us, and by that afternoon (around 36 hours later), I felt great and she looked and acted a lot better! WHAT?! How could this be?!?! Yes, I had also beefed up some of our herbals and we have pretty good immune systems, but in all my years of natural healing, I have never experienced such a fast turnaround. There really is something to this oil thing.
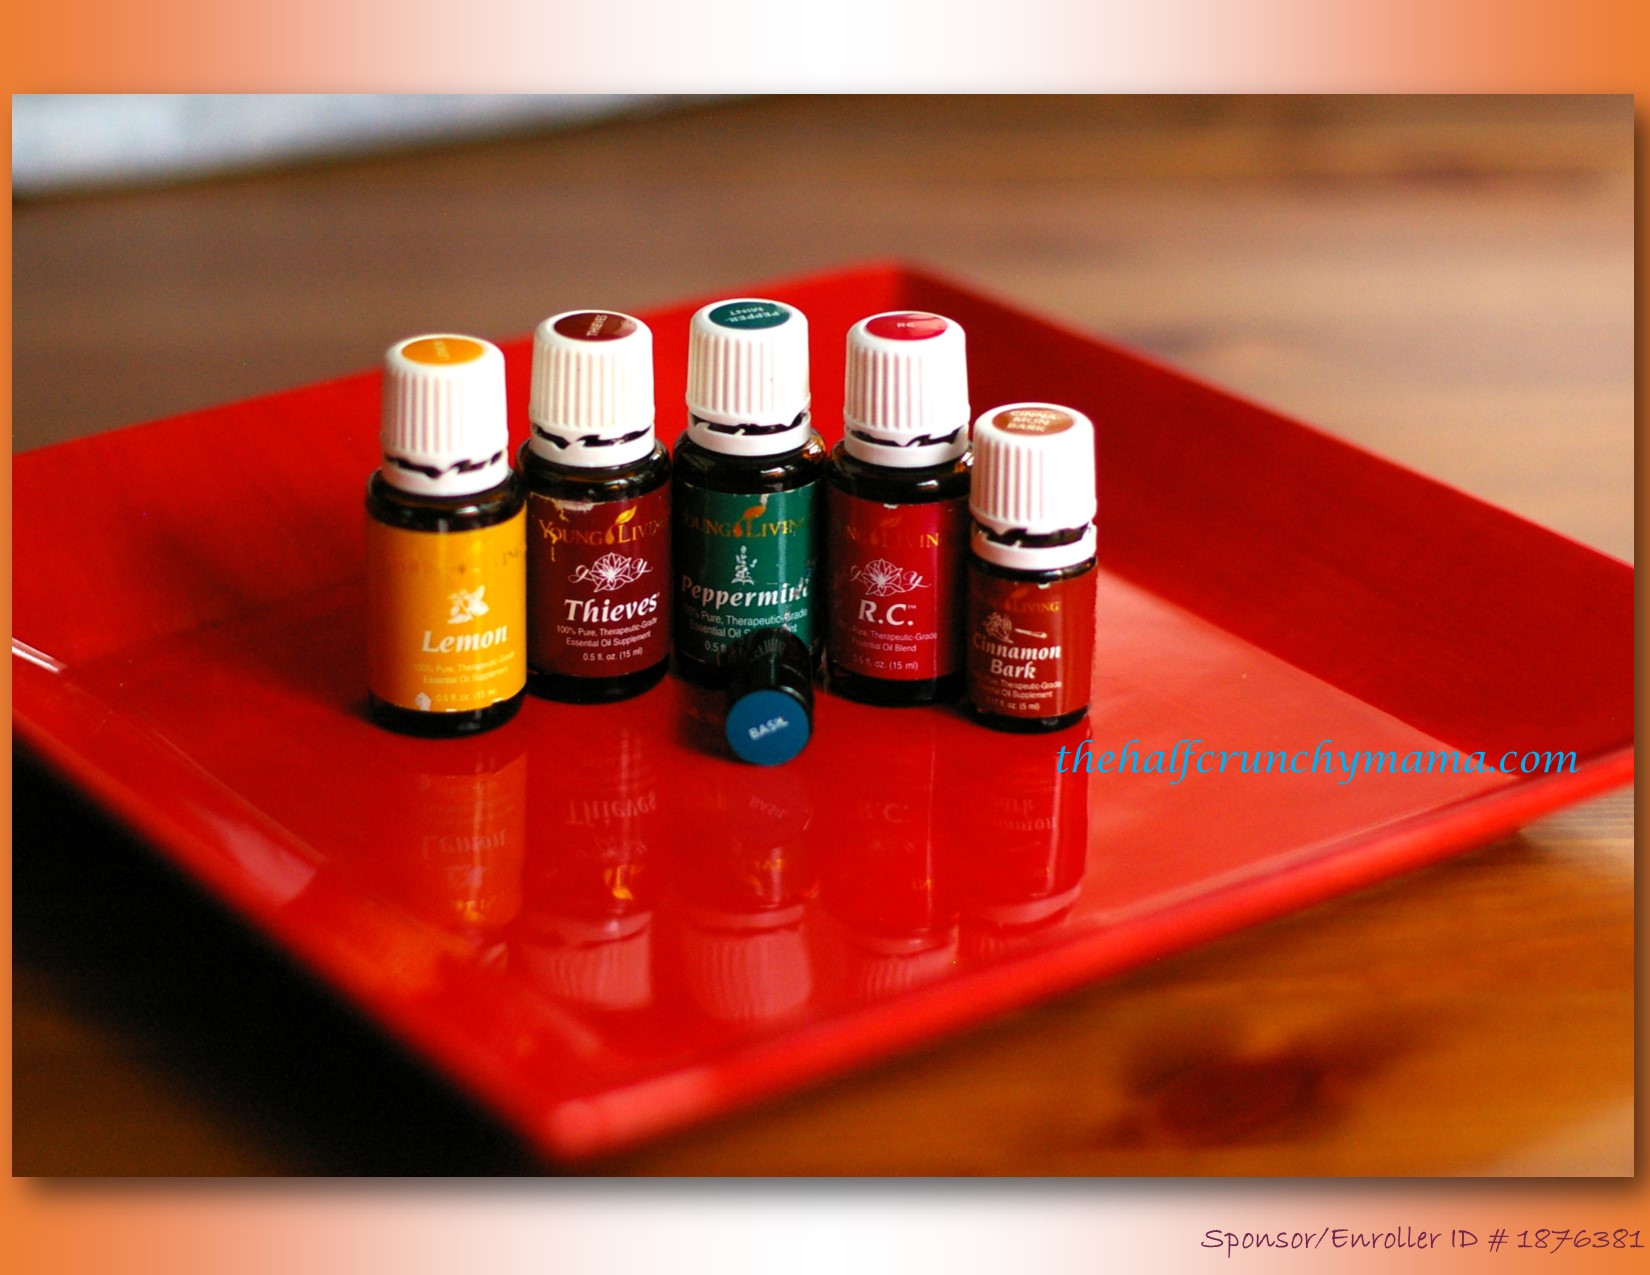
My suggested formula for my Cold and Flu Support Blend is:
8 drops of Lemon
10 drops of Thieves
8 Peppermint
10 R.C.
6 drops of Cinnamon bark
6 drops of Basil
Combine in 10ml (1/3 oz) roller bottle filled the rest of the way with FCO
Apply as often as you want to back of the neck or bottoms of the feet. With children, only apply to the bottoms of the feet. I applied to the Vita Flex points for lungs and sinuses, at the base of the little toes and off the sides of the balls of the feet. Here is a reference for you.
Why these oils? Just a few highlights as they pertain to this particular use:
Lemon: Antioxidant and antiviral properties; French use for asthma, colds, fever reducer, throat infections, and red and white blood cell formation; stimulates digestive, immune and respiratory systems
Thieves: Antibacterial, antiviral, anti-infectious, and strong antiseptic; stimulates immune system; contains Clove, Lemon, Cinnamon bark, Eucalyptus radiata, and Rosemary cineol
Peppermint: Analgesic, antibacterial, anti-inflammatory, antiseptic, antispasmodic, and antiviral; French use for bronchitis, fever reducer, flu, headache, nausea, respiratory function, and throat infections; stimulates digestive, nervous, respiratory systems, muscles, bones, and skin
R.C.: Antiviral, antibacterial, antiseptic, anti-infectious, anti-inflammatory, relaxing, balancing, and lymphatic decongestant; stimulates the respiratory system; contains Eucalyptus globulus, Myrtle, Pine, Marjoram, Eucalyptus radiata, Eucalyptus citriodora, Lavender, Cypress, Tsuga, and Peppermint
Cinnamon bark: Antibacterial, anti-infectious, anti-inflammatory, antimicrobial, antioxidant, antiseptic, antiviral, immune stimulant, purifier; historically used in nearly every prescription issued in ancient China; stimulates the immune system
Basil: Antibacterial, anti-infectious, anti-inflammatory, antioxidant, antiseptic, antispasmodic, antiviral, decongestant, restorative; historically used for respiratory problems, fevers, epidemics; stimulates the cardiovascular system, and muscles and bones
*Note: I mention the French and historical uses because they have been around and in use for way longer than people realize in this country, and the French are at the forefront with using essential oils for healthcare.
Calm Focus blend
Finally, I will share what I have named my Calm Focus Blend. A few weeks back, Sugar bee was testing for some oils that people have found helpful for helping children (and adults) focus better, handle their anxiety, and feel more relaxed (calm). Doc tested what oils for her and then I determined the rest of the ratio when I got home. The result was a calmer and more focused three year old. She’s not hyper or ADHD or anything like that, she’s just three. If you are a parent, you are well aware that most three year olds are complete a-holes a lot of the time. She has so much going on in her noggin that it can be overloading for her to take everything in, process it, and discuss it all. She is a very spirited child and I wouldn’t change a thing about her…except maybe her patience level with her own self….but that is a genetic thing. I own it.
Anyway, I did see quite an improvement in many areas for her, including patience with herself when dealing with a difficult task, less of a stammer (not really stuttering, but I think she has a hard time having her mouth keep up with her mind), less fresh mouth, and better sleeping at night, just to name a few. Calm Focus. Get it?
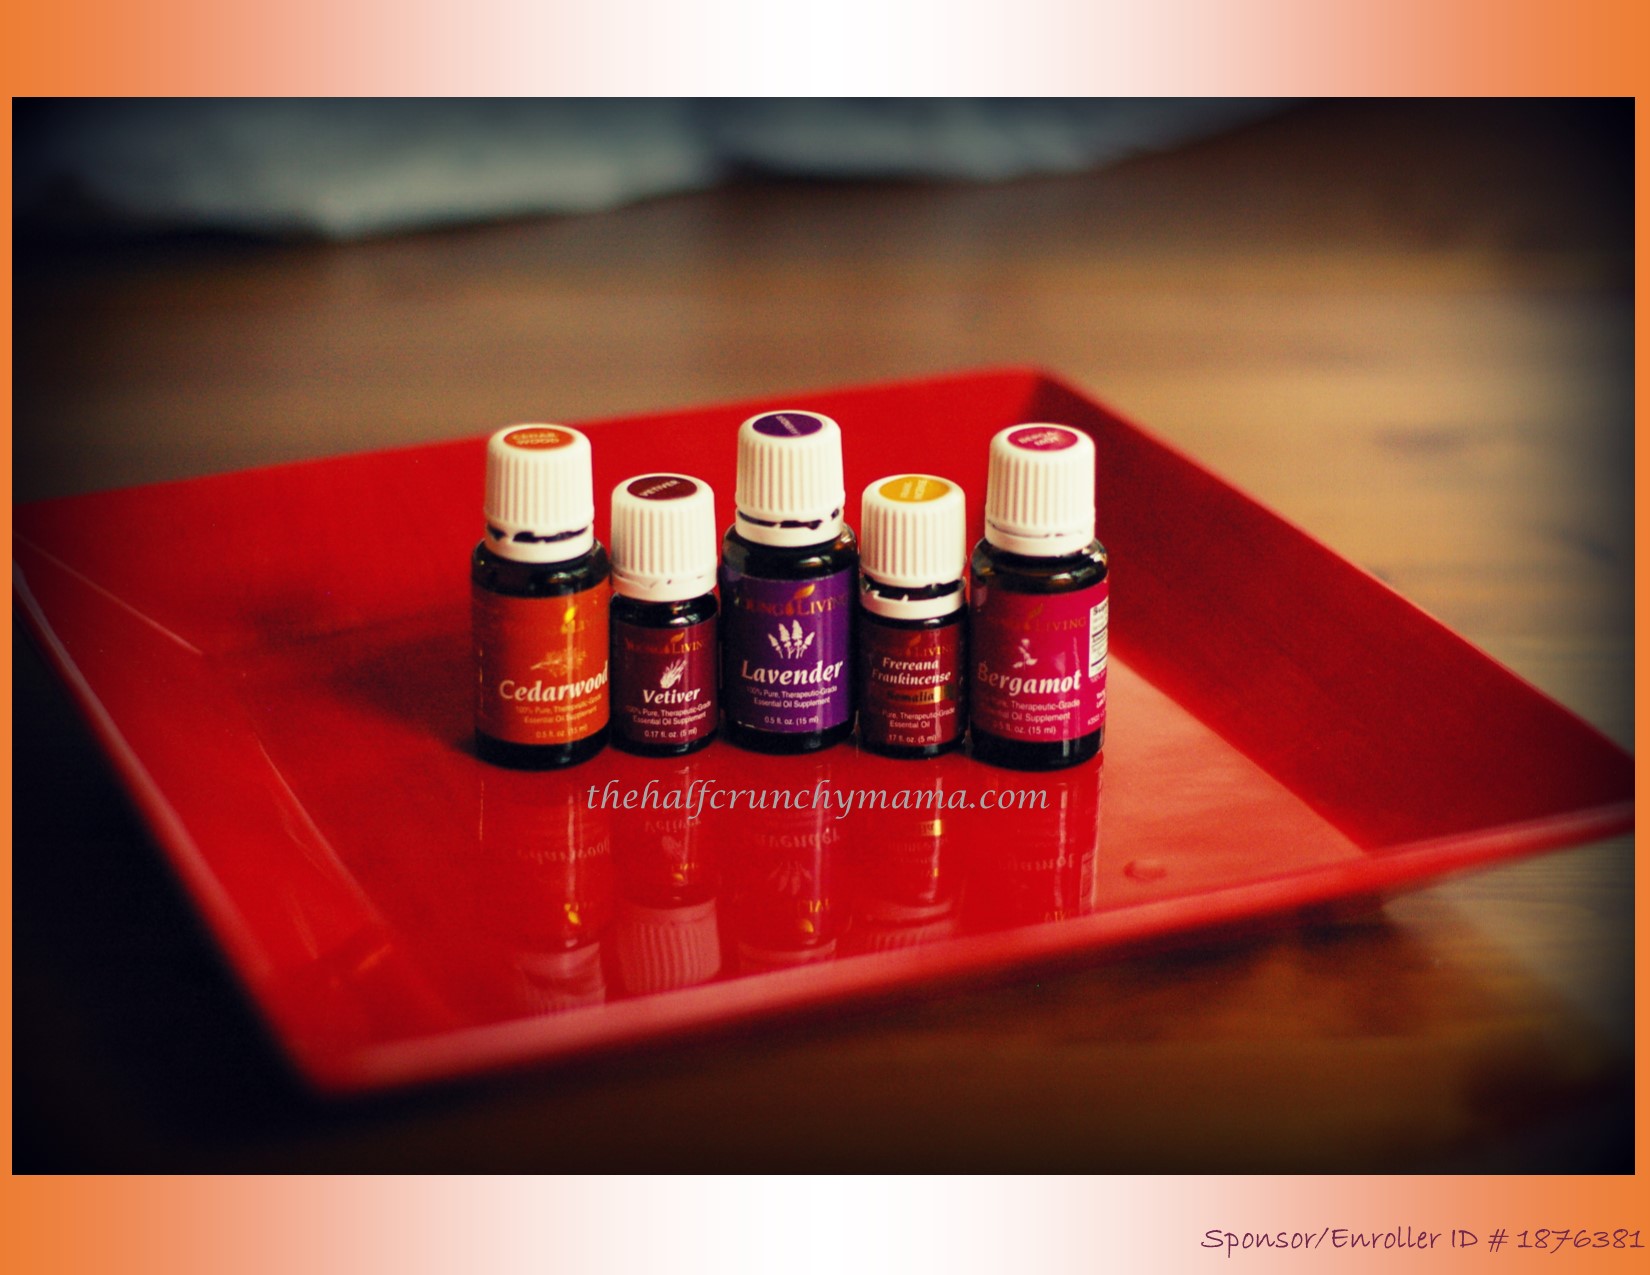
So here is my suggested formula for this Calm Focus Blend:
6 drops of Cedarwood
6 drops of Vetiver
9 Lavender
9 Frankincense (I used 5 drops of Frankincense and 4 drops of Frereana Frankincense)
6 drops of Bergamot
Fill the rest of a 10ml (1/3 oz) roller bottle with FCO
Apply to the back of the neck at the base of the skull 1-3 times a day, or as needed
Why these oils? Just a few highlights as they pertain to this particular use:
Cedarwood: Sedative; French use for calming anger, nervous tension, and overall calming; stimulates the nervous system
Vetiver: Calming, grounding, sedative; Folklore – “oil of tranquility” in India; stimulates hormonal and nervous systems, and emotional balancing
Lavender: Antidepressant, sedative; French use for insomnia; stimulates the nervous system and emotional balancing
Frankincense: Antidepressant, sedative; French use for depression; stimulates the nervous system and emotional balancing
Bergamot: Sedative and uplifting; French use for agitation, colic, depression, insomnia and stress; stimulates emotional balancing
If you are interested in starting your natural health and healing journey with essential oils, please allow me to be your guide. You can sign up here to get started with your starter kit and own discount on products. There is no monthly minimum to purchase anything (but great perks if you do by becoming an Essential Rewards member, earning points for free oils with every order!) and you will get some great freebies from me once you sign up, including the reference guide that I linked to above! I have a Facebook page, The Half-Crunchy Mama, where I share information on oils and a variety of other natural living topics. You can connect with me there and reach out with any questions you may have about your oils. I will be your support!
That’s all for now! Please reach out to me with any questions about these blends. Happy oiling!

 If you still have not tried spaghetti squash, whether it’s because you are intimidated by the thought of cooking a food that is new to you or you think it’s too healthy or have an aversion to food that is good for you, stop right now and go get one at the store. It is so easy to cook up spaghetti squash and use it in place of pasta for any dish. I first started using it for my Eggplant Ragout several years ago. As it turns out, it’s a good thing that I love using it in my meals because it has been a blessing with Sugar Bee and her wheat issues. Squash is an even better alternative than any gluten-free pasta that I could give her. When she was one, she would double-fist feed herself with my ragout over “spaghetti” and was the talk of her school. I have even made a quiche using spaghetti squash as a crust. It’s just awesome. And so easy.
 While that’s in the oven, prep your onion and herbs. Chop one small onion into fairly small dice. I used the herbs that I had on hand, but feel free to experiment with other flavors and what you have in the house or garden. I chopped one tablespoon of fresh thyme, and two tablespoons each of fresh parsley and basil. I also included five cloves of minced garlic, but I would probably push it to at least six because as I’ve said before, we LOVE garlic here.
 When the spaghetti squash is finished and cooled enough to handle, strip out the strands with a fork. It should look something like this.
  Melt about two tablespoons of Kerrygold butter over medium heat. Add the onions and cook for about 5 minutes, until softened. Add the garlic and stir, cooking about a minute. Throw in the “spaghetti” and fresh herbs, and add some sea salt and fresh ground pepper, stirring well to combine. I added some freshly grated Parmesan cheese since I’m allowed a bit of hard cheese now and then.
  I served this as my side dish with a delicious salmon burger from Costco. Wild-caught salmon and very few other ingredients (some oil and spices), without any wheat to hold them together. It was such an easy meal to throw together. And nutritious!
 (The Russian doesn’t mind his food touching, so this one was his)