
Being half-crunchy, I really wanted to try my hand at dyeing eggs with the colors that Mother Nature has given us. This was my first attempt and I am not totally discouraged, but it was a learning experience.
I usually buy eggs from local farms, and sometimes get them for free from a family friend who knows someone with lots of chickens that lay more eggs than they can eat. They look better. They taste so different than “regular” eggs. And I’m supporting local farmers. We all win. The problem is, you will hardly ever get a white egg. Sometimes they are pale brown, yellow, or greenish blue, but it’s extremely rare (as in never) that I get a white one. I am going to have to google why that is, but I want to get this finished first. I will get back to you on that one. I think this all would have gone better if I had regular white eggs from the store, but too late now.
I did a little digging around and found two great posts, one from green child and another from Better Homes and Gardens. I have a video saved somewhere that I need to dig up where this woman did an amazing job making her own dyes to use in place of food coloring for baking that I’m sure would be awesome for this, but if I recall correctly, it was a lot more work than I have time for. My trial was simple and fast to start. It was the waiting that took a long, long time.
I started off deciding on four colors, and chose them based on what seemed to have the least amount of work involved. I already knew tumeric would be great, and if you ever cook with it, you know why. It stains everything and my poor clear plastic measuring spoon that I was dumb enough to leave in the bowl too long didn’t even get clean from the dishwasher. Oh well. At least that color works. I decided to go with a grey/purple/blue color, a pinkish red, a yellow, and a burnt orange.
 Here’s what I did with them on Sunday night when I started:
Grey/purple/blue color: 1 cup frozen blueberries and 1 cup water, brought to room temperature, and then removed the berries
Yellow: 2 Tbsp of ground tumeric, mixed with 1 cup boiling water, then added 2 tsp of white vinegar
Pinkish red: Two cooked beets (I should have used raw, but I went with what I had as this was a last-minute thought) in 4 cups boiling water, mixed with 2 Tbsp vinegar; I also added some beet juice, both pickled and from the container of cooked beets, removing the beets before adding the eggs
Burnt orange: 2 Tbsp of paprika (I used smoked as that’s what I mostly cook with) in 1 cup boiling water, then added 2 tsp white vinegar
When everything was room temperature, including the eggs, I dropped them all in. And waited. I did this in the evening, finally getting them in around 9 0’clock. I put them out in my garage fridge and waited until morning. I was all excited…and then slightly disappointed. Monday morning, I took them out and took a look. There wasn’t all that much difference in color. I could see a faint tint and it had already been 12 HOURS! So I dropped them all back in after giving everything a good stir. Back to the fridge they went. And I waited some more. In fact, I waited another 24 hours and took them out Tuesday morning. Probably didn’t make much of a difference to leave them in longer, but some places did get darker. This will have to do. Easter is on Sunday.
 Sugar Bee hasn’t had dyed eggs before and this is the first Easter that we will be doing the whole creepy Easter-Bunny-came-and-hid-your-eggs-now-go-find-them-and-I-hope-I-remember-where-I-put-them-in-case-she-can’t-find-them-all thing. Last year was her first real Easter basket, filled with way more toys and stuff than candy and crap. Yeah, what a shocker. I’m that mom. I own it.
 I know that I read somewhere about shining them up a little with olive oil, or maybe I’m making that up, but that’s what I did and it actually did enhance the colors a little more, making them a little deeper.
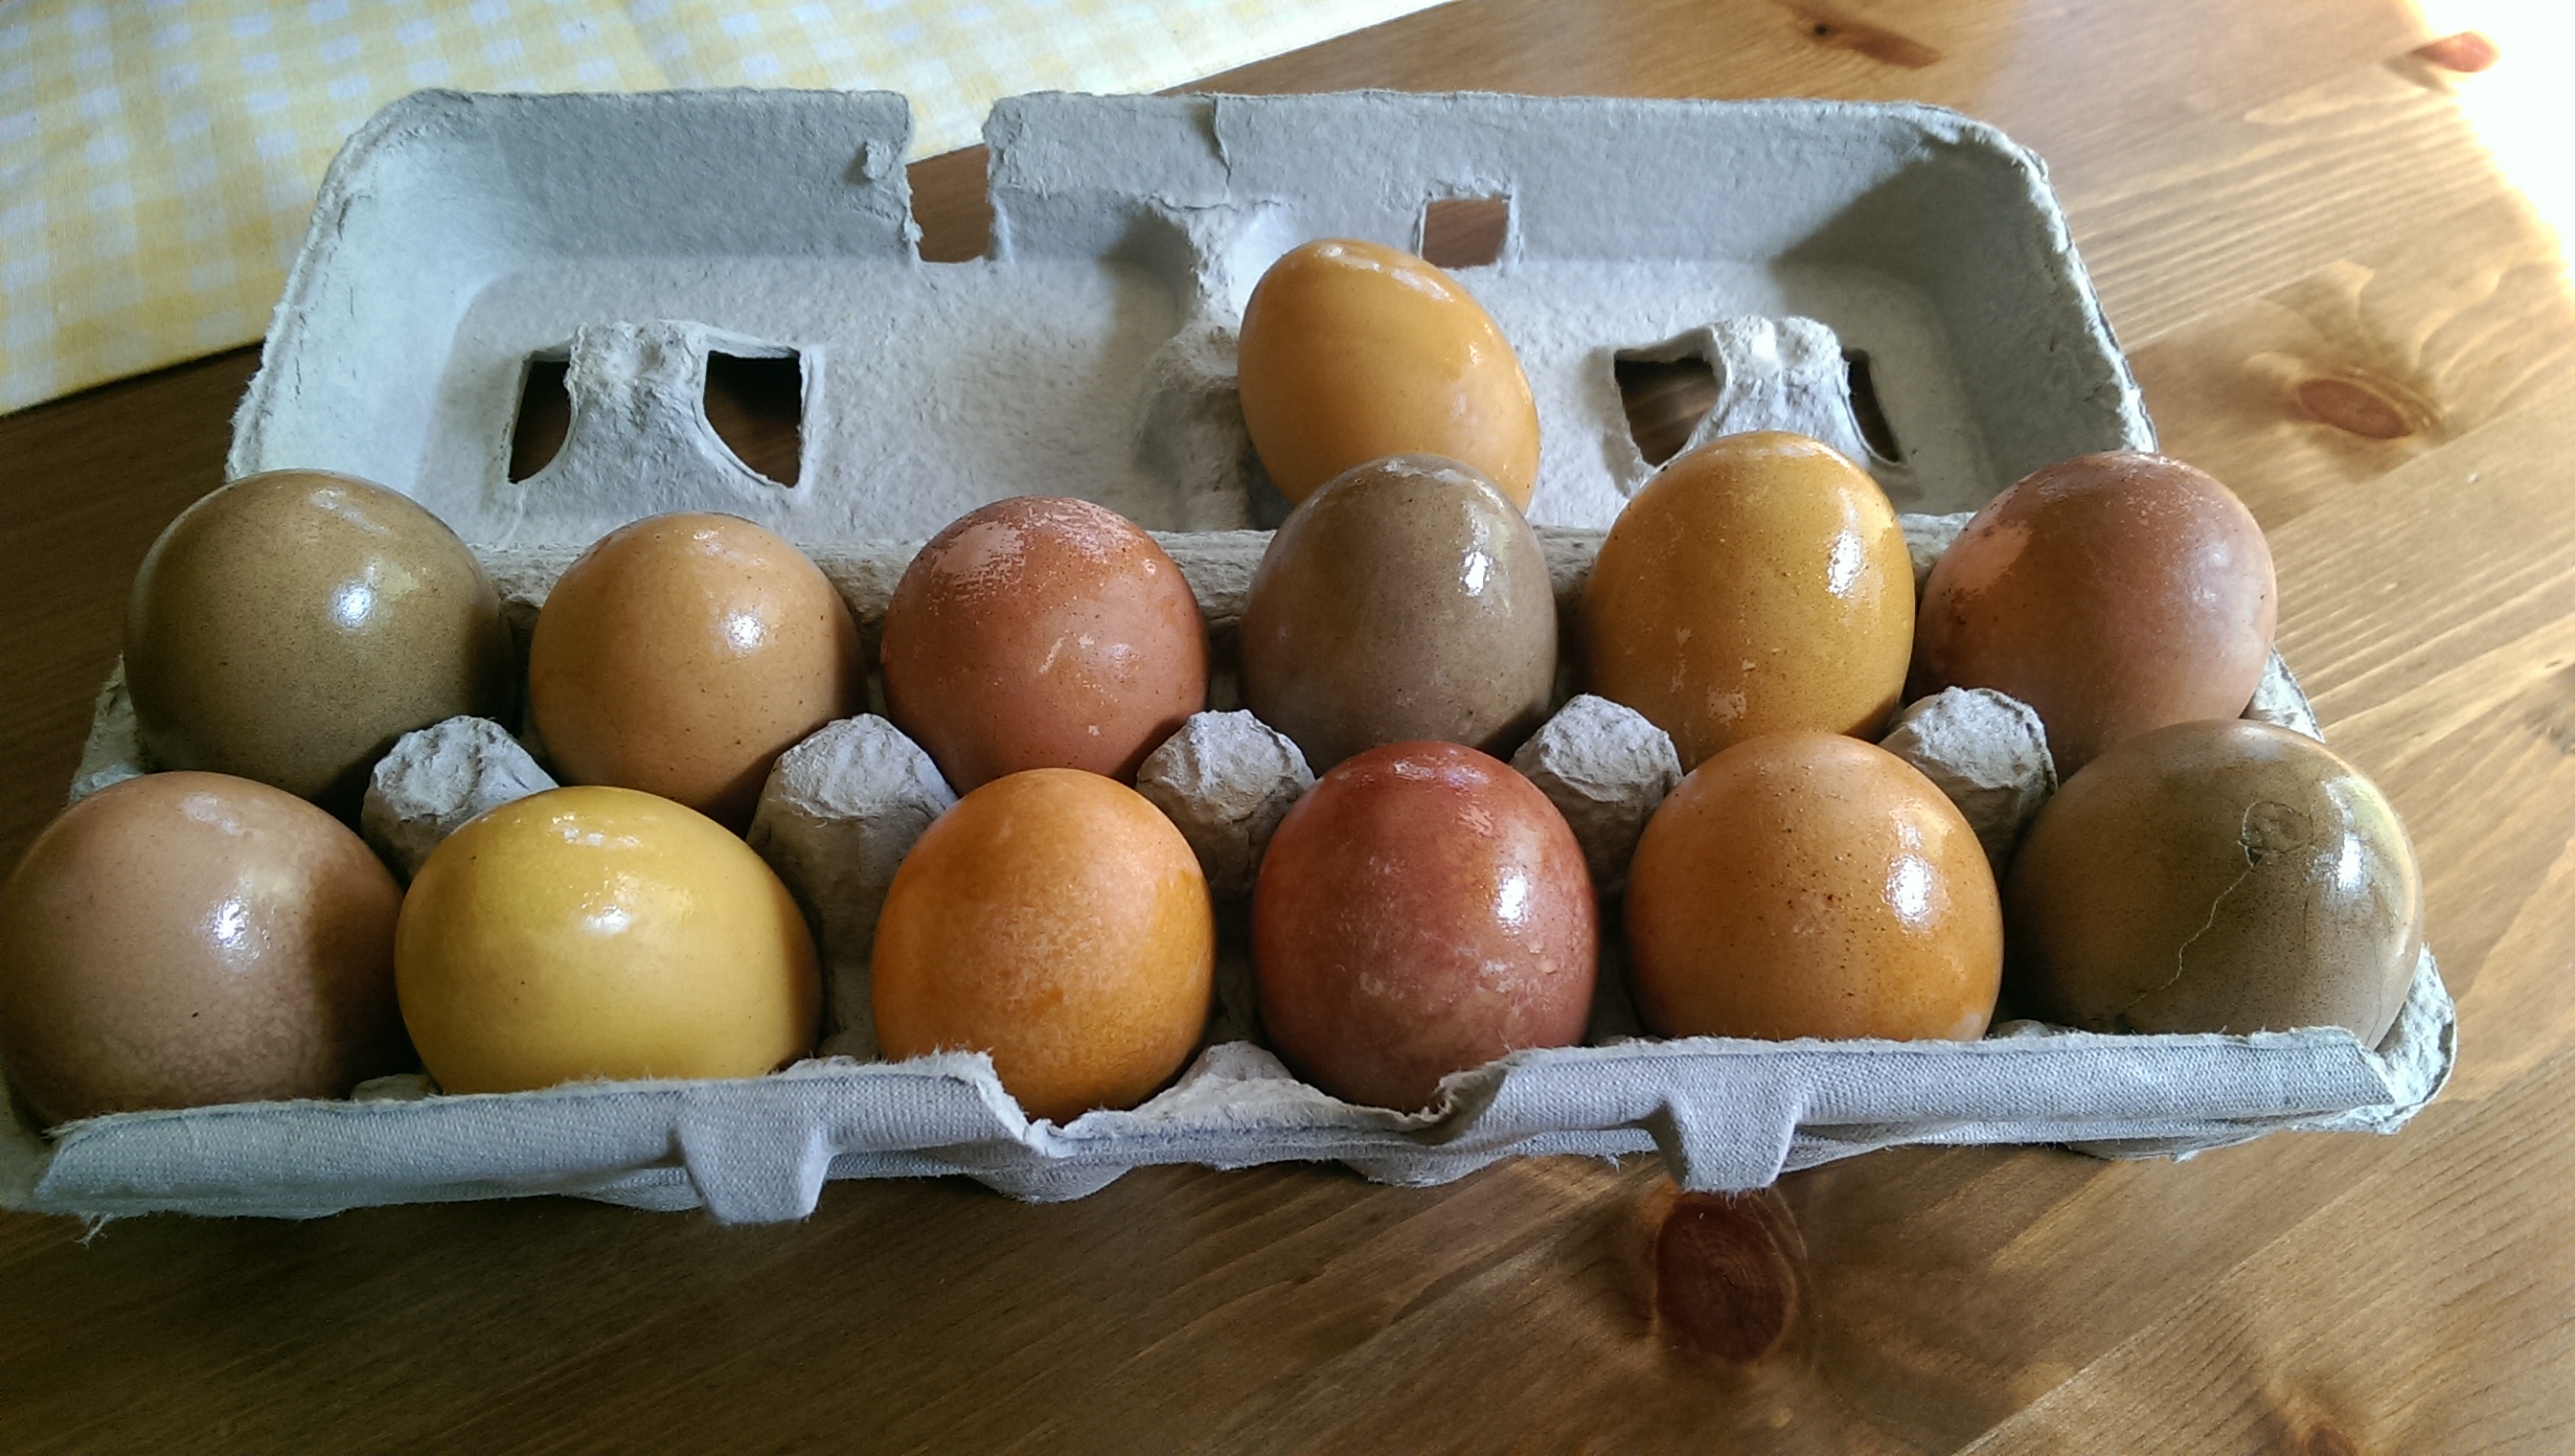 All in all, I’m pleased with my first attempt. I wish I had started experimenting sooner, but I will mess around more next year!

